





Mineral deposits and limescale don't announce themselves. They build up quietly inside your ice machine's water lines, evaporator plates, and reservoirs until you notice smaller ice cubes, slower production cycles, or a strange taste that sends customers reaching for bottled water. Knowing how to descale an ice machine properly is one of the simplest ways to protect your investment, and your reputation.
Most manufacturers recommend descaling every three to six months, but hard water conditions can push that timeline closer to monthly. Skip it, and you're looking at reduced efficiency, higher energy bills, and eventually a repair call that costs far more than routine maintenance ever would.
The good news: descaling is straightforward once you understand the process. This guide walks you through step-by-step instructions for countertop, portable, and commercial ice machines, covering everything from preparation and descaler selection to rinsing and reassembly. We'll also explain why the cleaning solution you choose matters just as much as the process itself. At Eco Safeway, we manufacture non-toxic, HMIS 0-0-0 rated descalers that remove scale buildup without corroding machine components or leaving behind chemical residues, so your ice stays clean and your equipment lasts longer.
Know when to descale and what it fixes
Scale doesn't wait for a convenient time to cause problems. Mineral deposits form every time hard water flows through your machine, and if you're not watching for the early warning signs, you'll end up diagnosing the problem after it has already cost you time, money, or ice quality. Understanding when and why to descale helps you stay ahead of those costs rather than react to them.
Warning signs your machine needs descaling now
Your ice machine will tell you when scale is taking hold. You just need to know what to look for. Smaller or hollow ice cubes are one of the first indicators because mineral buildup on evaporator plates reduces the surface contact needed to freeze a full cube. A machine running longer cycles than normal is another sign: the harder the system works to compensate for restricted water flow and insulated surfaces, the more energy it burns.
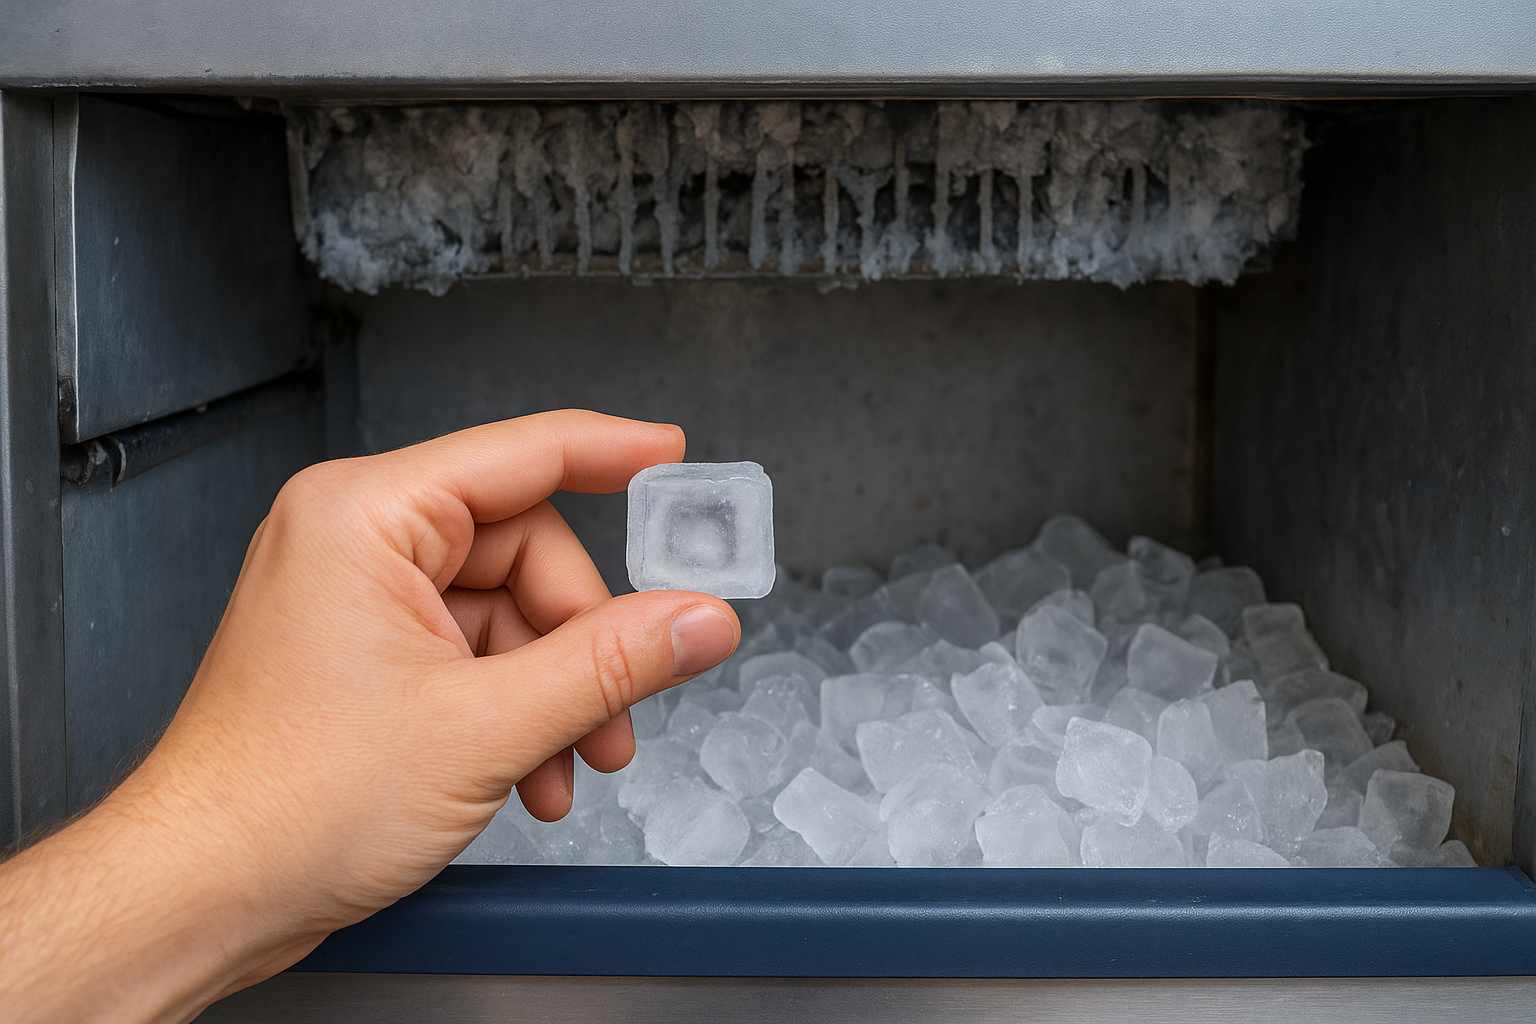
If your ice has a bitter or chalky taste, scale is likely the culprit, and customers will notice before you do.
Other signs to watch for include:
- White or gray deposits visible inside the water reservoir or on the ice-making components
- Sluggish water flow or intermittent ice production
- Unusual noise from the pump or water circulation system
- Ice cubes clumping together or releasing poorly from the evaporator
Any one of these is a clear signal that it's time to learn how to descale an ice machine and get the process started.
What scale buildup actually does to your equipment
Most people think of scale as a cosmetic issue, but the real damage happens where you can't see it. Calcium and magnesium deposits coat the evaporator plates, reducing their ability to transfer cold efficiently. That forces the compressor to work harder and longer to reach the same output, which drives up electricity costs and puts stress on components that are expensive to replace.
Water lines and pump inlets are especially vulnerable. Partial blockages restrict flow, which can trigger error codes on commercial units or cause portable machines to cycle without producing ice at all. Over time, untreated scale can corrode water-contact surfaces, particularly when operators try to remove heavy buildup using acid-based cleaners that attack the metal along with the mineral deposits.
How often to descale based on water hardness
Water hardness is the single biggest factor in how quickly scale accumulates. If your facility uses municipal water without any softening treatment, you're likely dealing with moderate to hard water conditions. Areas with very hard water can see significant scale buildup within weeks rather than months.
Use the table below as a starting point for setting your descaling schedule:
| Water Hardness Level | Hardness (GPG) | Recommended Descaling Frequency |
|---|---|---|
| Soft | 0-3 | Every 6 months |
| Moderate | 3-7 | Every 3-4 months |
| Hard | 7-10 | Every 1-2 months |
| Very Hard | 10+ | Monthly |
GPG stands for grains per gallon, and your local water utility can usually provide this information on request. If you've never had your water tested, many hardware stores carry inexpensive test strips that give you a reliable reading in minutes. Matching your schedule to your actual water conditions is more effective than following a generic manufacturer recommendation that wasn't written for your specific situation.
Step 1. Identify your ice machine and manual
Before you start learning how to descale an ice machine, you need to know exactly what type of unit you're working with. Countertop, portable, and commercial machines each have different internal layouts, water systems, and manufacturer requirements, and using the wrong process can void your warranty or damage components.
Know your machine type
Ice machines fall into three broad categories, and each one affects how you approach the descaling process.
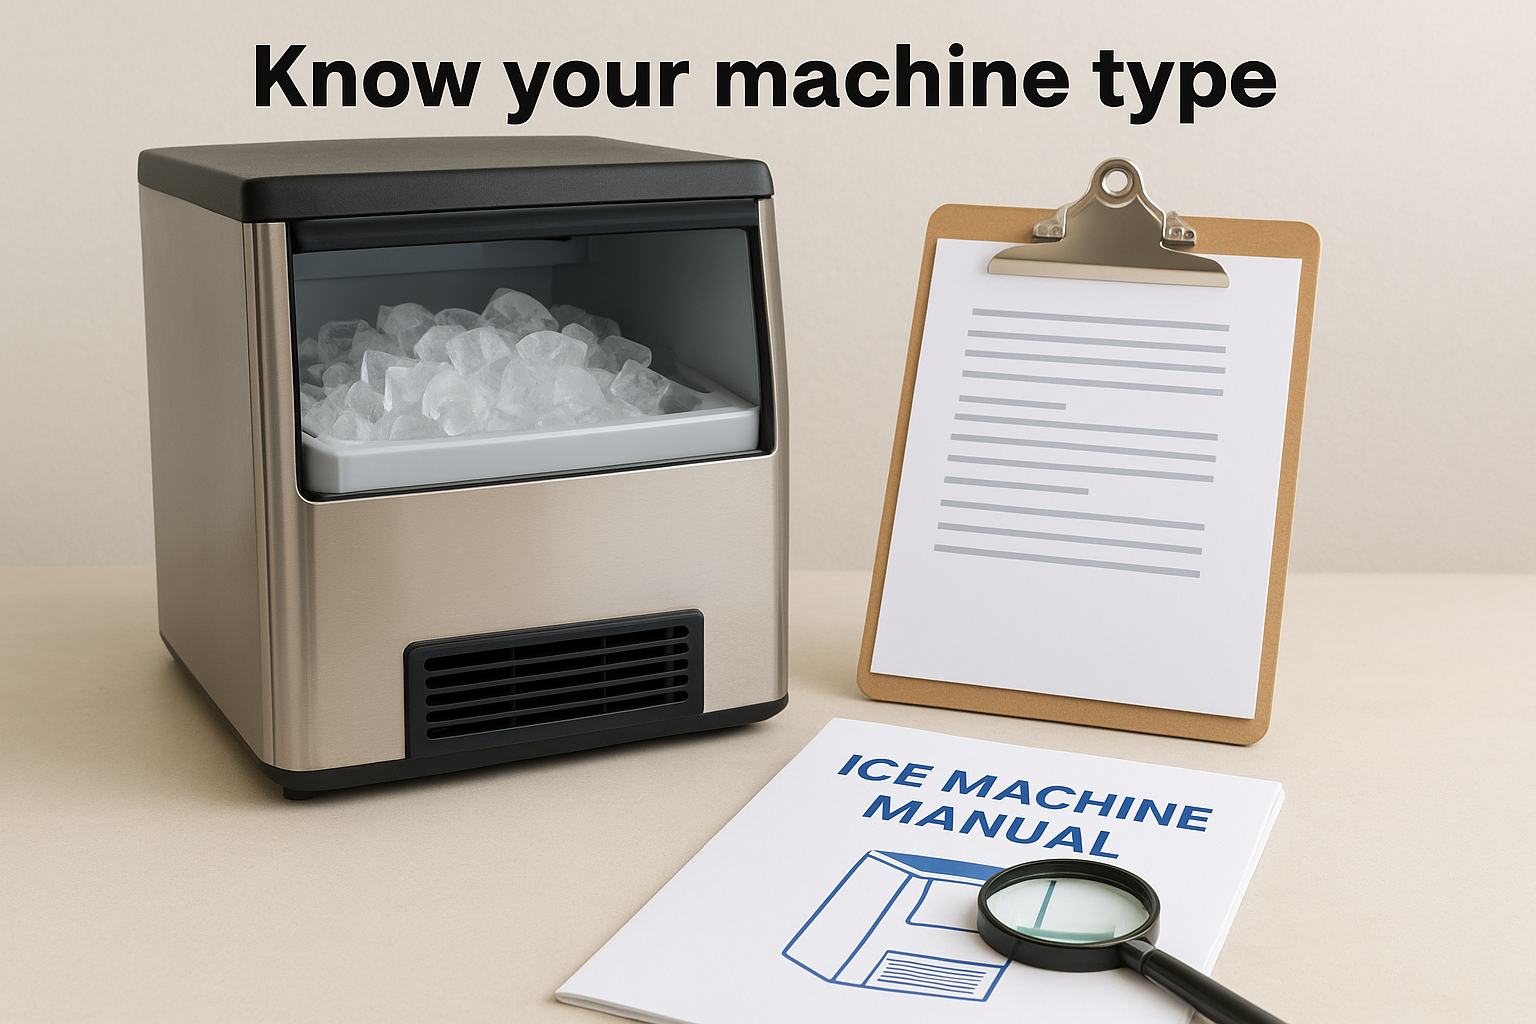
Countertop and portable units are self-contained and typically used in home kitchens, small offices, or boat galleys. These machines are simpler to descale because most water-contact components are accessible without tools. Commercial undercounter and modular units are a different story. They often require partial disassembly to reach the evaporator plates and water distribution systems, and some models have built-in descale modes that handle the circulation automatically.
If you're working with a modular commercial unit attached to a separate bin, always treat the ice maker head and the bin as two separate cleaning tasks.
Here's a quick breakdown to help you identify your category:
| Machine Type | Typical Use | Access Level |
|---|---|---|
| Portable/Countertop | Home, boat, small office | Easy, no tools needed |
| Undercounter commercial | Bars, restaurants, small facilities | Moderate, some panel removal |
| Modular commercial | Hospitals, hotels, large facilities | Complex, refer to manual |
Find your model number and owner's manual
Your model number is the most important piece of information you need before you touch any cleaning solution. It tells you which descaler is compatible, what concentration to use, and whether your machine has a built-in cleaning cycle. Look for a sticker or plate on the side, back, or inside the door of the unit. Commercial machines often carry this label near the water inlet or on the control panel frame.
Once you have the model number, pull up your owner's manual. Most manufacturers post current and legacy manuals on their websites. Your manual will specify the recommended descaling interval, any approved cleaning products, and step-by-step instructions unique to your model. Following those instructions protects your warranty and ensures you're not skipping a manufacturer-required rinse cycle or bypass step specific to your unit.
Step 2. Pick a descaler and gather supplies
The cleaning solution you use matters more than most people expect. An aggressive acid-based descaler might strip scale faster, but it can also corrode evaporator plates, degrade plastic water lines, and leave chemical residues that contaminate your ice. Choosing the right product before you start is one of the most consequential decisions in the entire process of how to descale an ice machine.
Choose the right descaler for your machine
Not every descaler is safe for every machine. Your owner's manual may list approved products or explicitly prohibit certain chemical types. As a general rule, avoid any descaler with a low pH (below 3) if your machine uses aluminum or copper components, since acidic cleaners can cause irreversible surface damage. Non-toxic, non-corrosive descalers with a neutral to mildly acidic pH are safer for most residential and commercial units.
Eco Safeway's ice machine descaler carries an HMIS 0-0-0 safety rating, meaning no health, flammability, or physical hazards, so you can run it through a machine without neutralizing agents or special handling.
Use the table below to compare common descaler types at a glance:
| Descaler Type | Effective on Scale | Safe for All Metals | Food-Safe Residue | Hazmat Shipping |
|---|---|---|---|---|
| Acid-based (phosphoric, sulfamic) | Yes | No | Sometimes | Often required |
| Vinegar (diluted acetic acid) | Mild only | Generally yes | Yes | No |
| Non-toxic commercial descaler | Yes | Yes | Yes | No |
Vinegar is a common DIY suggestion, but it works only on light deposits and early-stage buildup. For moderate to heavy scale, a purpose-formulated commercial descaler gives you the concentration and contact time needed to fully dissolve mineral deposits without multiple repeat applications.
Gather everything before you start
Having your supplies organized before you begin prevents you from stopping mid-process with a partially cleaned machine. Gather all items listed below and set them out within reach:
- Descaler solution (manufacturer-approved or HMIS 0-0-0 rated)
- Measuring cup or graduated container for accurate dilution
- Clean bucket or basin for mixing and drainage
- Soft-bristle brush or non-abrasive sponge for wiping surfaces
- Dry lint-free cloths for drying components
- Food-safe sanitizer for the post-descale step
- Gloves (optional with non-toxic products, recommended regardless)
Step 3. Shut down, drain, and clean removable parts
This step sets the foundation for everything that follows. Before any descaler touches your machine, you need to fully power down the unit and remove all standing water from the system. Skipping this prep work dilutes your descaler, reduces contact time, and leaves you guessing whether the treatment actually worked. Taking 10 to 15 minutes here saves you from repeating the entire process.
Power down and drain the water system
Start by pressing the power or wash button on your machine to initiate a shutdown cycle rather than pulling the plug mid-operation. Many commercial units have a dedicated "off" or "clean" mode that drains the reservoir automatically before the machine fully powers down. If your unit doesn't have that function, let the current ice-making cycle finish, then switch the machine off and unplug it from the wall.
Never pour descaler into a machine that still has water sitting in the reservoir, since dilution reduces effectiveness and can leave uneven mineral removal across the water circuit.
Once the unit is off, open the drain plug or valve at the base of the reservoir and let the water empty completely into a bucket or sink. On portable countertop models, you can usually tilt the unit gently to speed up drainage. Commercial units often have a drain hose that connects to a floor drain. Disconnect it if needed and verify the reservoir is fully empty before moving on.
Remove, clean, and inspect removable components
With the machine drained and unplugged, take out every component your manual identifies as removable. On most units this includes the ice bin, water filter, drip tray, and splash guard. Set these aside and wash them individually using warm water and a soft-bristle brush. Do not use abrasive pads, since scratched surfaces trap bacteria and scale more easily.
Inspect each part as you clean it. Look for cracks in plastic trays, worn gaskets around the water inlet, or visible corrosion on metal brackets. Catching a cracked tray now costs nothing. Catching it after you've reassembled the machine and restarted a full cycle costs you time and a service call. Once every removable part is clean and inspected, set them on a dry cloth and move on to the core of how to descale an ice machine: treating the evaporator and internal water circuit.
Step 4. Descale the machine without damaging parts
This is the core of how to descale an ice machine, and the step where most mistakes happen. Applying descaler at the wrong concentration or leaving it in contact too long can strip protective coatings from evaporator plates and degrade plastic components. Follow the dilution instructions on your specific product label and resist the temptation to use a stronger mix thinking it will work faster.
Mix the solution at the correct concentration
Your descaler label will specify a dilution ratio, typically expressed as ounces of product per gallon of water. Measure precisely rather than estimating by eye. Too weak and the solution won't fully dissolve mineral deposits. Too strong and you risk damaging internal surfaces, particularly on machines with aluminum evaporator plates or copper fittings.
Use the reference below as a general guide, but always defer to your product's label since formulations vary:
| Scale Severity | Typical Dilution | Contact Time |
|---|---|---|
| Light (early-stage deposits) | 1:10 (product to water) | 20-30 minutes |
| Moderate (visible white buildup) | 1:5 (product to water) | 30-45 minutes |
| Heavy (thick or discolored deposits) | 1:3 (product to water) | 45-60 minutes |
Run the descaling cycle and let it work
Once your solution is mixed, pour it into the water reservoir up to the fill line your manual specifies. Switch the machine to its clean or wash mode if that function exists. On units without a dedicated clean cycle, restore power and let the machine run its normal water circulation cycle so the descaler moves through the internal water lines, pump, and distribution system.
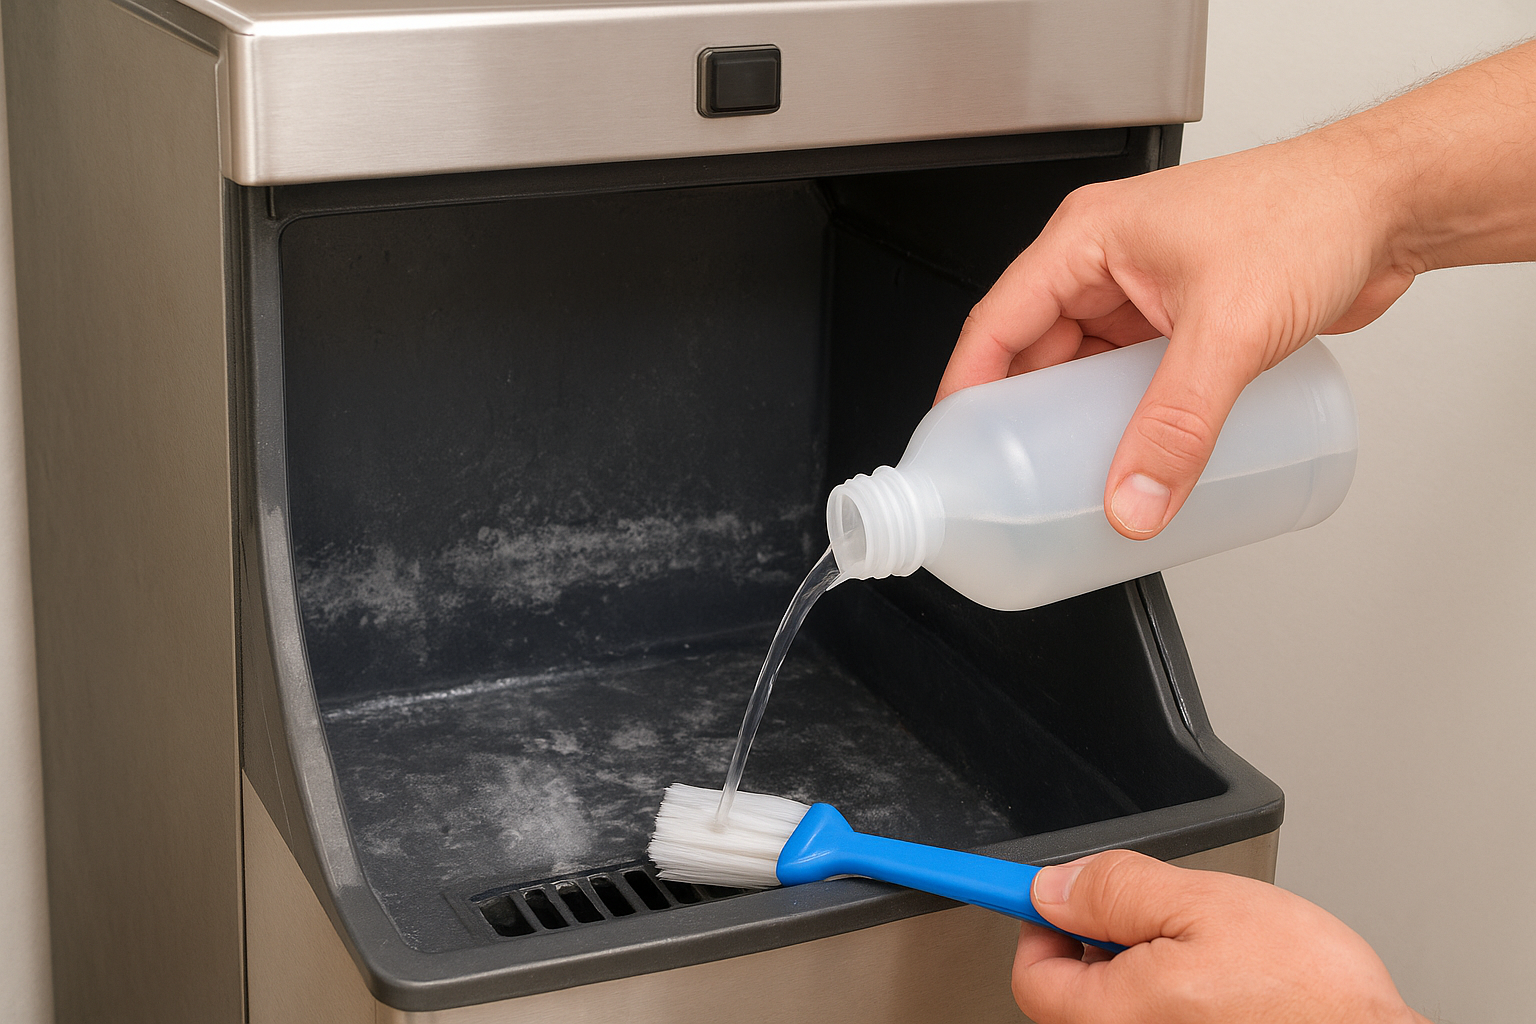
Do not let the descaler sit in a non-circulating machine for longer than the recommended contact time, since pooling solution concentrates on localized surfaces and can cause uneven etching.
While the cycle runs, use a soft-bristle brush dipped in your diluted descaler to scrub any visible deposits on accessible surfaces inside the bin area or around the water inlet. Apply light pressure and work in small sections. Avoid metal brushes or abrasive pads at all times, since scratches create microscopic channels where bacteria and new scale can anchor more easily than on a smooth surface.
Step 5. Rinse, sanitize, restart, and set a schedule
The descaling cycle is done, but your machine isn't ready to make ice yet. Residual descaler left in the water circuit will contaminate your ice, and skipping sanitation after scale removal leaves bacteria behind on surfaces that were just cleaned. This final step covers the two actions that make your work safe to use, plus a scheduling system that keeps you from starting this whole process from scratch again in six months.
Flush the descaler with multiple rinse cycles
Drain the descaler solution completely through the reservoir drain, then refill the reservoir with fresh cold water to the fill line. Run a full circulation cycle to flush the water lines, pump, and distribution system. Drain completely and repeat this process at least two more times, or until no soapy residue or chemical odor remains in the drained water. Three full flush cycles is the standard minimum for most commercial descalers; some product labels call for four.
Shortcutting the rinse is the most common mistake in learning how to descale an ice machine, and it's the one your customers will notice first if you skip it.
On commercial units with a dedicated clean mode, the machine typically runs rinse cycles automatically after you switch it from "clean" to "rinse" on the control panel. Check your owner's manual for the exact button sequence since it varies by brand and model.
Sanitize before the first ice cycle
Once the unit is fully rinsed, mix a food-safe sanitizer according to its label and pour it into the reservoir. Run one full circulation cycle, then drain without rinsing again. Sanitizer residue at the correct concentration is safe for ice contact, and rinsing after sanitizing defeats the purpose of the step entirely. Allow the interior to air dry for five minutes before reassembling your removable parts and closing the unit.
Set a maintenance schedule you'll actually follow
A schedule written down gets followed. Use the table below to build yours based on the water hardness data you gathered in Step 1, and post it near the machine so whoever handles cleaning next has no excuse to guess.
| Task | Frequency | Notes |
|---|---|---|
| Full descale cycle | Based on water hardness (see Step 1) | Adjust if ice quality drops sooner |
| Sanitize | Every descale cycle | Never skip after descaling |
| Filter replacement | Per manufacturer recommendation | Check monthly in hard water areas |
| Visual inspection | Monthly | Look for early scale or discoloration |
Stick the schedule directly on the machine using a laminated card or waterproof label so it stays visible even in humid kitchen or facility environments.
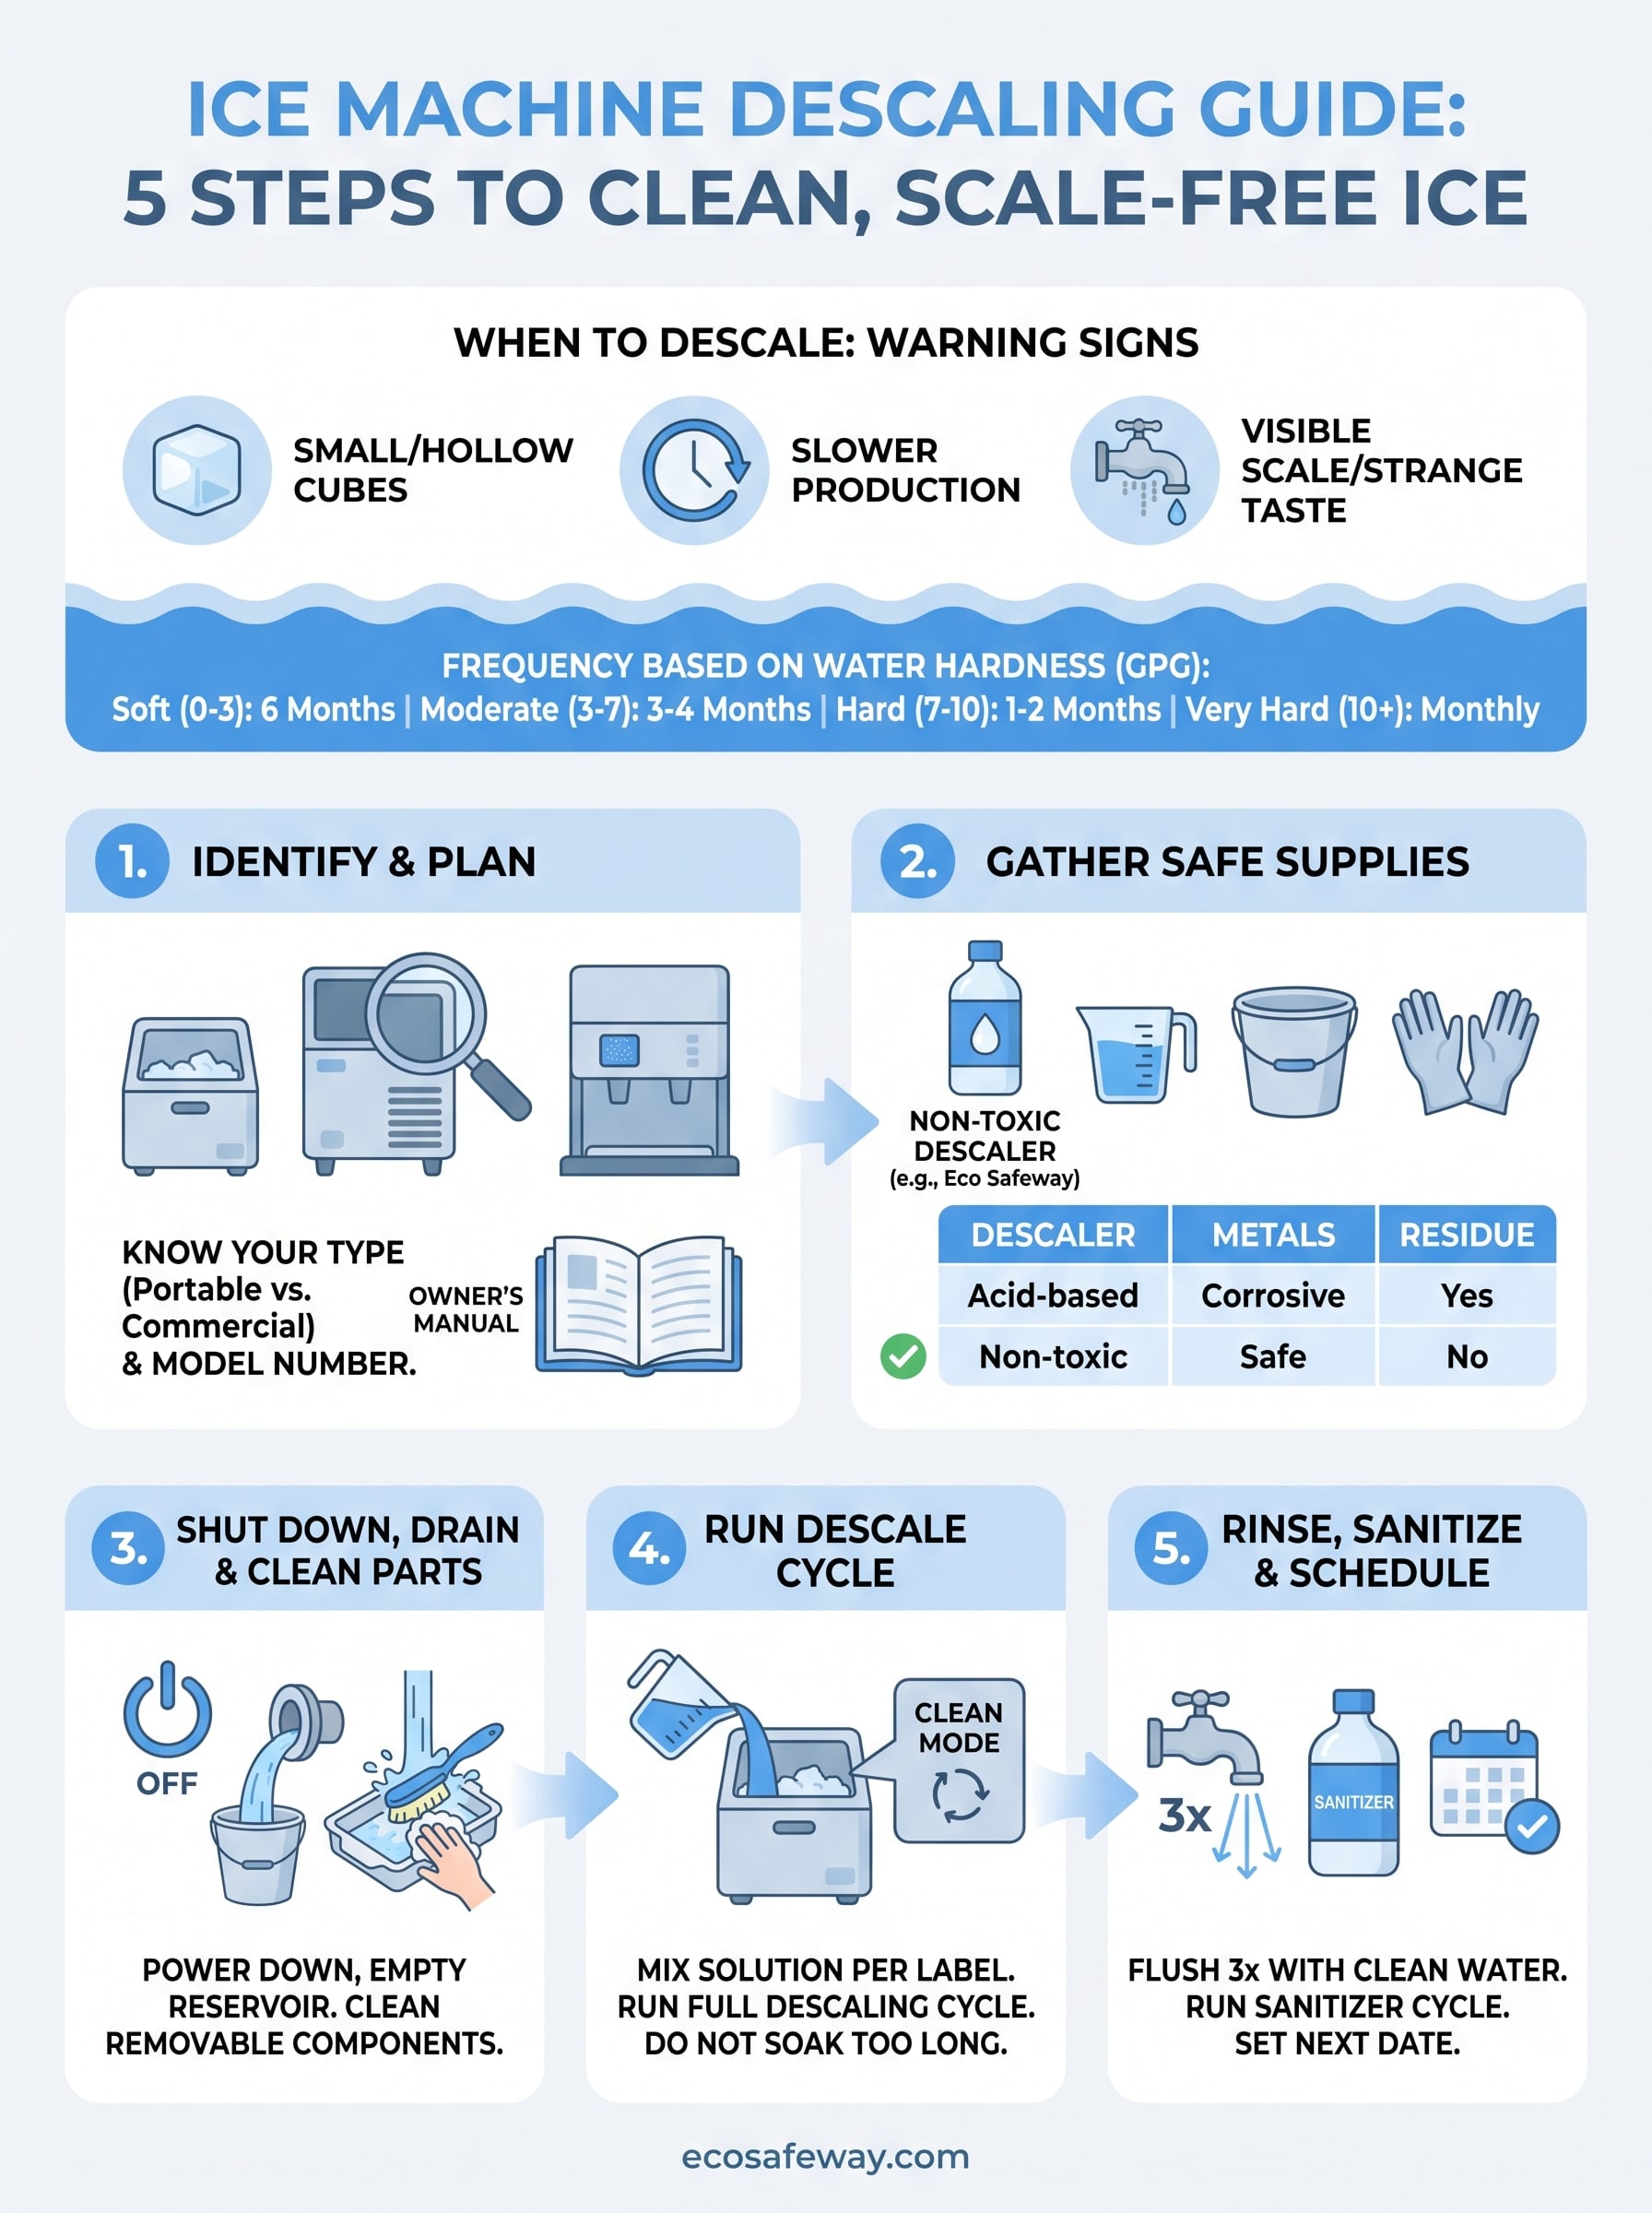
You Are Ready to Make Ice Again
You now have everything you need to know about how to descale an ice machine from start to finish. Follow the steps in order, match your descaling frequency to your water hardness, and treat rinsing and sanitizing as non-negotiable parts of the process rather than optional finishing touches. A clean machine runs more efficiently, produces better-tasting ice, and lasts significantly longer than one where scale buildup goes unchecked.
Choosing the right descaler is what separates a clean result from a damaged one. Eco Safeway's food-safe ice machine cleaner and descaler carries an HMIS 0-0-0 safety rating, removes scale without corroding evaporator plates, and requires no hazmat handling or specialized protective equipment. It works across countertop, under counter, and commercial units, making it a practical choice whether you're maintaining a single office machine or an entire hospitality operation.
Additional Resources:
How to Descale an Ice Machine: Complete Commercial Cleaning Guide (2026)
A clean ice machine produces safer, clearer ice, operates more efficiently, and lasts longer. Over time, hard water minerals such as calcium and lime accumulate on evaporator plates, water lines, pumps, and distribution components. Left untreated, this scale reduces ice production, increases energy consumption, shortens equipment life, and can lead to costly service calls.
Whether you operate a restaurant, hotel, healthcare facility, convenience store, bar, school, or commercial kitchen, routine descaling is an essential part of preventive maintenance.
Quick Answer: How Do You Descale an Ice Machine?
-
Turn off the ice machine.
-
Remove all ice from the storage bin.
-
Drain any remaining water.
-
Add a nickel-safe ice machine descaler according to the manufacturer's instructions.
-
Run the cleaning cycle or circulate the descaling solution.
-
Allow the cleaner to dissolve mineral deposits.
-
Drain and thoroughly rinse the system with clean water.
-
Sanitize the machine if recommended by the manufacturer.
-
Restart the machine and discard the first batch of ice.
Why Descaling Is Important
Mineral deposits build up every time water passes through an ice machine. As scale accumulates, it can:
-
Reduce ice production
-
Increase electrical consumption
-
Slow freezing cycles
-
Restrict water flow
-
Damage pumps and valves
-
Reduce heat transfer
-
Cause premature equipment failure
-
Increase maintenance costs
Routine descaling helps restore peak performance while extending the life of your investment.
Signs Your Ice Machine Needs Descaling
Your machine may require cleaning if you notice:
-
White or chalky buildup
-
Reduced ice production
-
Smaller ice cubes
-
Cloudy or soft ice
-
Longer freeze cycles
-
Increased energy bills
-
Water flow restrictions
-
Service error codes
-
Visible scale on evaporator plates
If any of these symptoms appear, it's time to descale.
What Causes Scale Buildup?
Hard water contains dissolved minerals that remain behind as water evaporates.
Common deposits include:
-
Calcium carbonate
-
Magnesium scale
-
Lime deposits
-
Silica deposits
-
Hard water minerals
-
Iron staining (in some water supplies)
These minerals gradually coat internal components, reducing efficiency.
How Often Should You Descale an Ice Machine?
The ideal cleaning schedule depends on your water quality.
| Water Hardness | Recommended Descaling |
|---|---|
| Soft Water | Every 6 months |
| Moderate Hardness | Every 3–4 months |
| Hard Water | Every 2–3 months |
| Very Hard Water | Monthly or as needed |
Restaurants with heavy ice demand may require more frequent maintenance.
Why Use a Nickel-Safe Ice Machine Cleaner?
Many commercial ice machines contain nickel-plated evaporators and mixed-metal components.
A nickel-safe descaler helps:
-
Protect nickel plating
-
Clean aluminum safely
-
Preserve copper components
-
Maintain stainless steel finishes
-
Remove mineral scale effectively
-
Reduce corrosion risks associated with aggressive acid cleaners
Using the wrong cleaner may damage sensitive internal components or void manufacturer warranties.
Step-by-Step Ice Machine Descaling Process
Step 1 – Shut Down the Machine
Turn off the machine and disconnect power if recommended by the manufacturer.
Step 2 – Empty the Ice Bin
Discard all existing ice before beginning maintenance.
Step 3 – Drain the Water System
Remove standing water from reservoirs and troughs.
Step 4 – Add Descaling Solution
Mix the cleaner according to product directions and manufacturer recommendations.
Step 5 – Run the Cleaning Cycle
Allow the solution to circulate through pumps, tubing, water distribution systems, and evaporator plates.
Step 6 – Dissolve Mineral Deposits
Visible scale should gradually loosen and dissolve during circulation.
Step 7 – Flush Thoroughly
Drain the cleaning solution and rinse multiple times using fresh water.
Step 8 – Sanitize
If required, sanitize the food-contact surfaces before returning the machine to service.
Step 9 – Restart
Allow the machine to produce fresh ice and discard the first batch before normal use.
Ice Machine Brands
Most commercial ice machines benefit from regular descaling, including:
-
Manitowoc
-
Hoshizaki
-
Scotsman
-
Ice-O-Matic
-
Follett
-
Cornelius
Always follow the manufacturer's maintenance recommendations for your specific model.
Commercial Applications
Regular descaling is recommended for:
-
Restaurants
-
Hotels
-
Bars
-
Coffee shops
-
Hospitals
-
Schools
-
Universities
-
Convenience stores
-
Grocery stores
-
Food processing facilities
-
Corporate cafeterias
-
Healthcare kitchens
Troubleshooting
Ice Production Is Slow
Mineral deposits may be insulating the evaporator, reducing heat transfer.
Ice Appears Cloudy
Hard water minerals or incomplete rinsing may be affecting ice clarity.
White Residue Returns Quickly
Your facility may have hard water requiring more frequent maintenance or water treatment.
Machine Won't Restart
Verify all components are properly reassembled and follow manufacturer reset procedures.
Preventive Maintenance Tips
To maximize equipment life:
-
Inspect monthly
-
Clean the condenser regularly
-
Replace water filters on schedule
-
Monitor water hardness
-
Keep maintenance records
-
Perform routine sanitization
-
Descale before heavy buildup develops
Preventive maintenance is significantly less expensive than emergency repairs.
Frequently Asked Questions
Can I use vinegar to descale an ice machine?
Vinegar may remove light mineral deposits but is generally less effective than a commercial nickel-safe descaler for heavy scale.
How long does descaling take?
Most commercial cleaning cycles take 30–60 minutes, plus rinsing and sanitizing time.
How often should restaurants descale their ice machines?
Many restaurants benefit from descaling every 2–4 months, depending on water hardness and usage.
Why is nickel-safe cleaner important?
Many commercial evaporator plates contain nickel plating that can be damaged by inappropriate cleaning chemicals.
Should I sanitize after descaling?
Yes. Descaling removes mineral deposits, while sanitizing helps address biological contaminants. Many manufacturers recommend performing both procedures.
Can hard water damage an ice machine?
Yes. Hard water can reduce efficiency, increase energy use, and shorten component life if mineral deposits are allowed to accumulate.
Keep Your Ice Machine Operating at Peak Performance
Routine descaling improves ice quality, restores efficiency, reduces operating costs, and extends the service life of commercial ice machines. Incorporating scheduled maintenance into your facility's preventive maintenance program helps reduce downtime and keeps equipment operating reliably year-round.
For best results, use a professional nickel-safe, non-corrosive descaling solution designed specifically for commercial ice machines and follow both the cleaner's instructions and your equipment manufacturer's maintenance recommendations.
This version is structured for readability, featured snippets, and long-tail SEO while remaining easy to paste into your CMS. Adding original before-and-after photos, step-by-step images, and internal links to your related Eco Safeway product and maintenance pages will further strengthen its search performance.


