





Rust-colored coolant, a radiator that runs hotter than it should, or a check-engine light tied to overheating all point to the same fix: a proper flush. A good cooling system cleaner clears out scale, rust, and old coolant sludge before you add fresh fluid, and skipping this step is why so many radiator flushes fail to solve the overheating problem for long.
If you're here to actually fix the issue, you need two things: a cleaner that dissolves mineral deposits without eating away at aluminum, rubber hoses, or gaskets, and a step-by-step flush process that gets every bit of old coolant and buildup out of the block, radiator, and heater core. Skip either one and you're just topping off dirty fluid with clean fluid, which buys you a few weeks at best.
We formulate non-corrosive descalers for marine and industrial cooling systems, so we know firsthand how mineral scale builds up inside metal passages and what it actually takes to remove it without damaging the equipment. This guide walks through choosing a safe, effective cleaner and running a complete flush on your vehicle's cooling system, start to finish, so you're not troubleshooting the same overheating issue again next month.
Why your cooling system needs a proper flush
What builds up inside your radiator
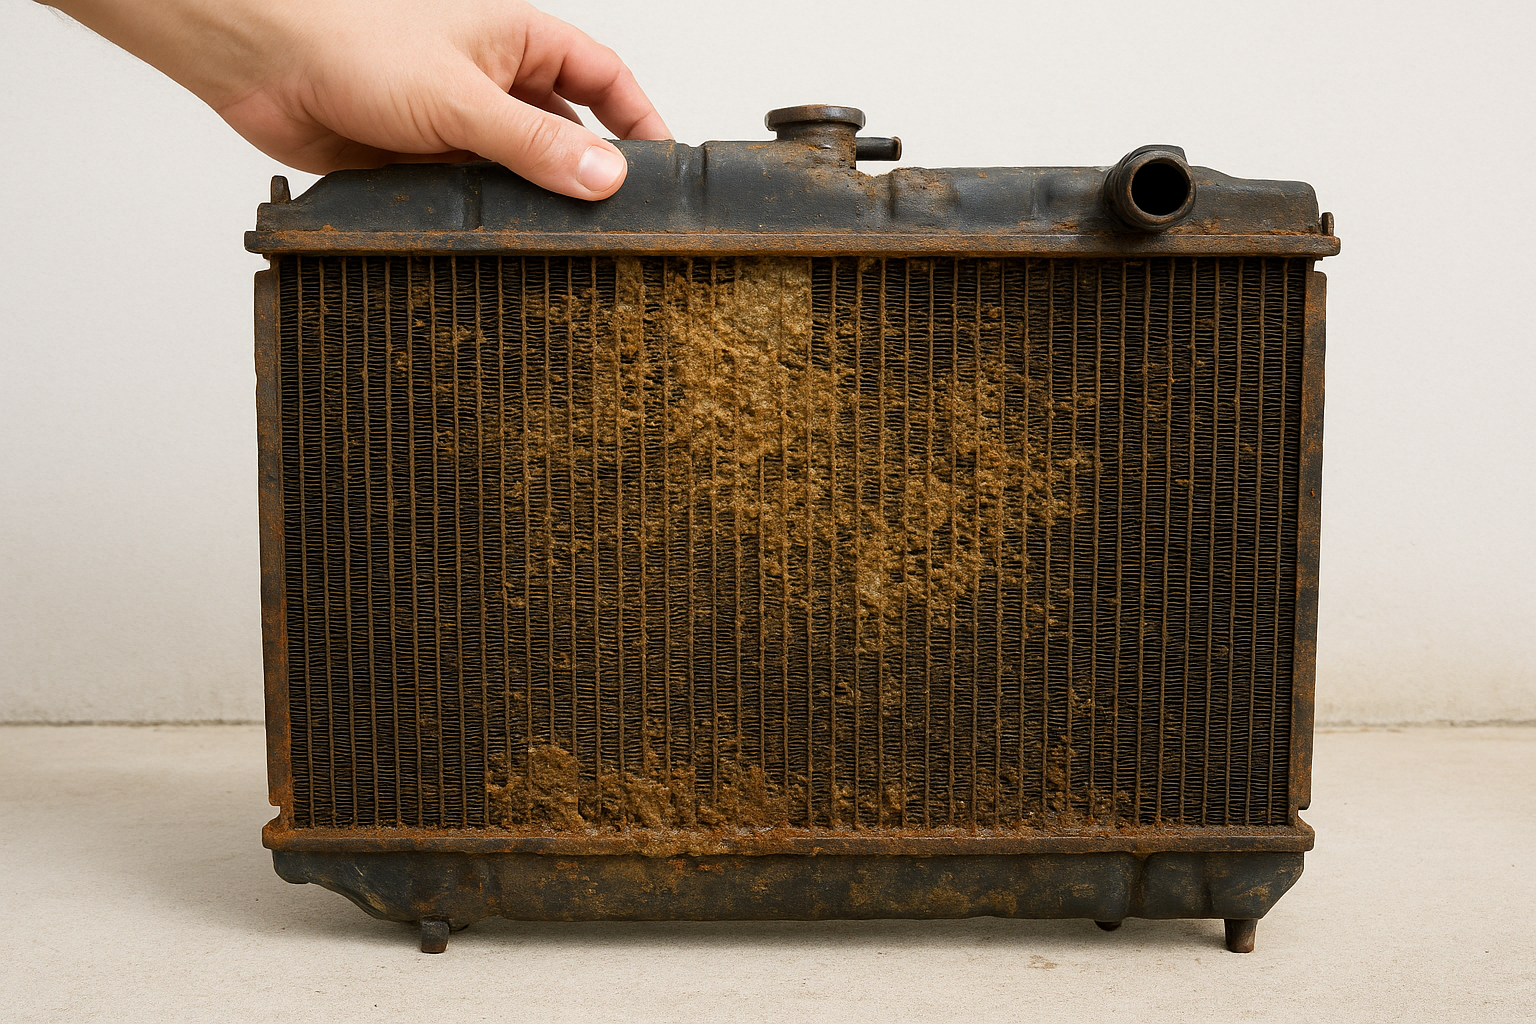
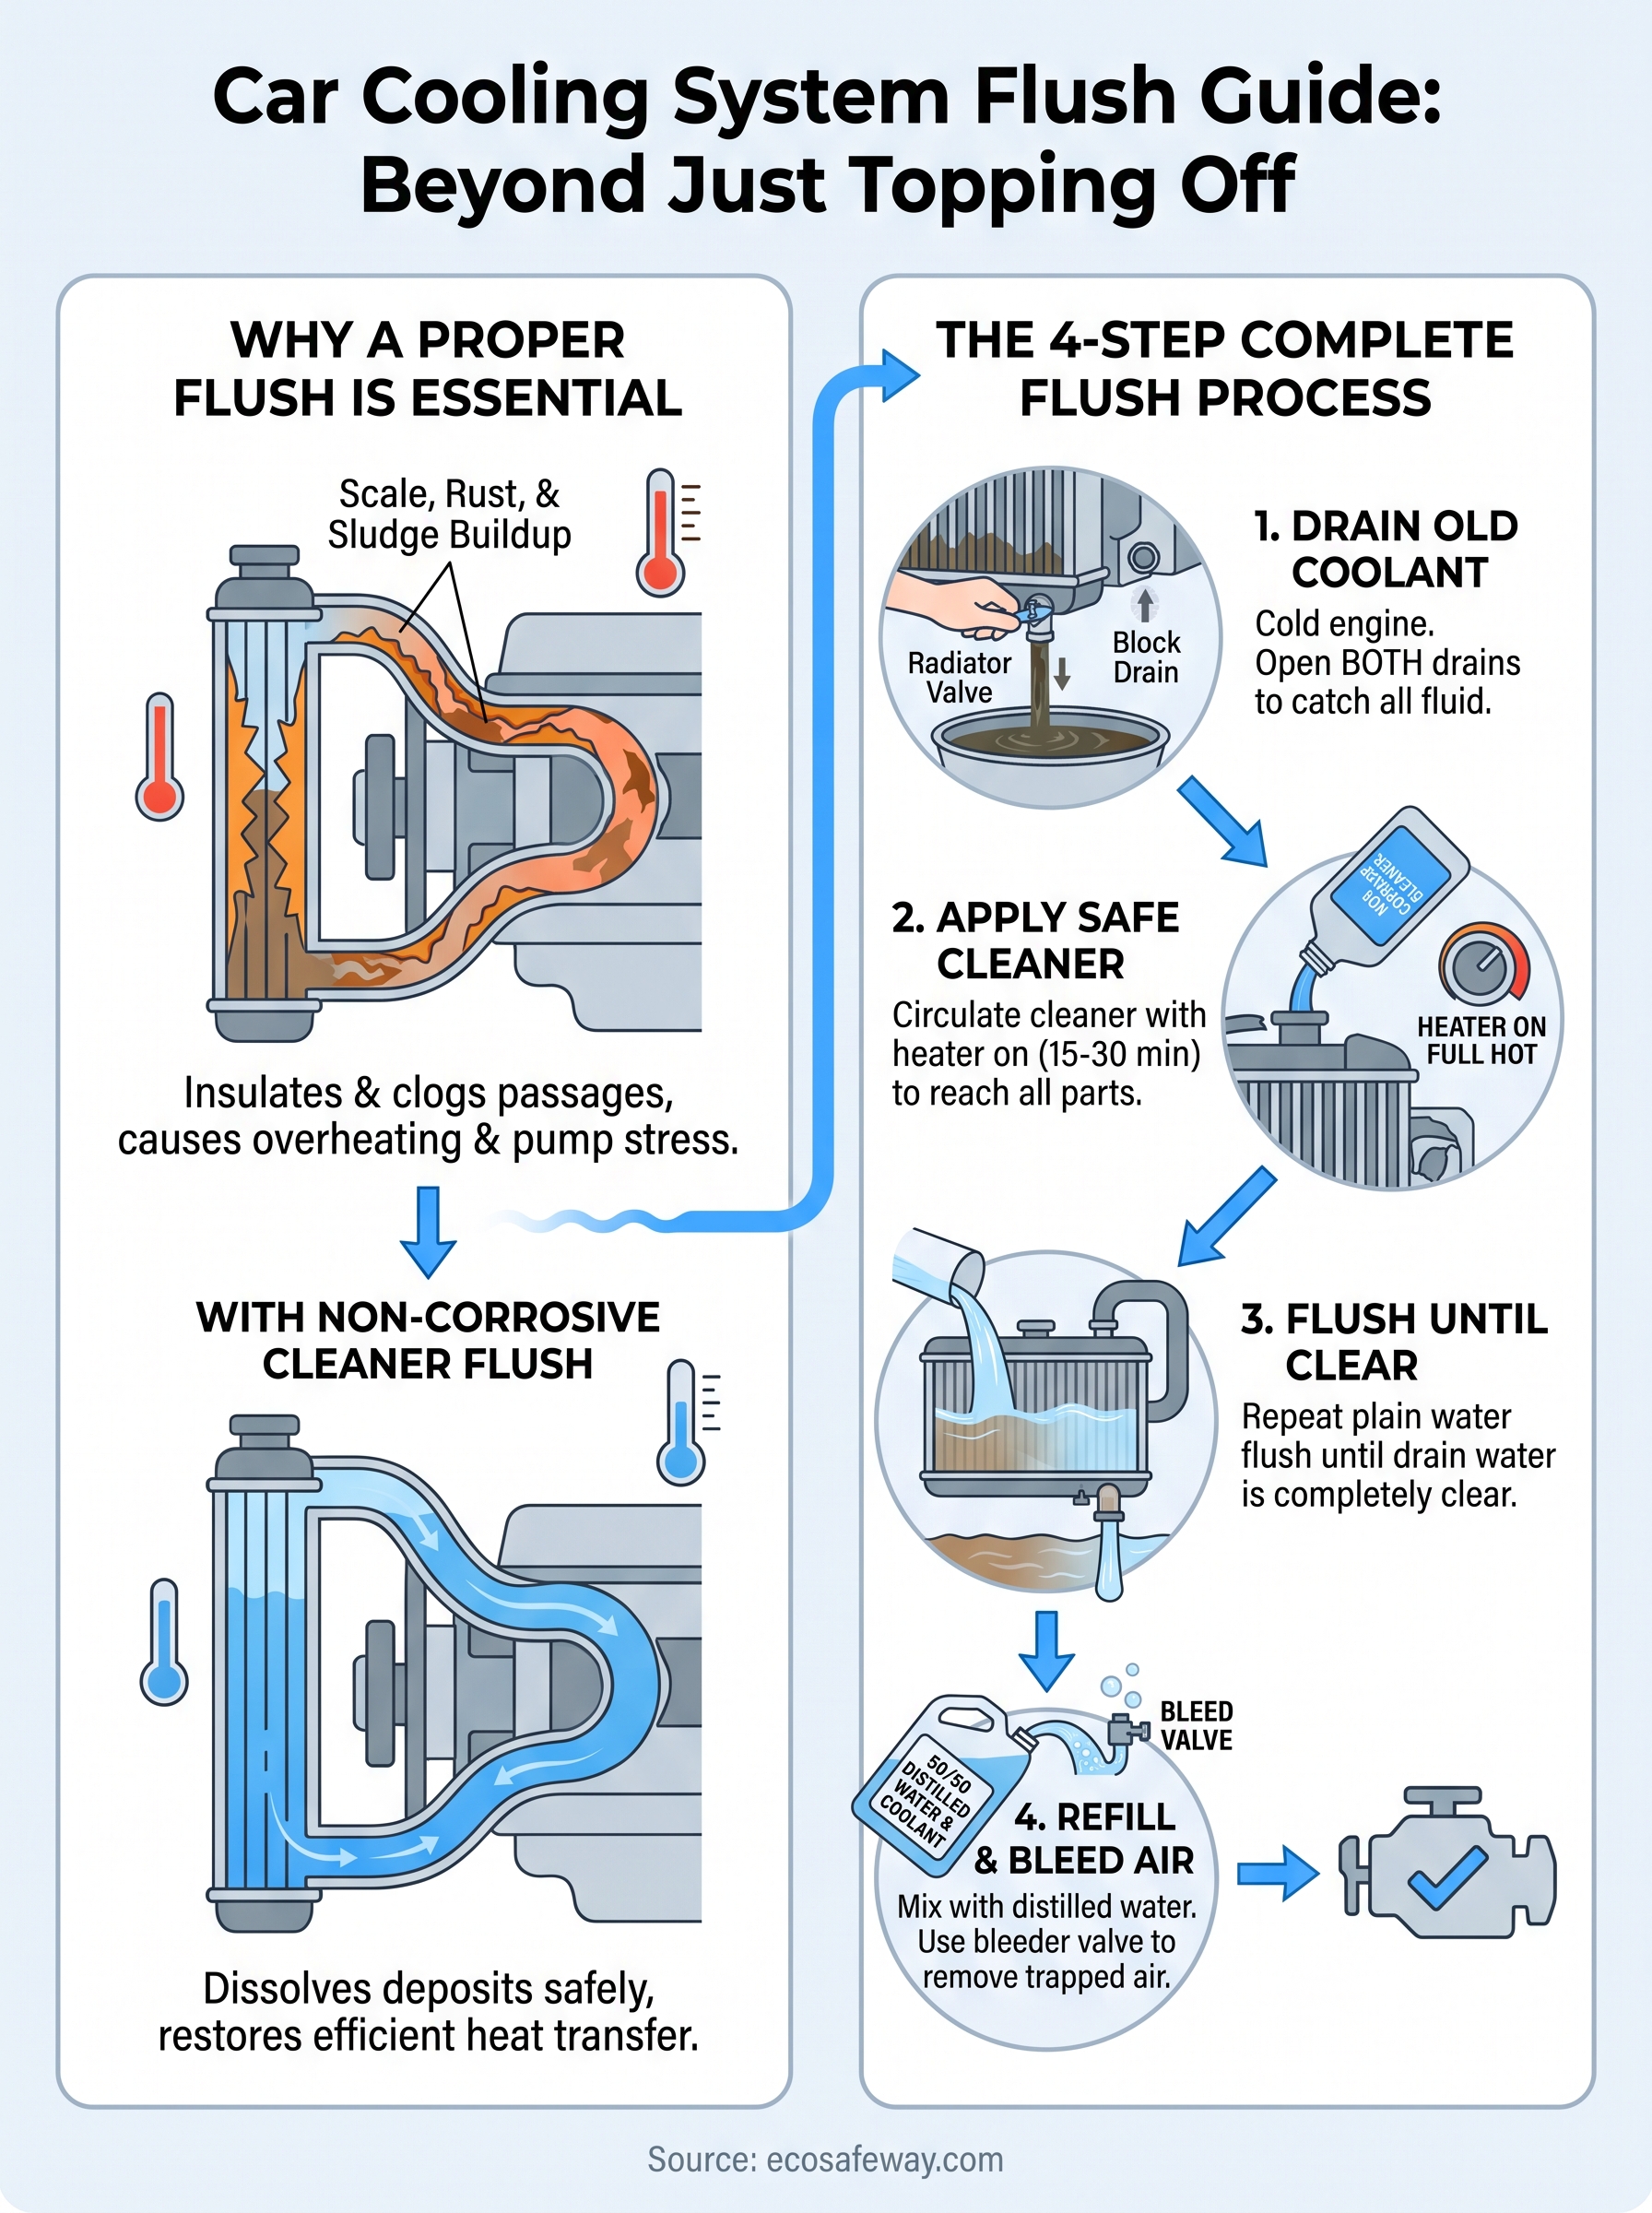
Every mile you drive, your engine's coolant absorbs heat, minerals, and metal particles as it circulates through the block, radiator, and heater core. Over time, mineral scale from hard water deposits builds a thin insulating layer on metal surfaces, while electrolysis corrosion eats away at aluminum components from the inside out. Old coolant also breaks down chemically, leaving behind a sludge that traps rust flakes and clogs narrow passages you can't see or reach with a garden hose.
What happens if you skip the flush
Scale and sludge don't just sit quietly, they actively work against your engine's ability to shed heat. A radiator caked with buildup and corrosion transfers heat far less efficiently than a clean one, forcing your engine to run hotter under normal driving conditions and pushing your water pump and thermostat harder than they're designed for.
A cooling system that looks fine from the outside can still be failing on the inside, one clogged passage at a time.
Left unaddressed, this cycle means a coolant system flush is already overdue, and eventually you'll see symptoms you can't ignore: overheating on hills, a heater that blows lukewarm air, or a full flush becoming necessary years earlier than it should. That's the case for treating a flush as routine maintenance, not an emergency repair, and why the cleaning step matters just as much as the coolant you put back in afterward.
Step 1. Drain the old coolant
Start cold. Never open a radiator cap on a hot engine, the pressurized coolant can cause serious burns. Once the engine has sat for at least an hour, locate the radiator drain valve (also called a petcock) at the bottom corner of the radiator, and place a large catch pan underneath, at least a two-gallon capacity, since a full system holds more fluid than most people expect.
Getting every drop out
Open the drain valve and remove the radiator cap to let air in, which speeds up the flow. Don't stop at the radiator alone. Most vehicles also have a block drain plug on the engine itself, and skipping it leaves old coolant sitting in the lowest passages where corrosion does the most damage.
A flush is only as good as the drain that comes before it, missed coolant means missed scale.
Before moving to the cleaner, run through this checklist:
- Radiator valve fully open and draining
- Block drain plug located and opened
- Catch pan positioned to collect all fluid
- Old coolant disposed of at a proper recycling center, never poured down a drain
Step 2. Apply the cooling system cleaner
Mixing and adding the cleaner
Close the radiator drain valve and block plug once the old coolant is fully out, then pour in a non-corrosive cooling system cleaner formulated for automotive radiators, following the dilution ratio on the label. Skip anything with hydrochloric or phosphoric acid, since those strip protective oxide layers off aluminum and shorten the life of your water pump seals. Top off the rest of the radiator with plain water until it reaches the fill line, then replace the cap.
Let it circulate
Start the engine and let it idle with the heater set to full hot, this opens the heater core circuit so the cleaner reaches every passage, not just the block and radiator. Run it for the time specified on the product label, usually 15 to 30 minutes, watching the temperature gauge the whole time.
A cleaner only works where coolant actually flows, so always run the heater during this step.
Turn the engine off and let it cool completely before you touch the drain valve again. This dwell time gives the cooling system cleaner a real chance to break down scale before you flush it out in the next step.
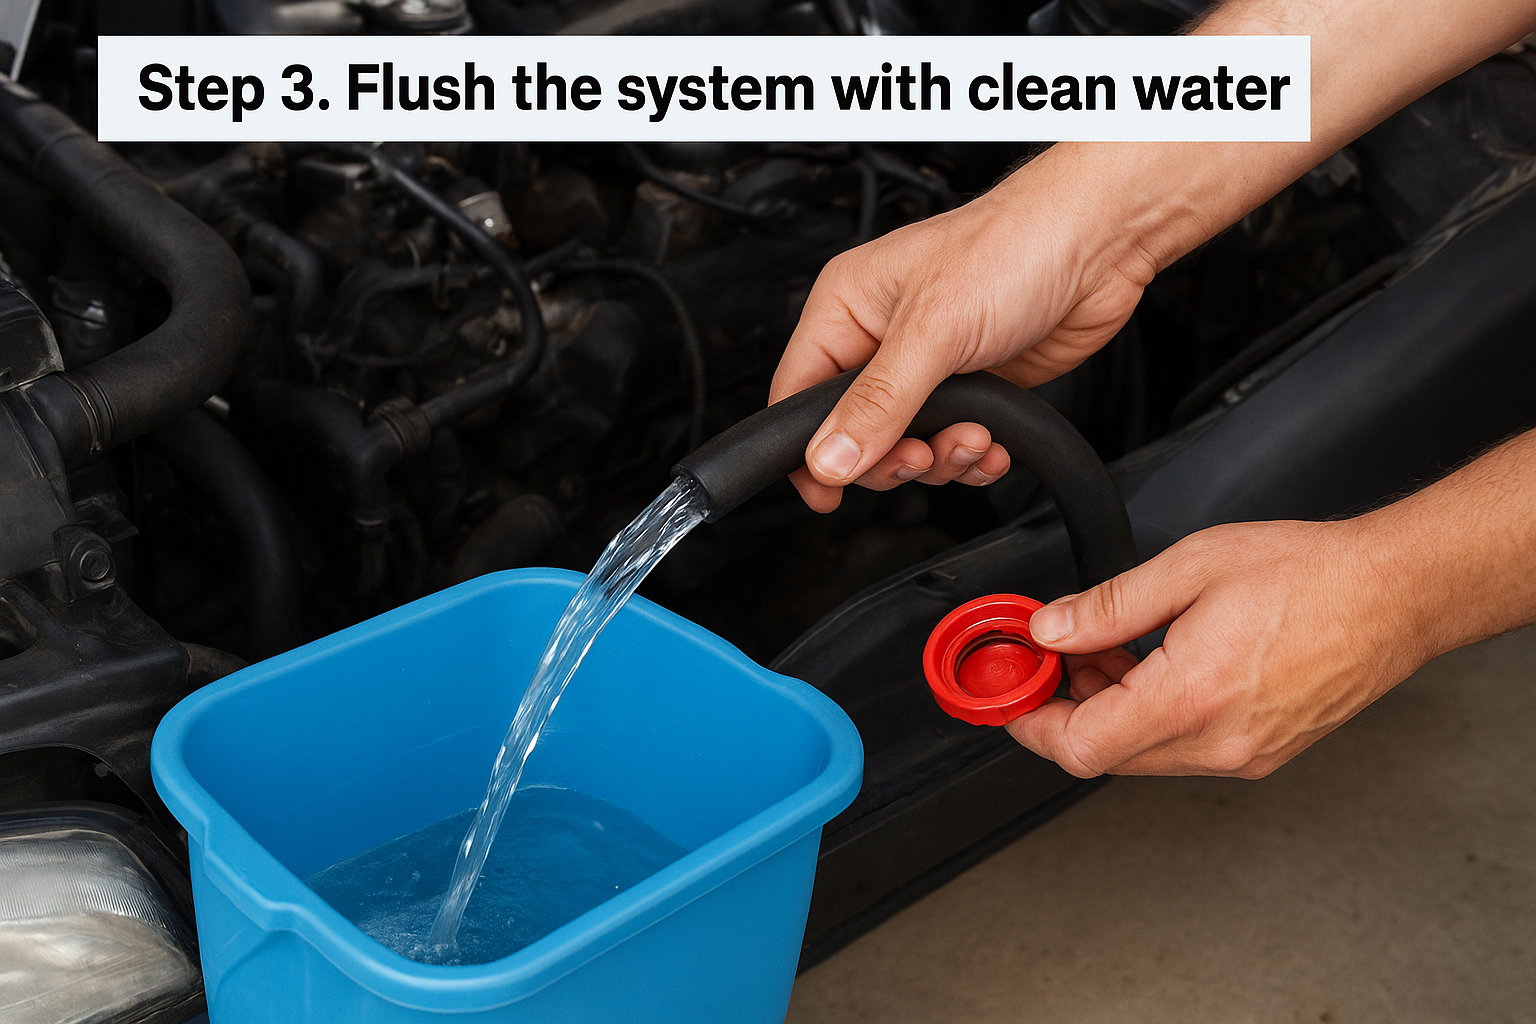
Step 3. Flush the system with clean water
Once the engine is cool, open the radiator drain valve and block plug again to release the cleaner along with the loosened scale it broke down. Expect the water to run cloudy or rust-colored at first, that's the buildup finally leaving the system instead of recirculating through your engine.
Repeat until it runs clear
Close both drains, fill the radiator completely with plain water, and run the engine with the heater on full hot for about 10 minutes, the same way you circulated the cleaner. Drain it again and check the color. Most systems need two to three rounds before the water runs clear.
Clear water out means clean passages inside, don't refill with coolant until you see it.
Use this checklist to confirm you're done flushing:
- Water drains clear, no rust tint or sediment
- No cleaner smell or residue in the runoff
- Radiator and block drains closed tight before refilling
Skipping this step leaves cleaner chemical mixed into your new coolant, which defeats the purpose of a proper radiator flush in the first place.
Step 4. Refill with fresh coolant
With both drains closed tight, mix your coolant concentrate with distilled water, never tap water, since minerals in tap water start the scaling process all over again. Check your owner's manual for the correct ratio, usually 50/50 for most climates, and pour the mixture in slowly to avoid trapping air pockets in the block.
Bleeding the air out
Air pockets in the cooling system cause hot spots and false temperature readings, so most vehicles have a bleeder valve near the thermostat housing or highest point of the system. Open it while filling until coolant flows out steadily with no bubbles, then close it and top off the radiator to the fill line.
A cooling system full of coolant but full of air will still overheat, so bleed it before you drive.
Start the engine, squeeze the upper radiator hose a few times to push out remaining air, and top off again as the level drops. Run the engine until the thermostat opens and the temperature gauge settles, then check the reservoir level once the vehicle has fully cooled and top off if needed.
Keeping your engine running cool
A clean cooling system runs cooler, lasts longer, and saves you from repeat trips to the shop chasing the same overheating problem. Draining the old coolant, applying a non-corrosive cleaner, flushing until the water runs clear, and refilling with a proper coolant mix isn't optional maintenance, it's the difference between a reliable cooling system and one that quietly scales up until it fails on the highway.
Marine engines face the same scale and corrosion problems, just with saltwater and raw water intakes instead of tap water. If you maintain a boat alongside your daily driver, don't let mineral buildup shorten your engine's life there either. Check out our raw water flush for boat engines to keep your marine cooling passages as clear as the ones you just flushed under the hood.


