





Cloudy ice, slow production, and a musty smell from the bin usually mean one thing: scale and biofilm are building up inside your machine. If you searched for a cleaner for ice machine maintenance, you're probably already dealing with one of those problems, or trying to stop it before it starts costing you service calls.
The right approach uses an ice machine cleaner and descaler that dissolves mineral scale and breaks down organic buildup without leaving behind acid residue or corroding food-contact surfaces. Harsh acid-based descalers can eat away at evaporator plates and rubber seals over time, which shortens the life of equipment that already costs thousands to replace. A non-toxic descaler does the same cleaning job without that risk, and without the gloves, goggles, and hazmat handling that come with stronger chemicals.
This guide walks through what actually causes scale and slime in ice machines, how to pick a safe industrial cleaner built for food-service equipment, and the exact cleaning and descaling steps to follow so your machine keeps producing clean, clear ice on schedule.
Why your ice machine needs regular cleaning and descaling
What causes scale and biofilm buildup
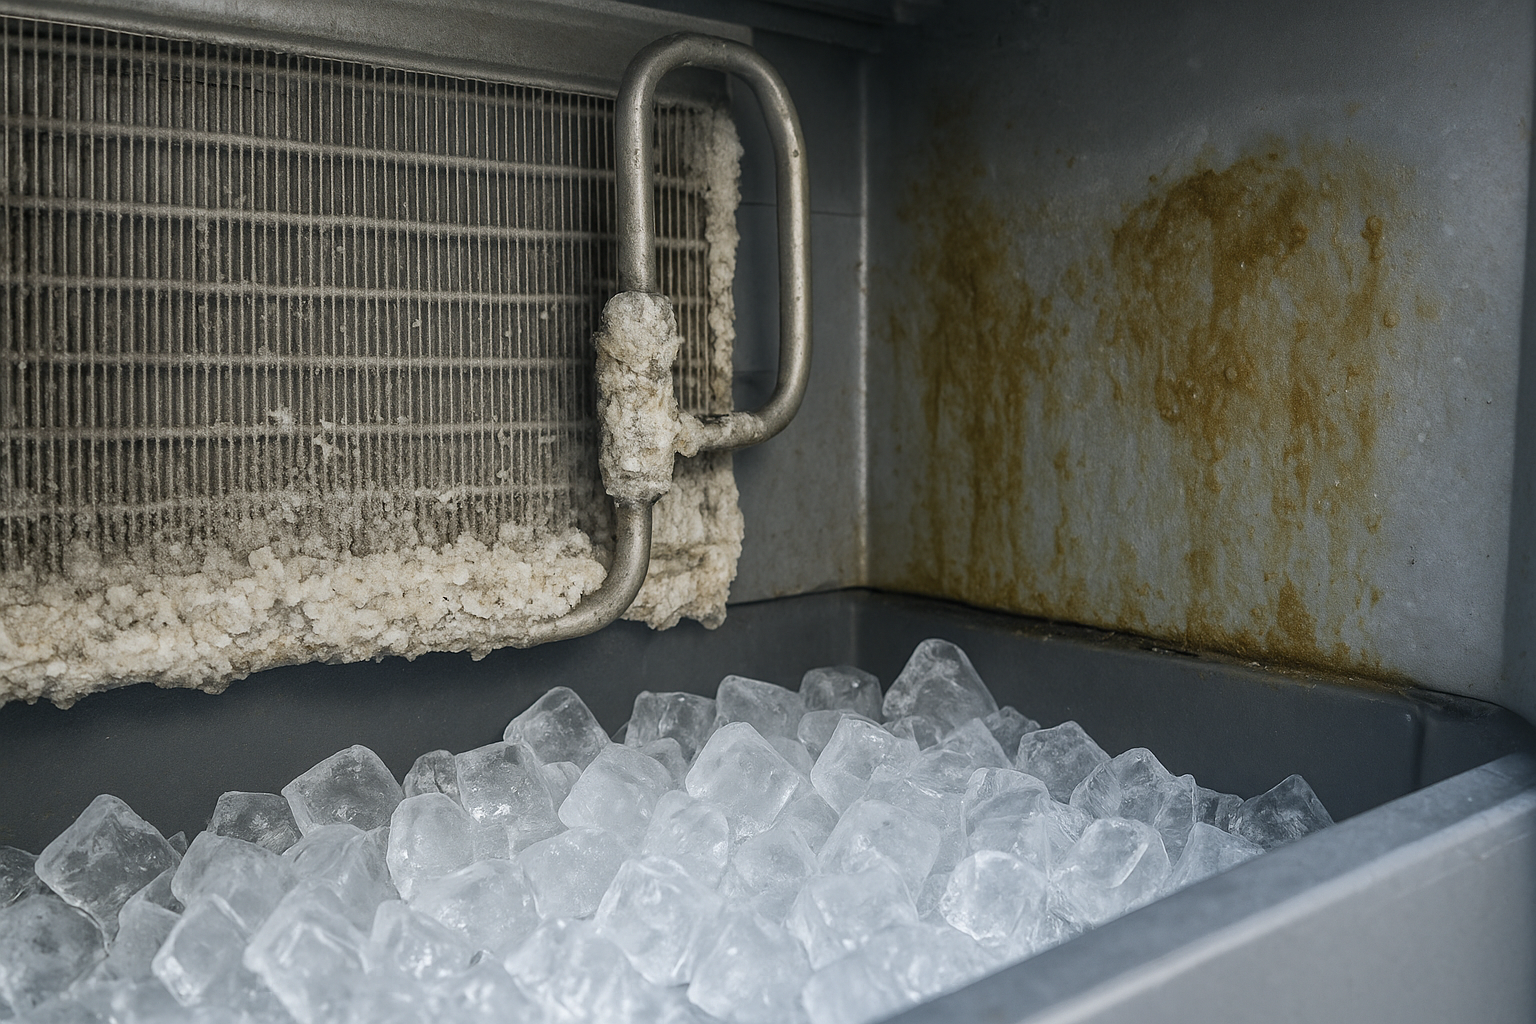
Water carries dissolved minerals like calcium and magnesium into every cycle your ice machine runs, and every time that water evaporates or freezes, those minerals get left behind as mineral scale. Over weeks and months, scale coats the evaporator plate, water lines, and spray nozzles, restricting flow and forcing the compressor to work harder to hit the same ice output. Meanwhile, the warm, damp interior of the machine is a perfect environment for biofilm growth, a slimy layer of bacteria, mold, and yeast that clings to plastic curtains, drip trays, and bin walls. Scale and biofilm often build up together, since mineral deposits give bacteria more surface area to colonize.
The real costs of skipping maintenance
Neglecting cleaning doesn't just mean slightly cloudier ice. It creates a chain of problems that hit your equipment, your utility bills, and potentially your customers' health.
- Reduced ice output: Scale-coated evaporator plates transfer heat poorly, so the machine runs longer to produce less ice.
- Higher energy use: A dirty condenser and restricted water flow force the compressor to work overtime, raising electricity costs.
- Contaminated ice: The CDC has documented outbreaks linked to bacteria and mold in commercial ice machines.
- Voided warranties: Most manufacturers require documented cleaning schedules to honor warranty claims.
- Shortened equipment life: Scale buildup accelerates wear on pumps, valves, and seals, pushing replacement years earlier than necessary.
An ice machine that isn't cleaned on schedule is quietly costing you money in energy, ice output, and equipment life long before it ever breaks down.
Regular cleaning with a proper cleaner for ice machine maintenance interrupts that cycle before scale hardens and biofilm spreads into places a simple wipe-down can't reach.
Step 1. Gather supplies and prepare the machine
Before you touch a single panel, shut down production and pull the plug on guesswork. Most cleaning failures happen because someone starts scrubbing before the machine is actually powered off or the ice bin is empty, which wastes cleaner and risks a shock hazard around water and electricity.
What you'll need
Gather everything first so you're not hunting for a scraper halfway through a descale cycle. A proper cleaner for ice machine maintenance should be paired with a few basic tools:
- A non-corrosive ice machine cleaner and descaler
- A soft-bristle brush (nylon, not metal)
- Clean microfiber cloths
- A food-safe sanitizer
- A bucket for warm water
- Nitrile gloves (optional with non-toxic formulas, but handy for grip)
Skipping supply prep is the fastest way to turn a 30-minute cleaning into an hour of stopping and starting.
Powering down and emptying the machine
Switch the machine off at the ice-making control, then unplug it from the wall outlet entirely. Empty the ice bin completely and discard the ice; even a small batch can carry residue from before you started. Remove the front and top panels according to your manufacturer's manual, exposing the evaporator, curtain, and water reservoir so you have full access for the descaling step ahead.
Step 2. Descale and clean the water system
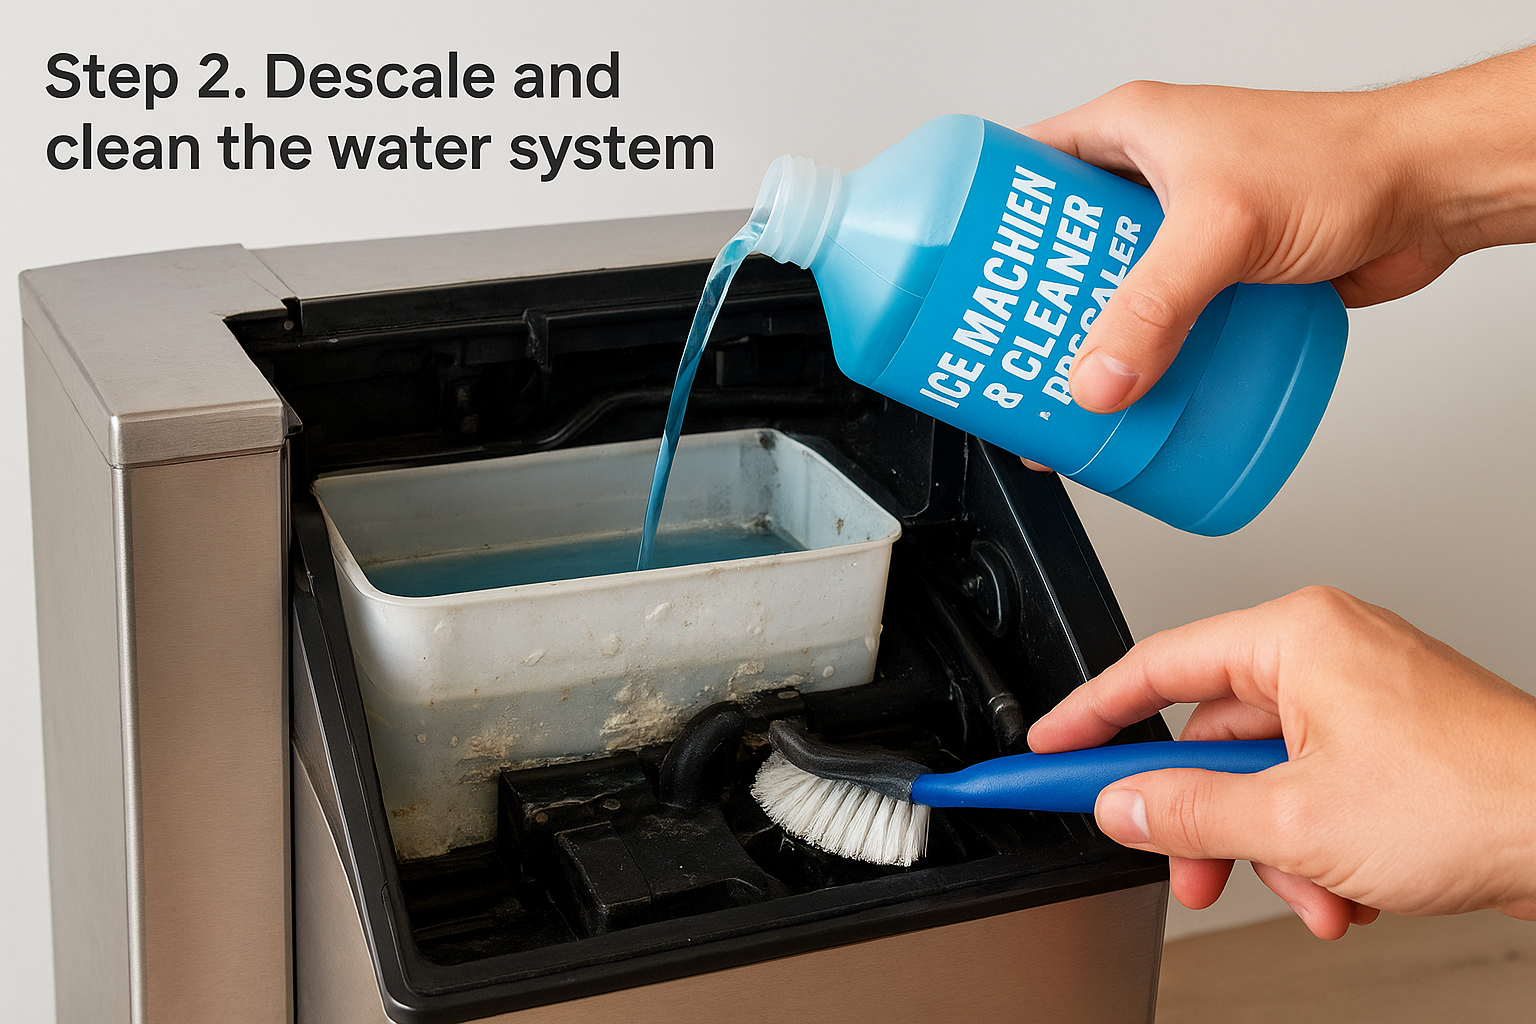
With the panels off and the reservoir exposed, it's time to put your ice machine cleaner and descaler to work on the parts water actually touches. Mix the descaler according to the label, usually diluted with warm water in your bucket, then pour it directly into the water reservoir or through the designated cleaning port on the machine.
Running the descaling cycle
Most commercial units have a wash or clean cycle button that circulates the solution through the water lines, pump, and spray nozzles without making ice. Run this cycle for the time listed on the product label, typically 10 to 20 minutes, so the solution has enough contact time to dissolve mineral scale coating the evaporator plate and lines.
A descaler only works if you give it enough contact time; rinsing too early leaves scale behind and wastes the whole cycle.
Hand-cleaning stubborn spots
While the cycle runs, use your soft-bristle brush on visible scale around the spray nozzles and evaporator edges that the solution alone won't lift. Focus on:
- Spray nozzle openings, where mineral crust restricts flow
- Evaporator plate edges and corners
- The water distribution tube
A non-toxic descaler makes this hands-on scrubbing safe without gloves, since there's no acid burn risk if solution splashes on skin during the process.
Step 3. Rinse, sanitize, and clean removable parts
Once the descaling cycle finishes, drain the reservoir completely and run at least two full water-only rinse cycles. This flushes out dissolved scale and any leftover descaler residue before it ever gets near food-contact ice. Skipping a thorough rinse is how cleaning chemical taste ends up in someone's drink.
Sanitizing the interior
Next, mix your food-safe sanitizer per the label and wipe down every interior surface the water touches: the evaporator plate, ice curtain, drip tray, and bin walls. Pay close attention to corners and seams where biofilm growth tends to hide, since bacteria colonize those tight spots faster than open surfaces. Let the sanitizer sit for the contact time listed on the bottle rather than wiping it off immediately; that dwell time is what actually kills bacteria and mold spores.
Sanitizing without proper contact time is just rinsing with extra steps, not real disinfection.
Cleaning removable components
While the sanitizer sits, pull every removable part and clean it separately in your bucket of warm water and cleaner:
- Ice curtain or door
- Water distribution tube
- Drip tray and grate
- Bin liner (if removable)
Rinse each part under running water, checking for any leftover slime or scale before setting it aside to air dry. Wet parts trap contaminants better than dry ones, so give everything a few minutes before reassembly.
Step 4. Reassemble and run a test cycle
Once every part is dry to the touch, put the machine back together in reverse order from how you took it apart. Rushing reassembly is where most people strip a screw or force a curtain into the wrong slot, so match each piece back to the spot you pulled it from and check your manufacturer's manual if anything feels off.
Putting the machine back together
Reinstall the water distribution tube first, then the ice curtain, drip tray, and grate, followed by the front and top panels. Confirm every panel seats flush and every screw is snug; a loose panel lets warm air into the cabinet and undoes some of the cooling efficiency you just restored with a proper cleaner for ice machine treatment.
Running the first cycle after cleaning
Plug the unit back in, power it on, and let it run one full ice-making cycle before using any ice it produces. Discard this first batch, since it can carry trace sanitizer or loosened mineral particles that rinsing missed.
Always throw away the first batch of ice after cleaning; it's the machine flushing out the last of what the cleaning process stirred loose.
Check ice clarity and machine sound once the cycle finishes. Cloudy cubes or a straining compressor noise means scale remains and the descaling step needs a repeat pass.
Building a regular cleaning routine
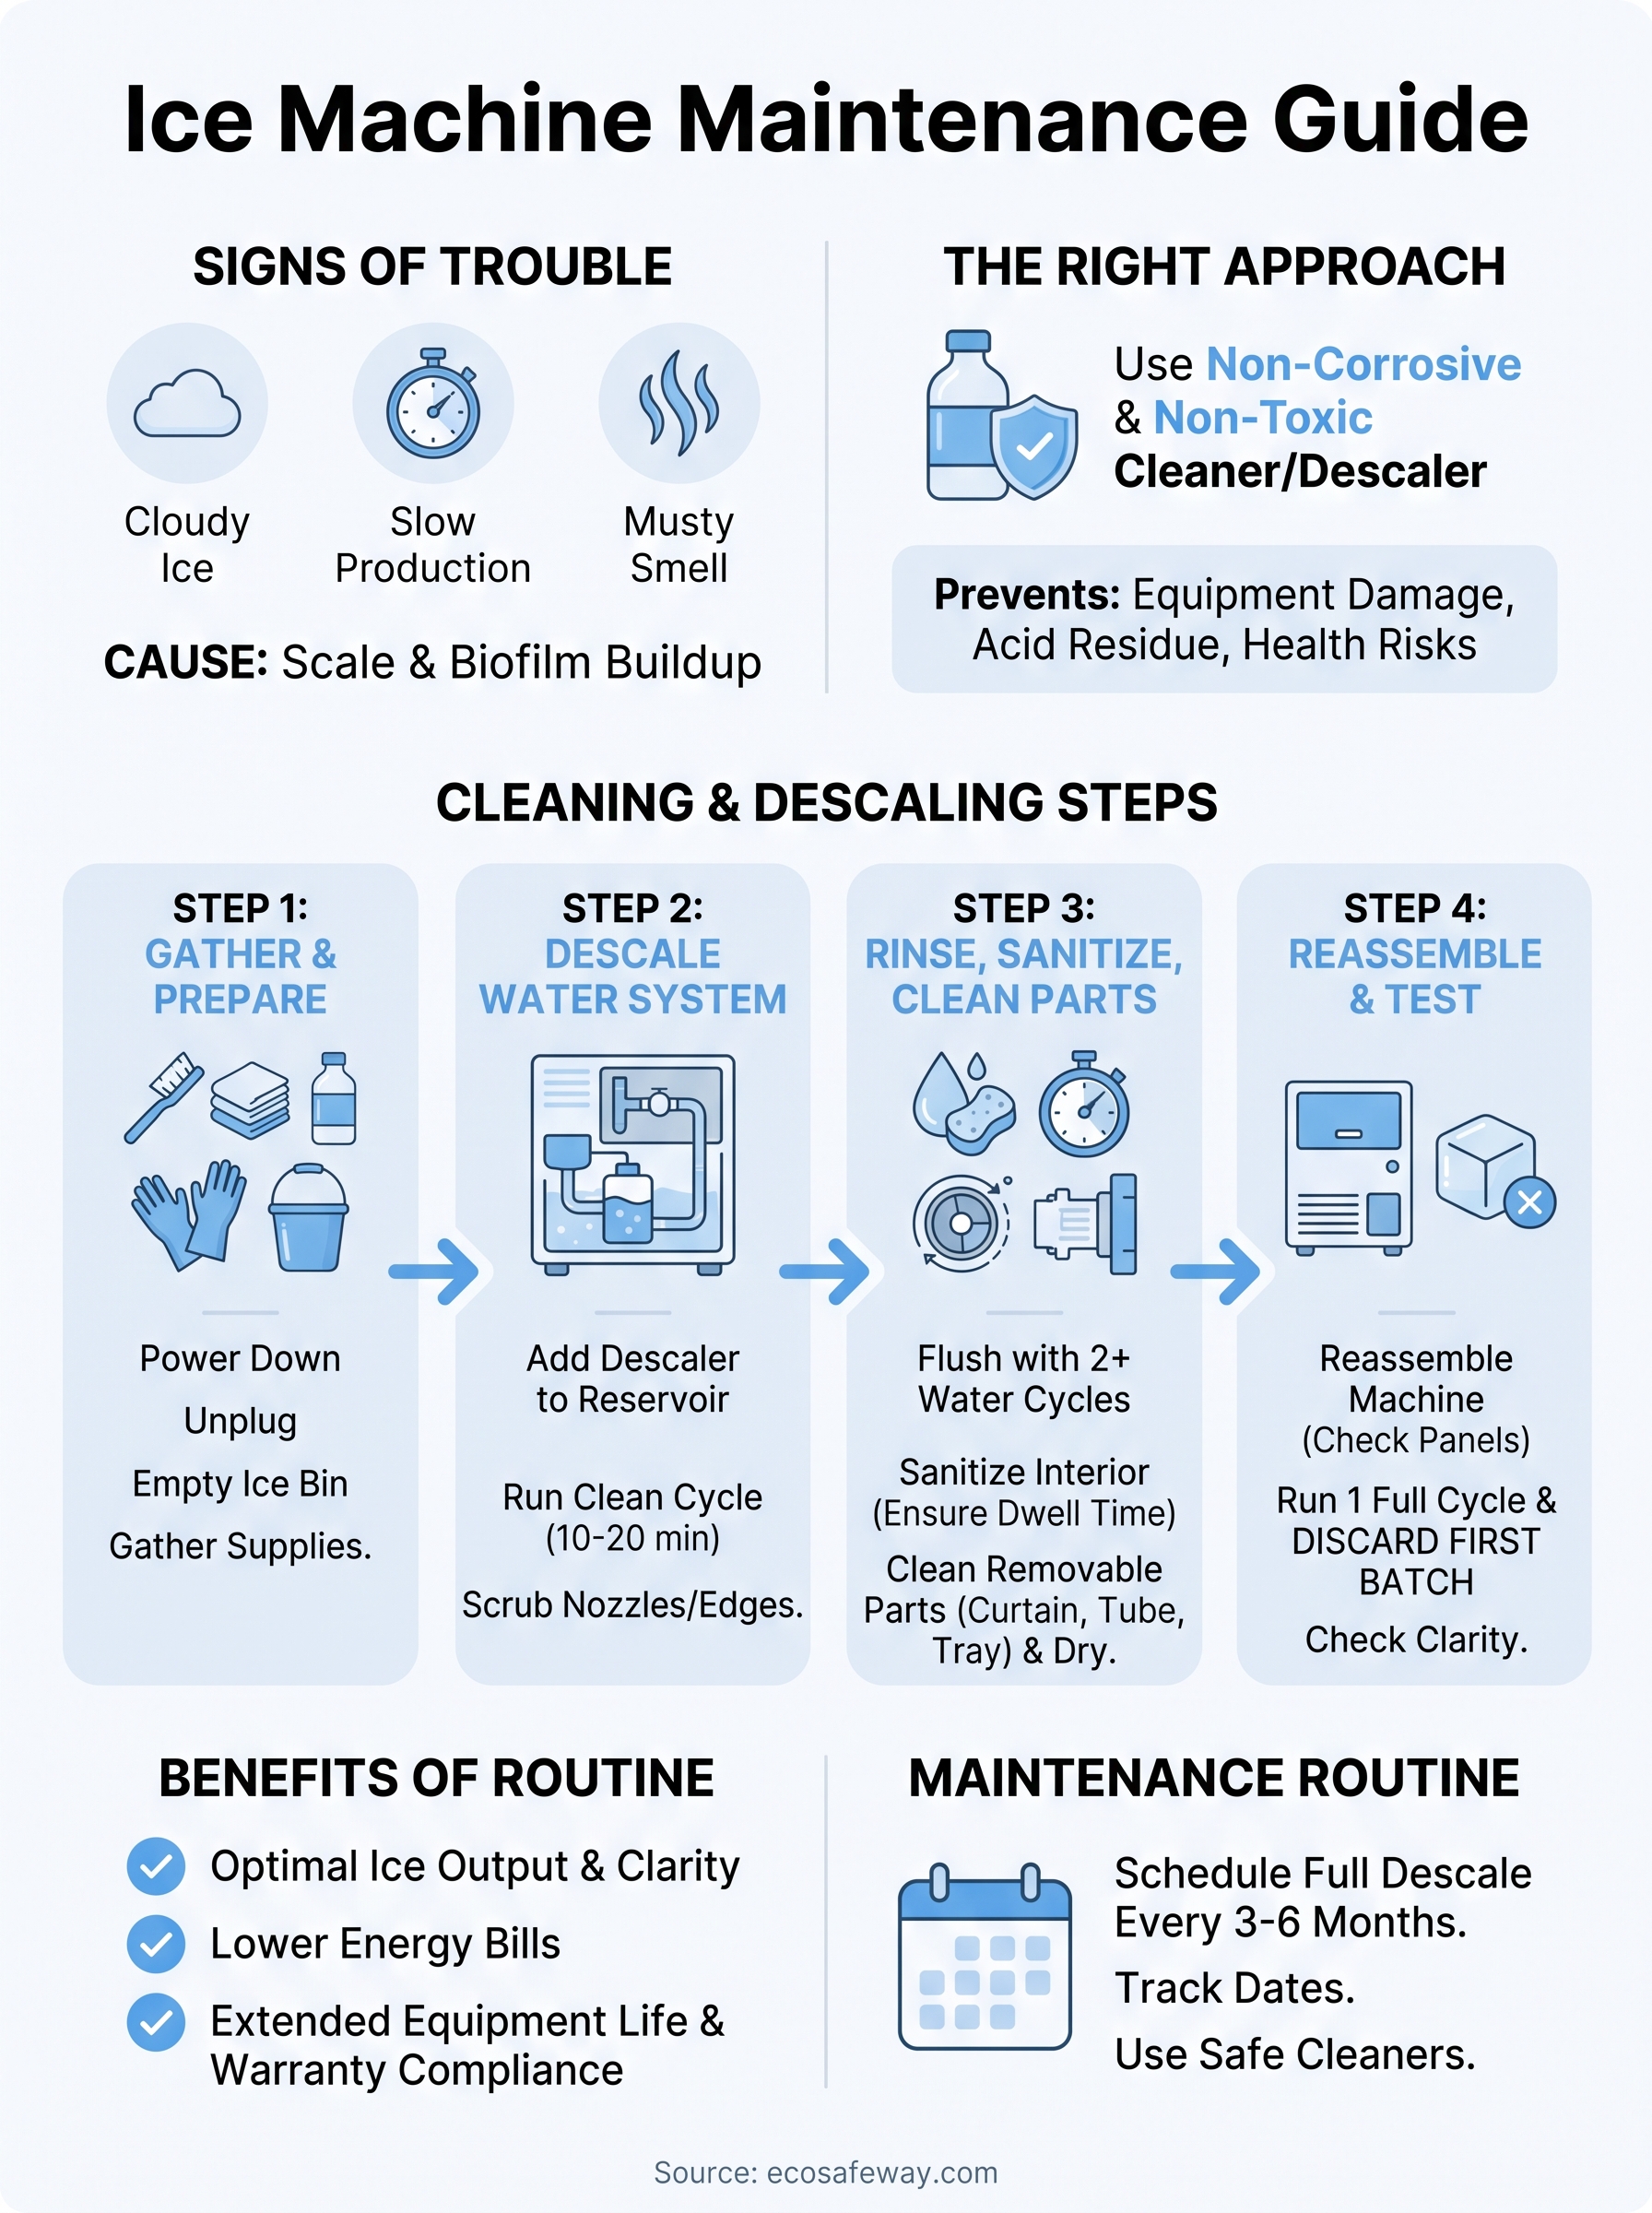
Most manufacturers recommend a full descale every 3 to 6 months, but that window shrinks fast if your water is hard or your machine runs constantly in a busy kitchen or bar. Set a cleaning schedule on your calendar rather than waiting for cloudy ice to remind you, since visible symptoms mean scale and biofilm are already established. Track each cleaning date and log it somewhere your team can see, both for your own maintenance records and because most warranty claims require proof you kept up with service.
Pairing that schedule with the right ice machine cleaner and descaler is what actually keeps the routine sustainable, since a non-toxic, non-corrosive formula means anyone on staff can run the cleaning without hazmat gear or special training. If you're ready to put a proper routine in place, check out Eco Safeway's ice machine cleaner and descaler built specifically for food-service equipment.


