





A chiller that runs hot, trips on high pressure, or short cycles is usually paying for skipped maintenance. Chiller maintenance doesn't need to be complicated, but it does need to be consistent, and most facility teams either overdo it with harsh chemical treatments or skip steps until something fails. Either way, you end up with higher energy bills, shortened equipment life, and emergency repair calls that could have been avoided.
This checklist gives you the five tasks that actually matter for keeping a commercial or industrial chiller running efficiently, in the order and frequency they should happen. You'll get a practical maintenance schedule you can hand to your team, not a vague list of generalities. We'll cover condenser and evaporator cleaning, refrigerant checks, water treatment, and the inspection points that catch problems before they shut down your system.
We'll also talk about where non-toxic descaling and coil cleaning products fit into a maintenance program, since the chemicals you choose affect both equipment longevity and how much hassle you deal with on the compliance and safety side. If you manage HVAC systems, cooling towers, or chiller plants, this is the reference to keep on hand.
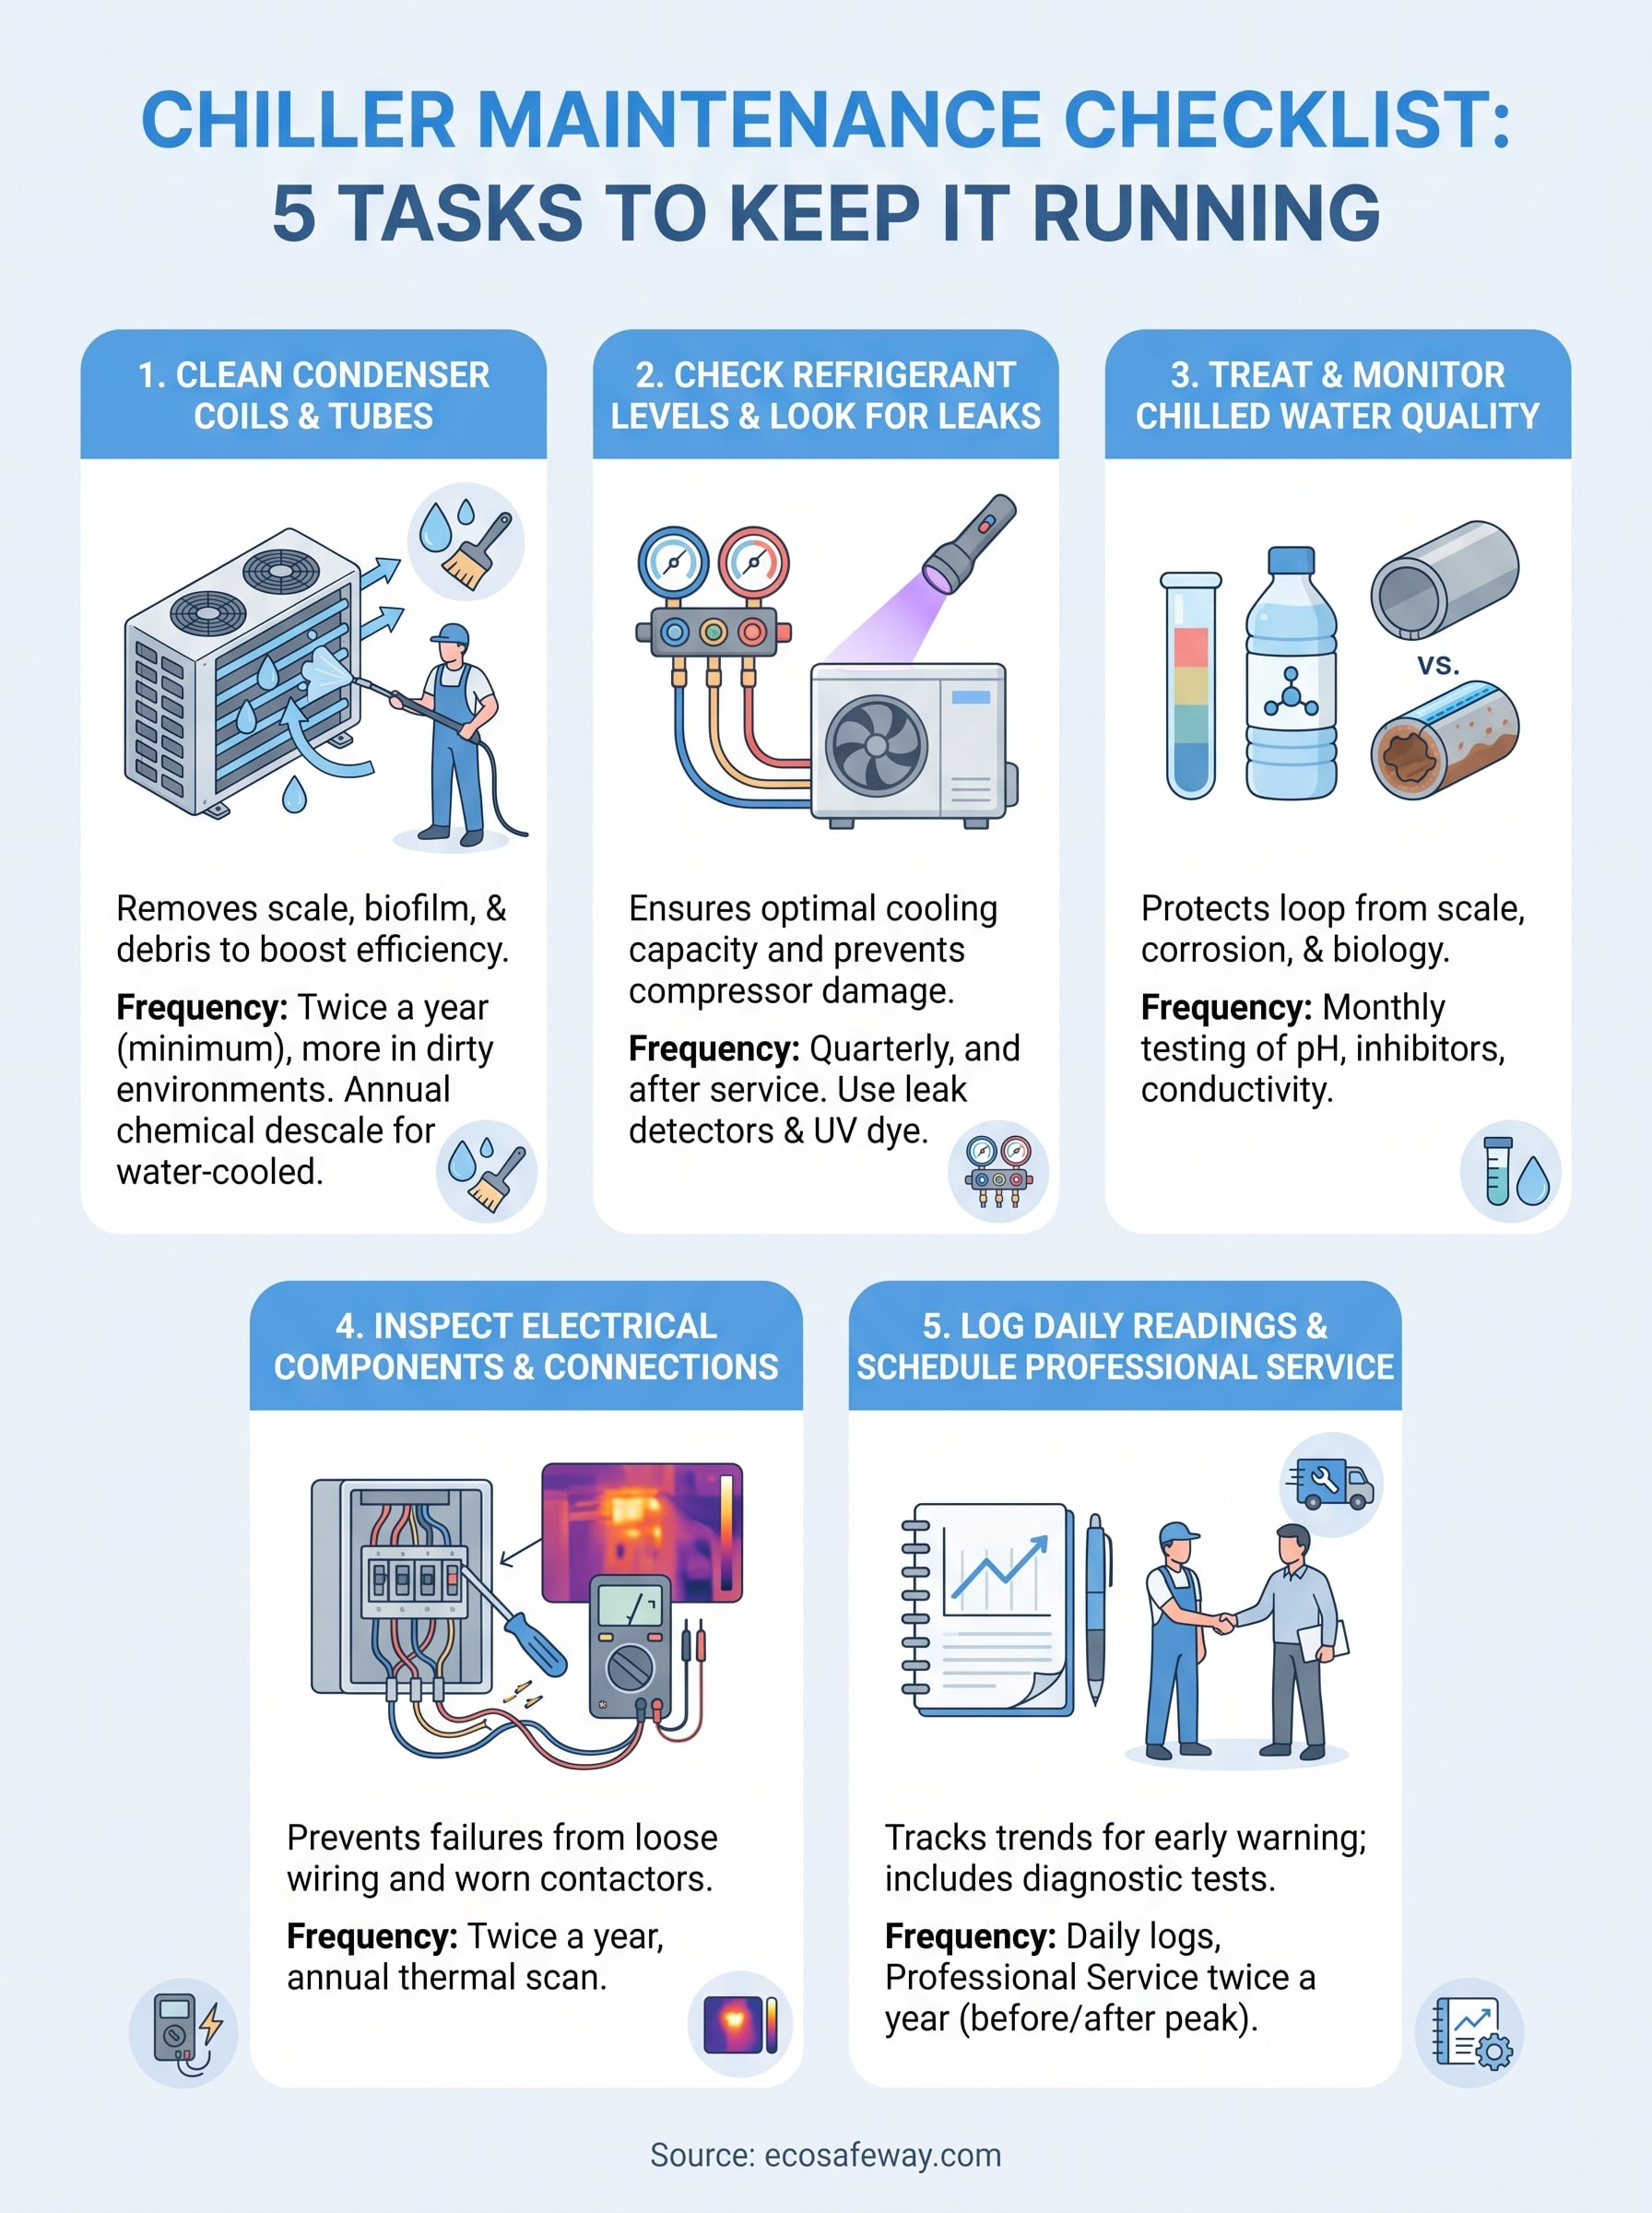
1. Clean condenser coils and tubes
Dirty condenser coils are the single biggest efficiency killer in a chiller plant. A layer of scale, algae, or mineral buildup as thin as 1/16 inch inside condenser tubes can raise your energy consumption by 30% or more, according to data cited by the U.S. Department of Energy on heat exchanger fouling. Condenser coil cleaning keeps heat transfer efficient so the compressor doesn't have to work overtime just to hit setpoint.

How it works
Heat rejection depends on clean surfaces. As water or air passes over the condenser, any scale, biofilm, or debris acts like insulation, forcing the refrigerant to run hotter and the compressor to draw more amps. Cleaning restores the tube walls and coil fins to bare metal so heat moves the way the system was designed to move it. On water-cooled units, this means mechanically or chemically descaling the tube bundle; on air-cooled units, it means clearing fins and coils of dust, grease, and organic growth.
Recommended frequency
Inspect coils monthly and plan a full cleaning at least twice a year, more often in coastal, industrial, or high-particulate environments. Water-cooled condenser tubes should get a chemical descale annually at minimum, or quarterly if your source water runs hard.
Tools and products needed
- Non-acid, non-corrosive descaling solution safe for copper and cupronickel tubing
- Coil brush or fin comb for air-cooled units
- Circulation pump for chemical flushing on water-cooled bundles
- pH test strips to confirm rinse water is neutral before restart
Eco Safeway's descaling formulas carry an HMIS 0-0-0 rating, so techs can handle and dispose of them without hazmat gear or special shipping paperwork, which matters when you're cleaning multiple units on a tight schedule.
Warning signs to watch for
Rising condenser approach temperature, higher discharge pressure, and climbing kWh-per-ton readings all point to fouling before you ever see visible scale.
A chiller working harder to reject the same heat is almost always fighting dirty coils, not a failing compressor.
2. Check refrigerant levels and look for leaks
Low refrigerant charge is one of the fastest ways to burn out a compressor, and it rarely announces itself until efficiency has already dropped. A refrigerant leak check catches the slow losses that quietly rob capacity and drive up run time long before a low-pressure trip shuts the unit down.
How it works
Refrigerant carries heat out of your building, so any drop in charge means less cooling per compressor cycle. Technicians measure superheat, subcooling, and system pressures against manufacturer specs, then use electronic leak detectors or UV dye at fittings, valves, and braze joints to find where charge is escaping.
Recommended frequency
Check charge and scan for leaks quarterly, and always after any service that opens the refrigerant circuit. EPA regulations under Section 608 require repair timelines once a leak rate threshold is confirmed, so don't let a small leak sit.
Tools and products needed
- Digital manifold gauges rated for your refrigerant type
- Electronic leak detector or UV dye kit
- Manufacturer charge chart for your specific chiller model
Warning signs to watch for
Watch for falling suction pressure, rising superheat, oily residue at joints, and longer run times to hit setpoint.
A chiller that's slowly losing refrigerant looks like a chiller that's slowly losing capacity, and both point to the same leak.
3. Treat and monitor chilled water quality
Untreated chilled water loops build scale, corrosion, and biological growth on the inside of pipes and heat exchanger surfaces, and none of that is visible until performance drops. Chilled water treatment protects the closed loop from the inside out, keeping heat transfer efficient and preventing the pitting that eventually causes leaks.
How it works
Closed loops seem simple, but dissolved oxygen, mineral content, and bacteria all interact with metal piping over time. A proper water treatment program adds corrosion inhibitors and biocides at the right concentration, then tracks pH, conductivity, and inhibitor levels so the chemistry stays balanced instead of drifting toward scale-forming or corrosive extremes.
Recommended frequency
Test water chemistry monthly, and after any makeup water addition or loop repair that could dilute treatment levels.
Tools and products needed
- Water test kit for pH, hardness, and conductivity
- Non-toxic, phosphate-free corrosion inhibitor
- Biocide rated safe for closed-loop systems
- Sample ports for consistent testing locations
Clean coils don't matter much if the water running through them is quietly eating away at your pipes.
Warning signs to watch for
Cloudy or discolored water, a sudden pH swing, or rising particulate at strainers all signal the loop chemistry has drifted out of range and needs correction before pitting starts.
4. Inspect electrical components and connections
Loose wiring and worn contactors cause more emergency chiller shutdowns than most facility teams expect. Electrical inspections catch the small problems, a stripped wire nut, a pitted contact, before they turn into a tripped breaker or a fried compressor winding.
How it works
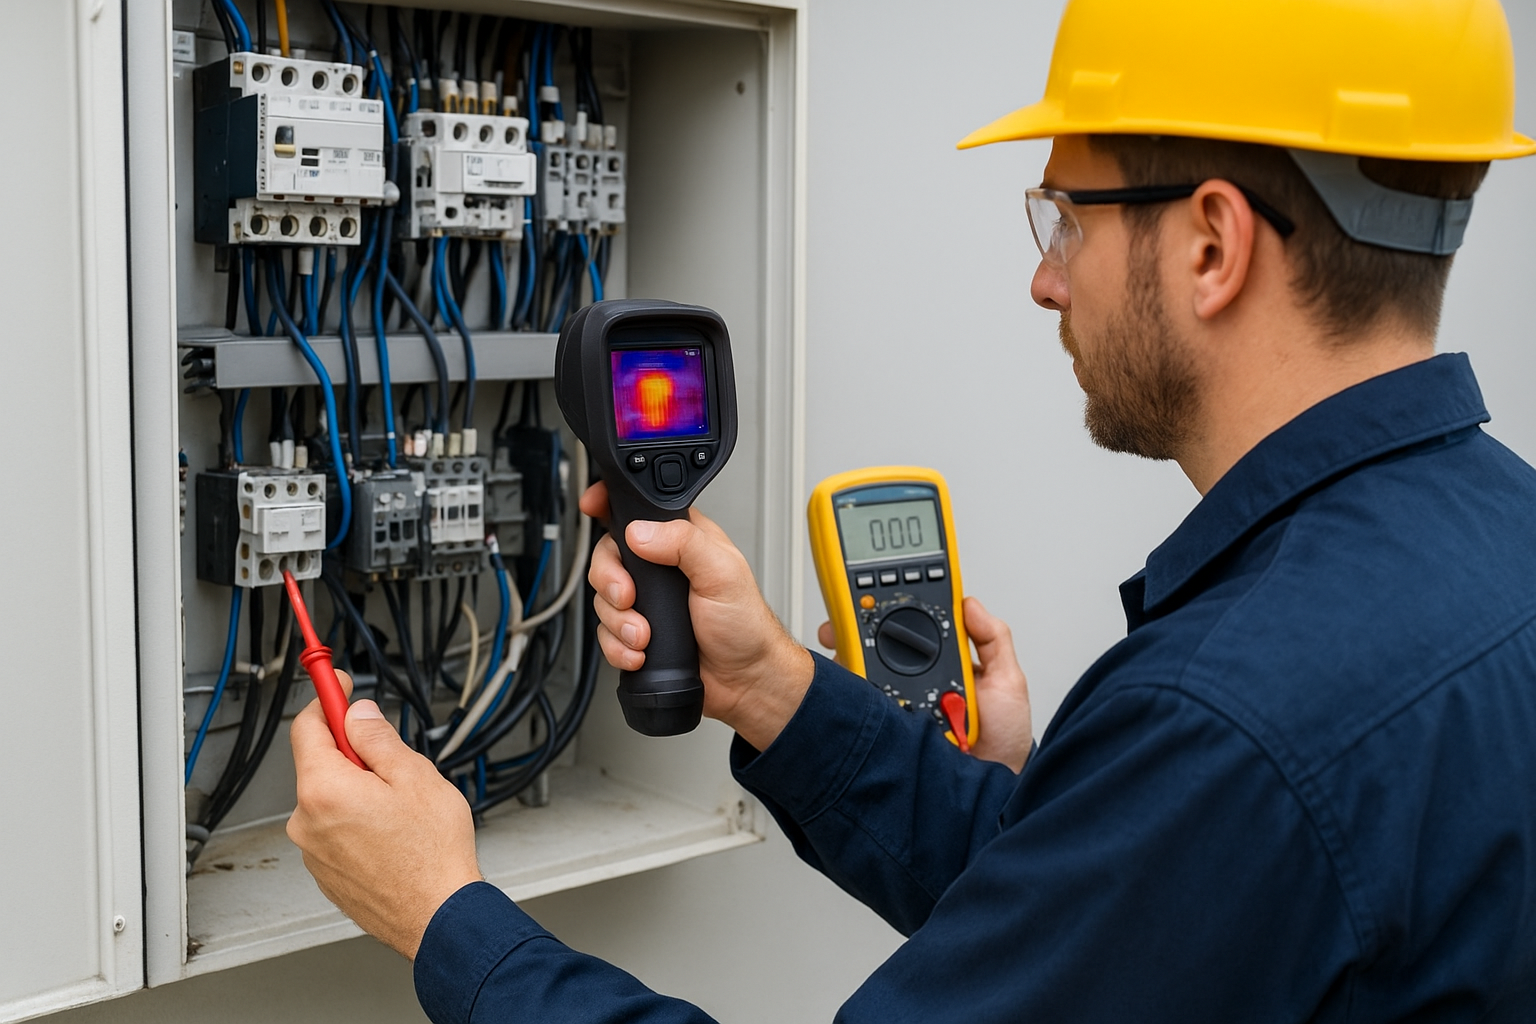
Technicians shut down power, then check terminal connections, contactors, relays, and starter components for heat damage, corrosion, and loose lugs. Infrared thermography during operation reveals hot spots at connections that visual inspection alone would miss, since a loose terminal heats up long before it fails outright.
Recommended frequency
Schedule a full electrical inspection twice a year, and add a thermal scan annually while the unit runs under load. High-cycling units or those in humid, coastal environments should move to quarterly checks.
Tools and products needed
- Infrared thermal camera
- Torque wrench for terminal connections
- Insulated multimeter
- Contact cleaner safe for electrical components
A loose electrical connection rarely causes a slow failure, it causes a sudden one, usually at the worst possible time.
Warning signs to watch for
Discolored or melted insulation, a burning smell near the control panel, chattering contactors, or nuisance trips all point to a connection problem worth addressing before it becomes a compressor problem.
5. Log daily readings and schedule professional service
Most chiller failures show up in the data long before they show up as a breakdown. Daily logging turns your operator's gut feeling into a trend line, and that trend line is what catches a slow decline in approach temperature or a creeping amp draw while there's still time to act.
How it works
Operators record condenser and evaporator temperatures, pressures, amp draws, and oil levels at set intervals, then compare readings against baseline performance. A professional service visit goes deeper, running the full diagnostic checks, eddy current tube testing, and oil analysis that daily logs can't catch on their own.
Recommended frequency
Log readings once per shift at minimum, twice daily for critical systems. Schedule professional service twice a year, once before peak cooling season and once after.
Tools and products needed
- Logging sheet or building automation system trend export
- Clamp-on amp meter
- Oil analysis kit for annual sampling
- Service contract with a qualified chiller technician
A logbook that nobody reads is just paperwork; a logbook that gets reviewed weekly is an early warning system.
Warning signs to watch for
Gradual drift in any logged value, even small, is worth flagging. A 2-degree creep in approach temperature over a month often means fouling or refrigerant loss starting well before an alarm trips.
A simple routine for a longer-lasting chiller
None of these five tasks require an engineering degree, just consistency. Clean coils, checked refrigerant, treated water, sound electrical connections, and a logbook someone actually reads will carry a chiller through years of service that a reactive approach never will. Skip one for a season and you won't see a failure right away, but you'll see it eventually, usually as a compressor replacement instead of a cleaning bill.
Owning the maintenance schedule also means owning what goes into the equipment. Harsh acid descalers strip protective coatings and add hazmat handling to every cleaning day, which is exactly the tradeoff a non-corrosive, HMIS 0-0-0 rated product avoids. If you're building out your coil cleaning routine, take a look at Eco Safeway's industrial HVAC and cooling tower descaler and give your chiller the same protection without the extra paperwork.


