





The best AC coil cleaner indoor systems can take is a no-rinse, non-acid foaming evaporator coil cleaner. Shut off power, vacuum the loose dust, open the coil access panel, and spray the foam over the whole coil. Wait the time on the label and let it drain out through the condensate line. For a lightly or moderately dirty coil, that is the entire job, and it takes less than an hour.
The problem is that you almost never see an indoor coil. It sits in the plenum above a furnace or inside an air handler, so dirt builds up unnoticed. You feel it as weak airflow, longer cooling cycles, ice on the refrigerant line or a musty smell. Cans on the store shelf all promise the same result, and some formulas are wrong for an indoor coil.
This guide covers how to pick a cleaner, the four steps to apply it, and how to confirm it worked. Eco Safeway supplies coil cleaners for commercial HVAC systems, so we also show where a home evaporator job differs from an air-cooled condenser job. If the coil is packed solid or you cannot reach it, we tell you when to stop and call a technician.
What to know before you clean indoor AC coils
Indoor AC coil cleaner works when you can reach the coil, the dirt is a film or a light mat, and the product is labeled for evaporator coils. It does not repair a coil that is packed solid, and it cannot fix a system that is low on refrigerant.
Does coil cleaner actually work?
Foaming cleaner works on the dirt that really collects on indoor coils: dust, lint, a greasy film from kitchen air and light biological growth. The foam clings to the fins, loosens the film and then collapses into liquid that drains away with the condensate. Technicians follow the same basic method, using a no-rinse foaming evaporator cleaner, a soft brush and a fin comb.
Reach is the limit. When dirt is packed deep between the fins, foam only treats the outer layers, and a technician pulls the coil and washes it on the bench. Cleaner also cannot cure ice caused by low refrigerant or a failed blower motor. If a clean coil still freezes, you need service.
Foam cleans a dirty coil, but it cannot fix a dirty filter, low refrigerant or a coil you cannot reach.
How to choose a foaming coil cleaner
For indoor coils, choose a no-rinse, non-acid foaming cleaner whose label names evaporator or indoor coils. Compare the main types of evaporator coil cleaner before you buy:
| Type | How it works | Best for | Watch for |
|---|---|---|---|
| No-rinse foaming aerosol | Foam expands, then drains with condensate | Routine indoor evaporator cleaning | Needs a clear drain pan and condensate line |
| Rinse-required foaming or alkaline concentrate | Stronger action, flushed off with water | Heavy grime on accessible coils, mostly outdoor | Runoff must be controlled, so it is a poor fit indoors |
| Acid-based cleaner | Chemical attack on scale and oxide | Specific jobs where the label approves it | Can damage aluminum fins and nearby parts |
| Non-foaming liquid spray | Wets the coil, dwell time is short | Tight spaces and light cleaning | Often needs more brushing |
Retail listings for consumer foaming cans typically run from about $10 to $20. Look for an extension tube or a 360-degree valve, because you will be spraying at awkward angles. Skip household bleach, dish soap and pressure washers.
Tools and safety gear
Gather everything first so the system is not open longer than necessary. You need:
- Foaming evaporator coil cleaner
- Soft nylon coil brush
- Fin comb that matches your coil's fins per inch
- Shop vacuum with a brush attachment
- Screwdriver or nut driver
- HVAC foil tape for resealing the panel
- Plastic sheeting and a flashlight
- Gloves and eye protection
- A small bucket of water
Wear the gloves and eye protection for the whole job. Open a window or run a fan, since the propellant and cleaner fumes collect in small closets.
Step 1. Cut power and open the coil access panel
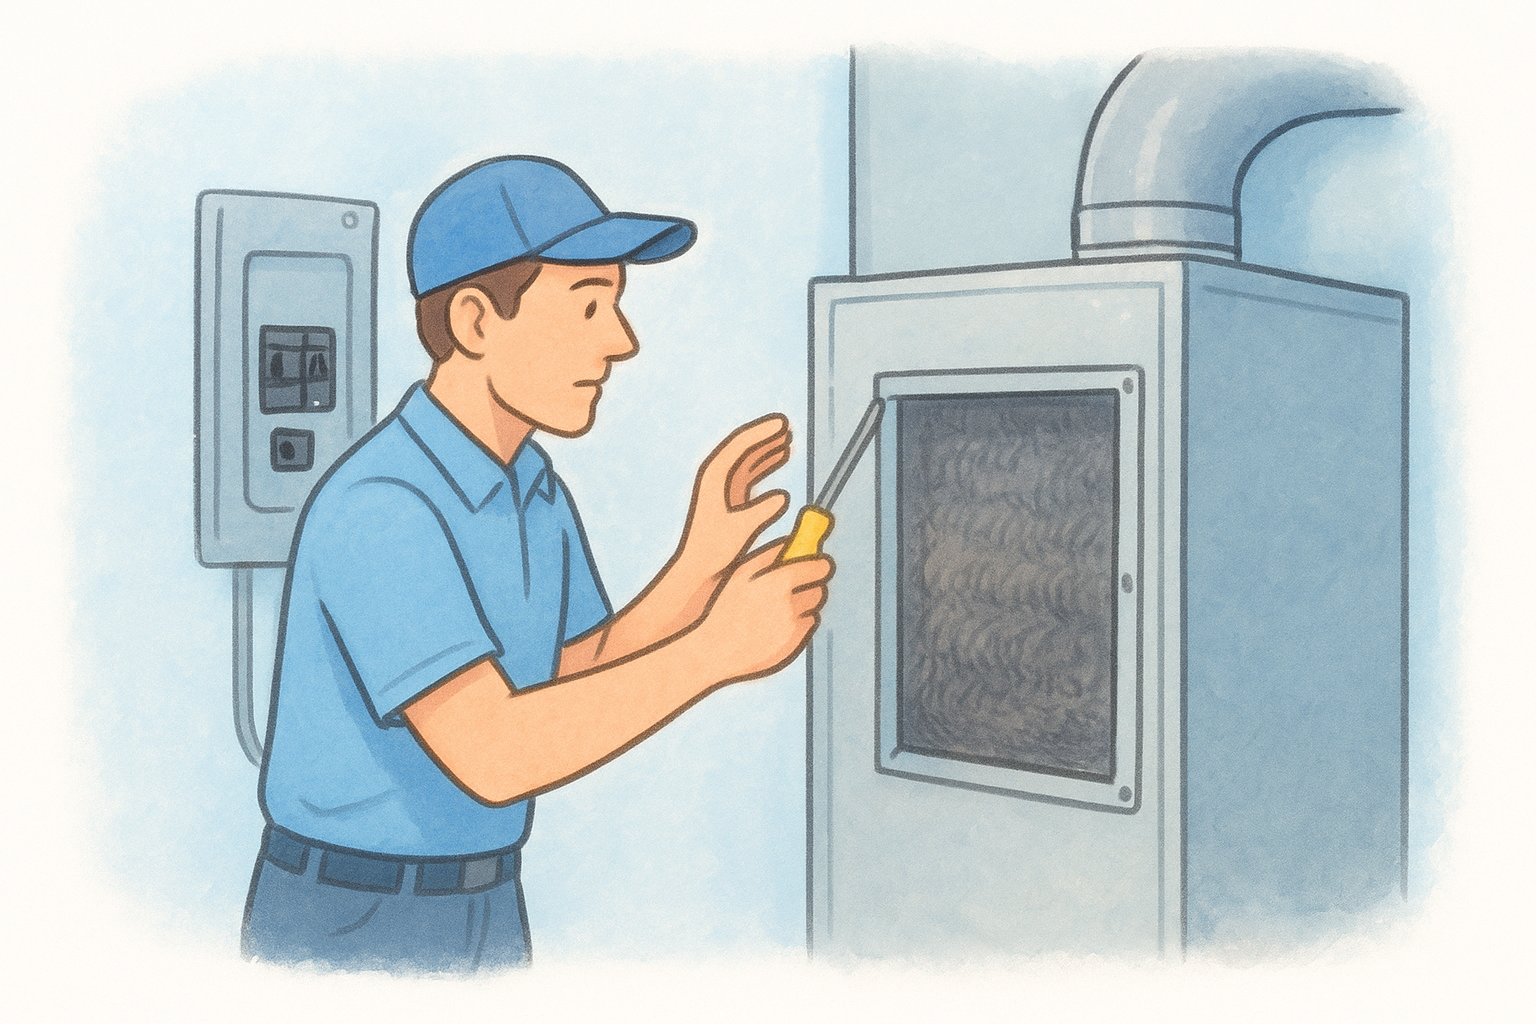
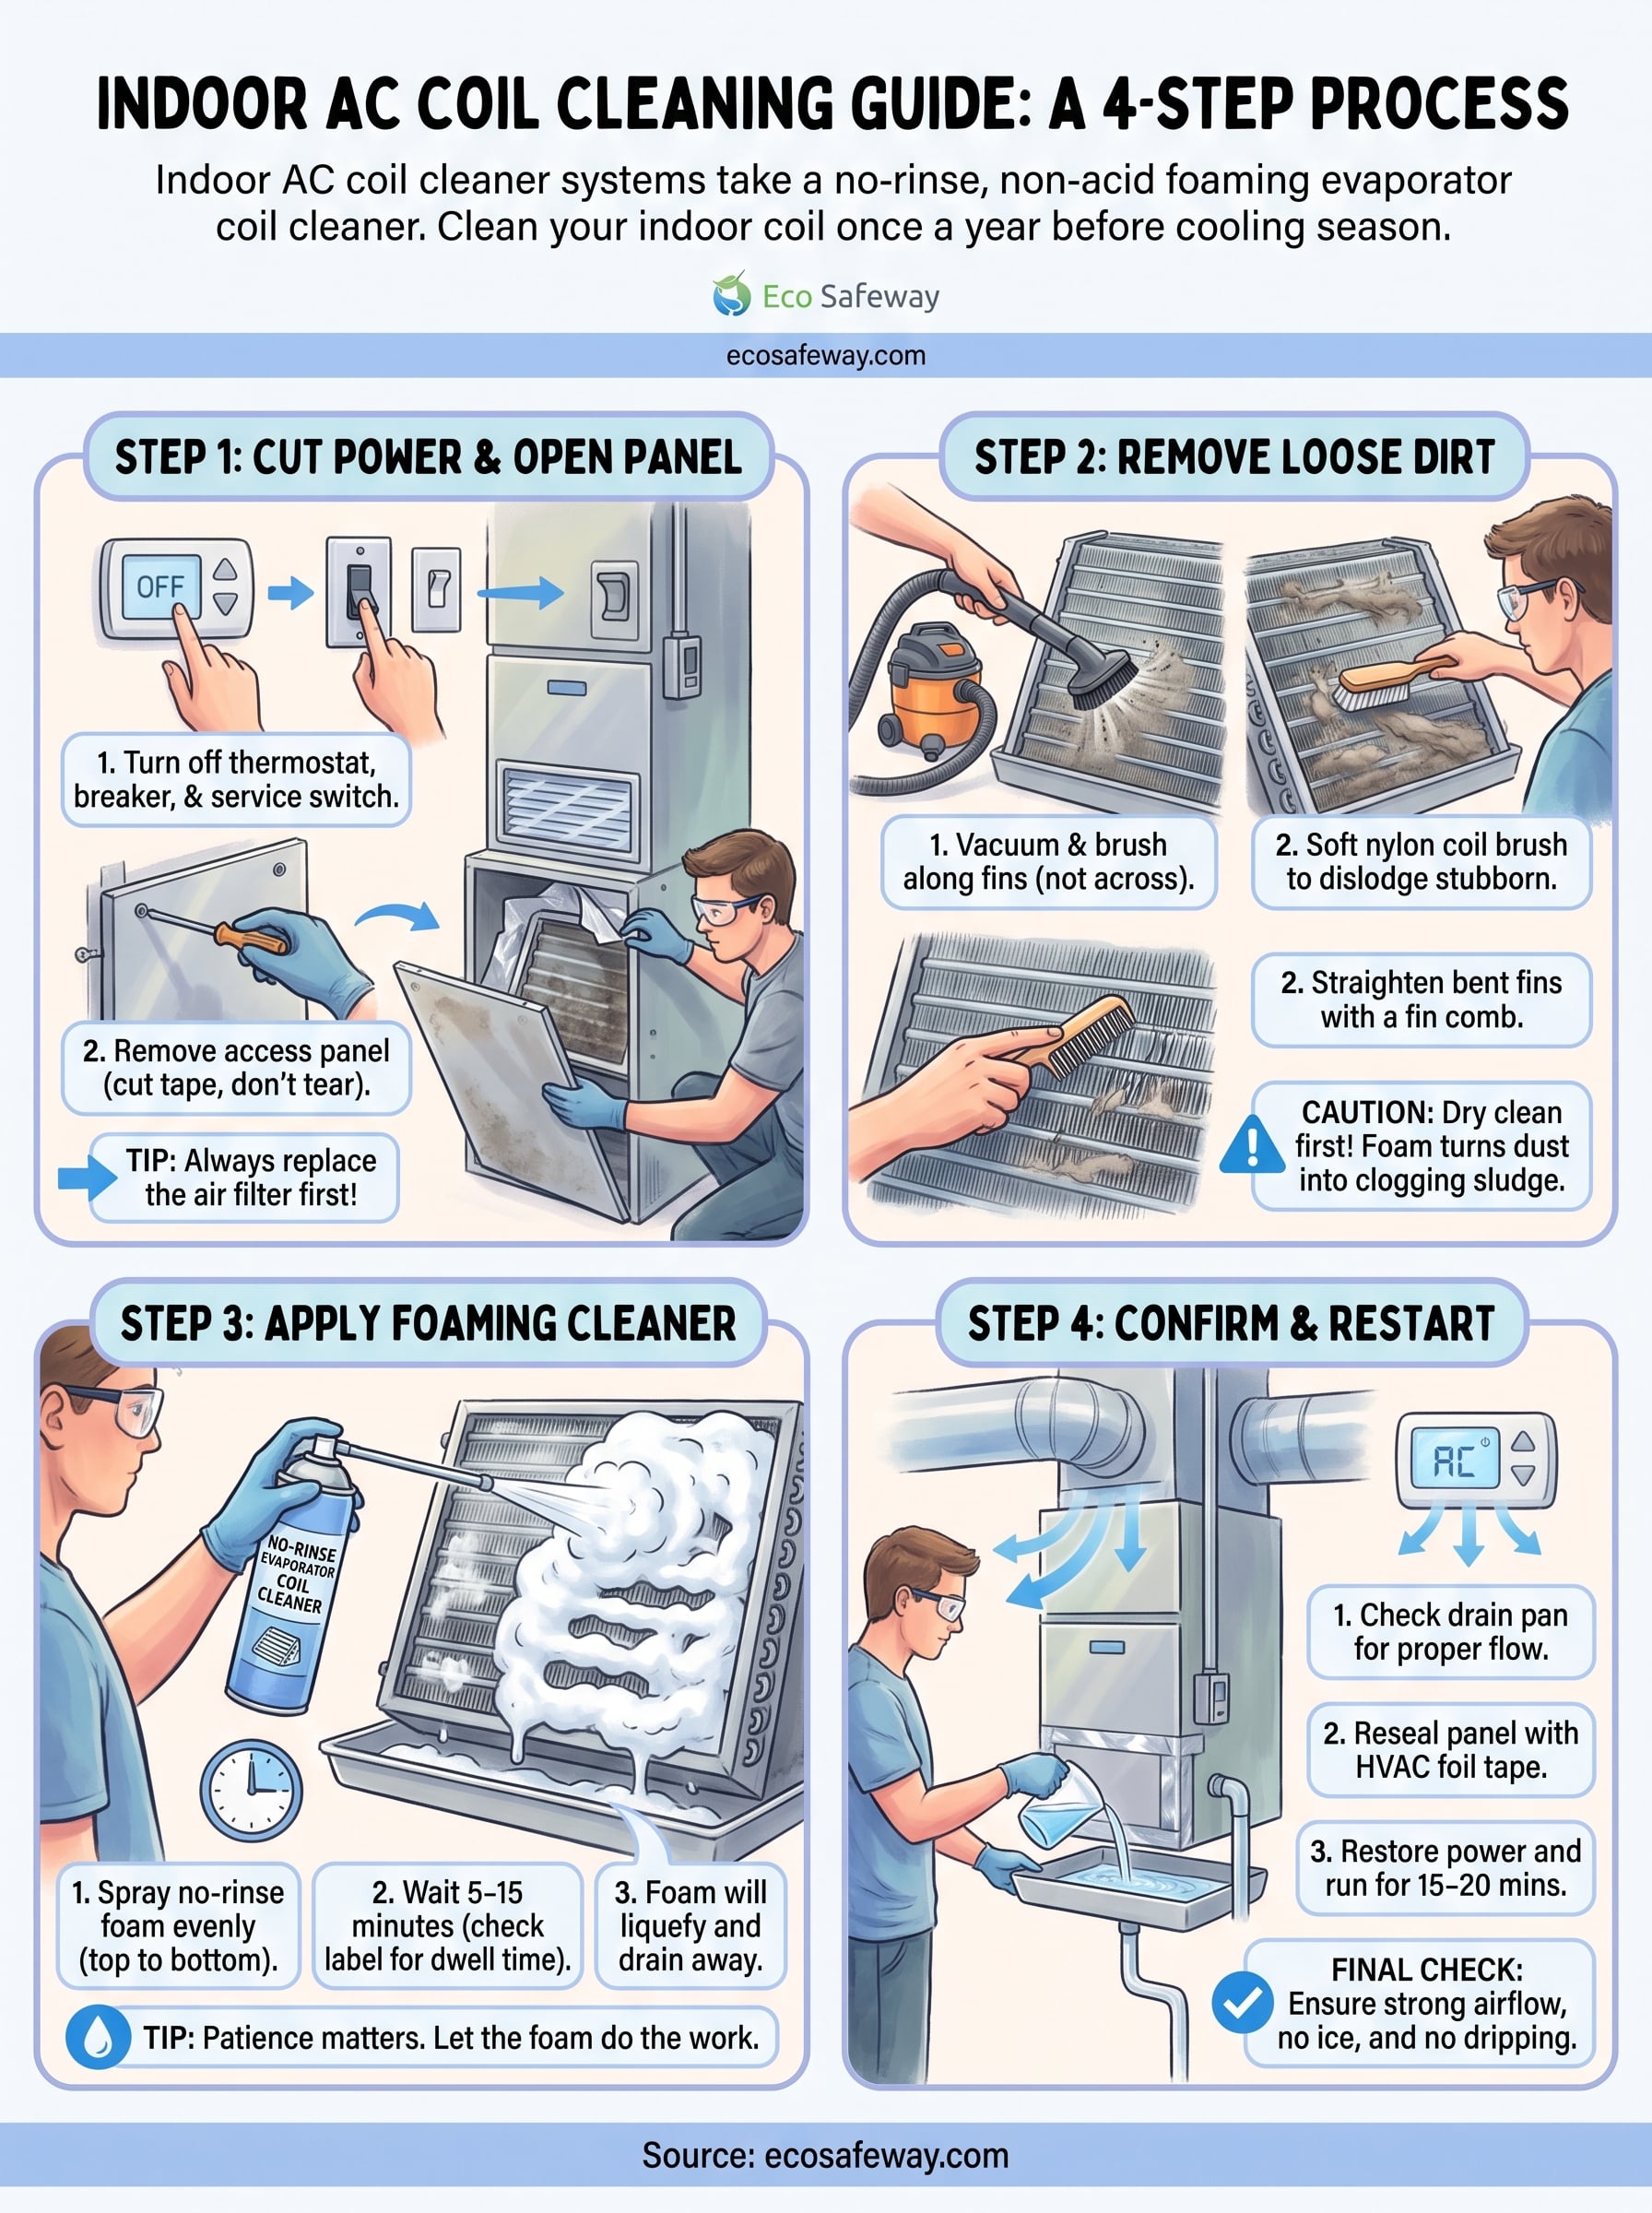
Turn the system off at the thermostat, then switch off the breaker and the service switch beside the furnace or air handler. The access panel is only safe to open once all three are off. Opening it with power on exposes you to line voltage and a spinning blower.
Kill the power and the filter
Change the air filter while the system is off. A missing or clogged filter is the most common reason a coil gets dirty, and cleaning the coil without fixing the filter means doing the job again next season. Confirm the blower has stopped before you touch anything.
Open the panel
Find the panel on the plenum above or beside the furnace, usually held by screws or sheet-metal tabs, and remove it. Many panels are sealed with foil tape, so cut the tape cleanly and plan to replace it with fresh HVAC foil tape afterward. Do not use cloth duct tape, which dries out and leaks. Shine a flashlight on the coil and look for matted dust on the face where air enters.
If you cannot see the coil face, or the panel is welded or screwed shut, stop and call a technician.
Step 2. Remove loose dirt before you spray
Dry-clean the coil before any cleaner touches it. Foam sprayed on a thick dust mat turns it into sludge that clogs the fins and the drain pan. A few minutes of vacuuming makes the indoor AC coil cleaner far more effective.
Vacuum and brush the surface
Use the shop vacuum with the brush attachment, and stroke along the fins, not across them. Fins are thin aluminum and fold under pressure. Follow with the soft nylon coil brush, again in the direction the fins run, to lift lint that the vacuum missed.
Cover the blower motor and any control board within reach of the spray with plastic sheeting. Foam is not meant to reach electrical parts.
Straighten bent fins
Bent fins block airflow just as dirt does. Slide a fin comb that matches the fin spacing into the coil and draw it gently along the bent section. Do not force it. A coil with large crushed areas is a job for a technician, not a brush.
Dry cleaning first is what lets the foam reach metal instead of a layer of dust.
Step 3. Apply the foaming cleaner and let it work
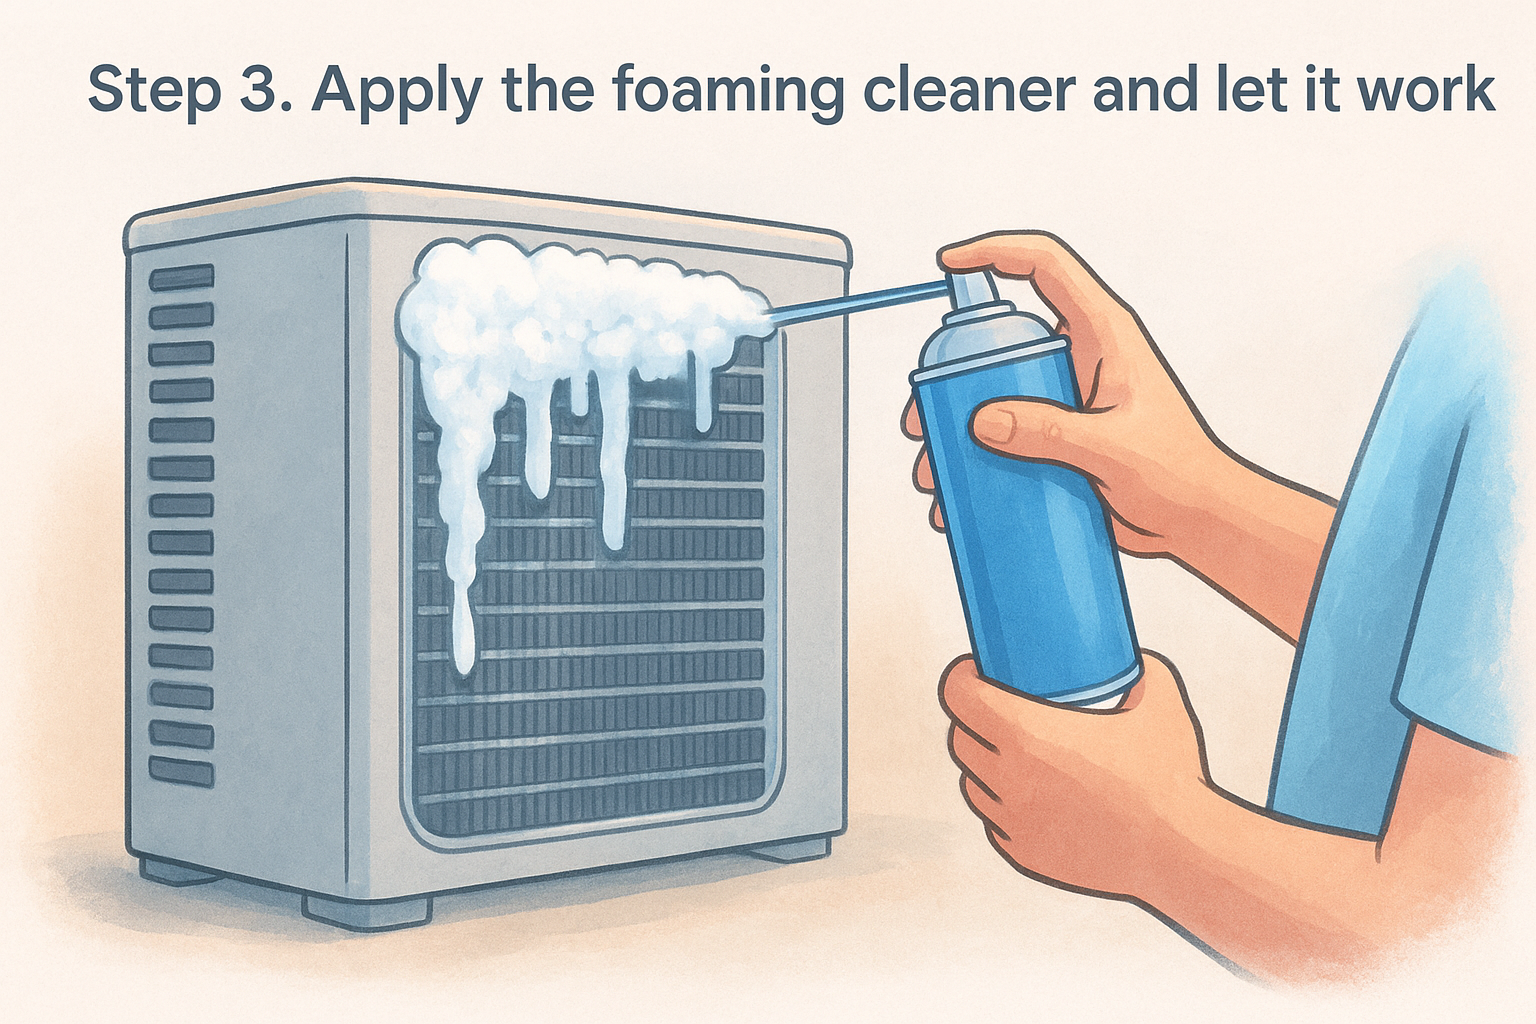
Spray the foam evenly over the entire coil face, working from top to bottom, and then wait for the dwell time printed on the can. Read the label first, because dwell times and rinse instructions vary by product.
Spray the coil evenly
Hold the can upright and keep the nozzle a few inches from the fins. Overlap each pass so there are no dry stripes, and follow the label on how many seconds to spray per section. Use the extension tube to reach the back of an A-frame coil. If your coil has two faces, treat both when you can get to them.
Never mix cleaners, and keep the foam off wiring and the control board. If a spray lands on them, wipe it off at once.
Wait out the dwell time
Most no-rinse foaming evaporator cleaners need about 5 to 15 minutes, so go by the label. You will see the foam darken, then collapse and drip into the drain pan. Heavily soiled coils may need a second light application after the first has drained.
Resist the urge to scrub wet foam into the fins. Gentle brushing before spraying and again after the foam has dropped is enough.
The foam does the work during the dwell time, so patience matters more than pressure.
Step 4. Confirm drainage, restart and test
Check that the drain pan empties, replace the panel, restore power and watch the first cooling cycle. A cleaner that cannot drain just moves the problem from the coil to the pan.
Check the drain and restart
Follow these steps in order:
- Look at the drain pan and pour a cup of water in. It should flow out through the condensate line without pooling.
- Wipe up any foam that sits outside the pan.
- Reseal the access panel with HVAC foil tape and refasten the screws.
- Turn the service switch and breaker on, then the thermostat.
- Run the system for 15 to 20 minutes and check for strong airflow and no ice or dripping outside the unit.
If the pan overflows, the condensate line is clogged. Clear it before running the system.
How often to clean again
Inspect the coil once a year before cooling season, and clean it when you see buildup. Homes with pets, nearby construction, heavy cooking or a poor filter may need a look twice a year. Watch for rising bills, longer run times, weaker airflow and musty odors between inspections.
Air-cooled and outdoor coils
The outdoor condenser is different. It is exposed to leaves, cottonwood and road dust, and cleaners made for it are often rinsed off with a garden hose from the inside out. That is why an air-cooled HVAC coil cleaner is a separate product from an indoor evaporator cleaner. Do not swap them unless the label says so.
Match the cleaner to the coil: no-rinse foam inside, rinse-and-flush chemistry outside.
Your yearly coil routine
A clean indoor coil comes down to a good filter, dry brushing first, a no-rinse foaming cleaner, patient dwell time and a drain that works. Do that once a year and most homeowners never need a coil pulled.
For commercial and air-cooled equipment, the stakes and the chemistry change. If you maintain rooftop units, condensers or dry coolers, see Eco Safeway's commercial HVAC coil cleaning solution and follow its label and safety data sheet.


