





A dirty evaporator coil quietly wrecks HVAC efficiency long before you notice warm air blowing from the vents. Dust, biofilm, and mold build up on the fins, block airflow, and force the compressor to work harder every single cycle. Picking the right evaporator coil cleaner matters as much as knowing how to apply it, because the wrong chemistry can pit aluminum fins or leave behind residue that attracts even more grime.
This guide gets straight to what you're searching for: which coil cleaners actually work, and the exact steps to use one without damaging the coil or risking your own safety. You'll see why non-corrosive, non-toxic formulas outperform the acid-based sprays still common in HVAC supply houses, and why a foaming, no-rinse cleaner saves you time on tight coil access.
Below, you'll find a breakdown of what separates a safe coil cleaner from one that shortens equipment life, a step-by-step cleaning process for both AC and HVAC evaporator coils, and practical tips on frequency, ventilation, and coil access. Whether you maintain rooftop units for a commercial building or service residential systems, you'll walk away knowing exactly what to buy and how to apply it correctly.
Why your evaporator coil needs regular cleaning
A layer of dust as thin as a credit card can cut heat transfer across the coil by double digits, according to the U.S. Department of Energy's guidance on HVAC maintenance. That loss forces the compressor to run longer to hit the same setpoint, which drives up energy bills and shortens the life of every moving part downstream. Grime doesn't just sit on the surface either; it insulates the fins, so the refrigerant inside can't absorb heat the way it's designed to, and the whole system starts working against itself.
A dirty coil doesn't just cool poorly, it quietly costs you money every single cycle.
Mold, allergens, and mechanical strain
Beyond efficiency, a damp coil is a breeding ground for mold, mildew, and bacteria that get pulled straight into your ductwork and out through the vents. That's a direct hit to indoor air quality, especially in hospitals, schools, and any facility where occupants have respiratory sensitivities. On the mechanical side, restricted airflow raises head pressure, stresses the compressor, and can trigger a full compressor failure years before its expected lifespan runs out.
Signs your coil is overdue for a clean
Watch for these warning signs before scheduling maintenance:
- Warm air from vents despite the thermostat running
- Ice or frost forming on the coil or refrigerant lines
- Musty odor when the system cycles on
- Rising electric bills with no change in usage
- Visible dust or discoloration on accessible coil fins
Catching these early, and applying the right evaporator coil cleaner as soon as you spot them, keeps the fix simple instead of turning into a compressor replacement.
Step 1. Choose the right evaporator coil cleaner
Buying the wrong bottle is the fastest way to turn a routine cleaning into a coil replacement. Acid-based sprays clean fast, but they eat away at aluminum fins and copper tubing over repeated use, leaving pinhole leaks that show up months later. Look instead for a non-corrosive, biodegradable formula rated safe for aluminum, copper, and painted cabinet surfaces, so you're never gambling with the metal underneath the grime.
Choose a cleaner rated for the metal you're spraying, not just the dirt you're removing.
Acid-based vs. non-toxic formulas
| Feature | Acid-Based Cleaner | Non-Toxic Foaming Cleaner |
|---|---|---|
| Corrosion risk | High on aluminum fins | None |
| PPE required | Gloves, goggles, respirator | Minimal |
| Rinse required | Yes, thoroughly | Often no-rinse |
| Shipping restrictions | Hazmat in many cases | None (HMIS 0-0-0) |
What to check on the label
Confirm three things before you buy: an HMIS 0-0-0 safety rating, EPA compliance, and a no-rinse foaming action that reaches deep between tightly spaced fins without disassembly.
Step 2. Prepare the system and work area
Before you touch the evaporator coil cleaner, kill power to the air handler at the breaker, not just the thermostat. A live blower can kick on mid-cleaning and spray foam and grime across the ductwork, the drain pan, or your face.
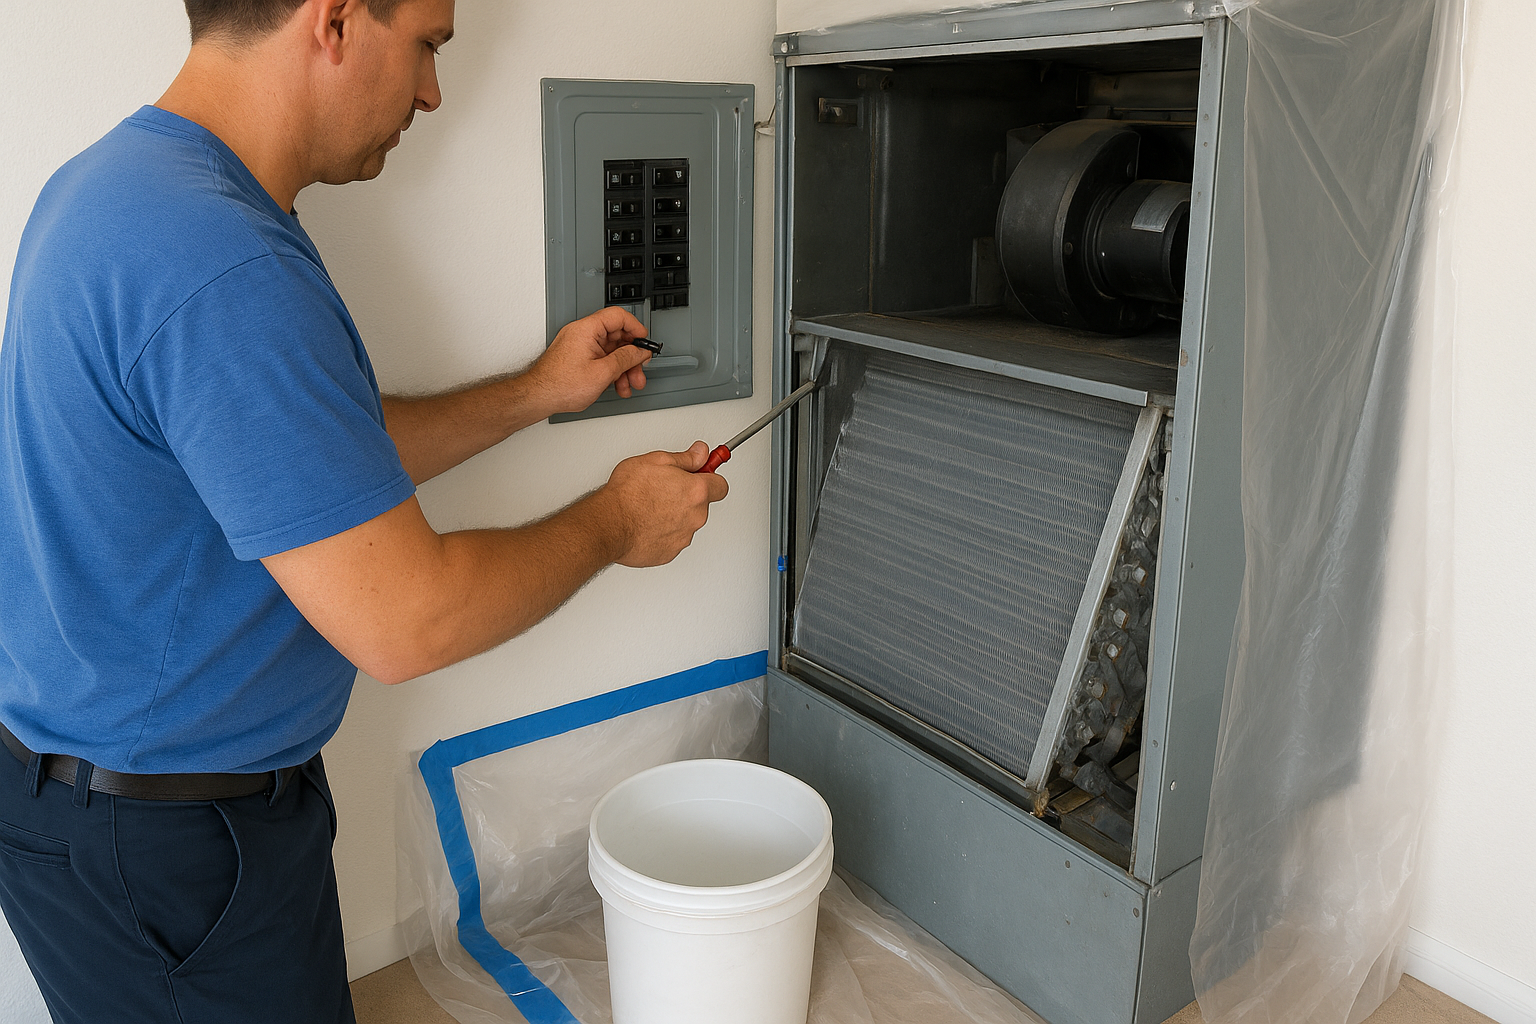
Cut the power first, every time, no exceptions.
Cut power and protect surroundings
Work through this checklist before opening the cabinet:
- Shut off power at the breaker and confirm with a voltage tester
- Lay down a drop cloth or plastic sheeting under the unit
- Cover nearby electrical connections and control boards with plastic
- Set a bucket or wet-vac near the drain pan to catch runoff
Clear access to the coil
Remove the access panel and pull the blower assembly if it blocks a clear line to the fins. Vacuum loose dust and debris first with a soft brush attachment; this keeps the cleaner from mixing with dry grime and forming a paste that's harder to rinse. Check that the condensate drain line is clear too, since a clogged drain sends dirty runoff back into the unit instead of out.
Step 3. Apply the coil cleaner and let it work
Shake the bottle, then spray the evaporator coil cleaner evenly across the coil face, working top to bottom so the foam has room to expand downward through the fins. Hold the nozzle six to eight inches away and cover every visible section, including the back of the coil if you can reach it through the panel opening. Don't oversaturate one spot and skip another; even coverage is what dissolves biofilm across the whole surface instead of just the parts you can see.
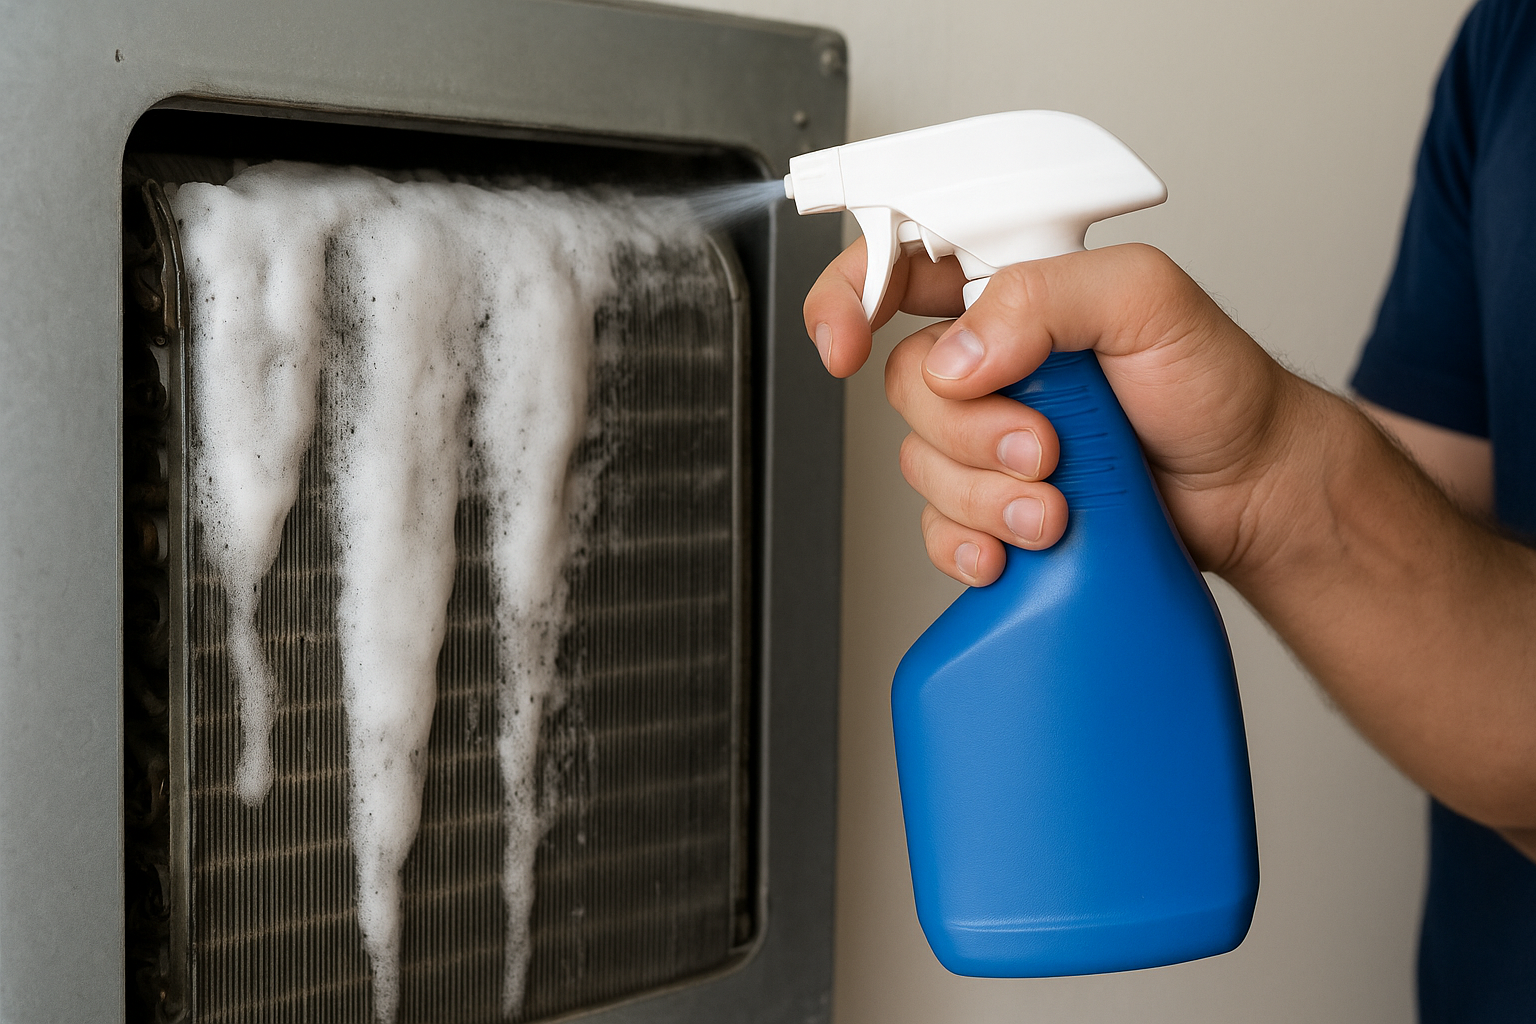
Even coverage beats heavy spraying in one spot every time.
Give the foam time to work
Most non-toxic foaming formulas need 10 to 15 minutes of dwell time to break down grease, mold, and mineral scale without scrubbing. Check the product label for the exact window, since thicker buildup on a coil that hasn't been cleaned in years may call for a second application rather than a longer wait.
Watch for these reactions
A working cleaner should foam gently and turn slightly discolored as it lifts dirt. If you see the foam bubbling aggressively or hear fizzing, stop immediately, that's a sign of a harsh acid reaction you don't want anywhere near aluminum fins.
Step 4. Rinse, inspect, and restart the system
Most no-rinse evaporator coil cleaner formulas break down on their own, but a light rinse still speeds drainage and clears any loosened debris still clinging to the fins. Use a low-pressure garden hose sprayer, not a pressure washer, since high PSI bends fins and pushes water into places it shouldn't go. Direct the spray from top to bottom, following the same path you used to apply the foam, so runoff drains toward the pan instead of pooling in the cabinet.
Confirm the drain runs clear
Pour a cup of water into the drain pan and watch it exit through the condensate line within a few seconds. A slow drain means debris is still lodged somewhere downstream, and that backup will undo the cleaning you just did.
A clean coil with a clogged drain still causes water damage.
Reassemble and power back up
- Reinstall the blower assembly and access panel
- Restore power at the breaker
- Set the thermostat to cooling mode and listen for normal startup
- Check for cold air at the nearest vent within five minutes
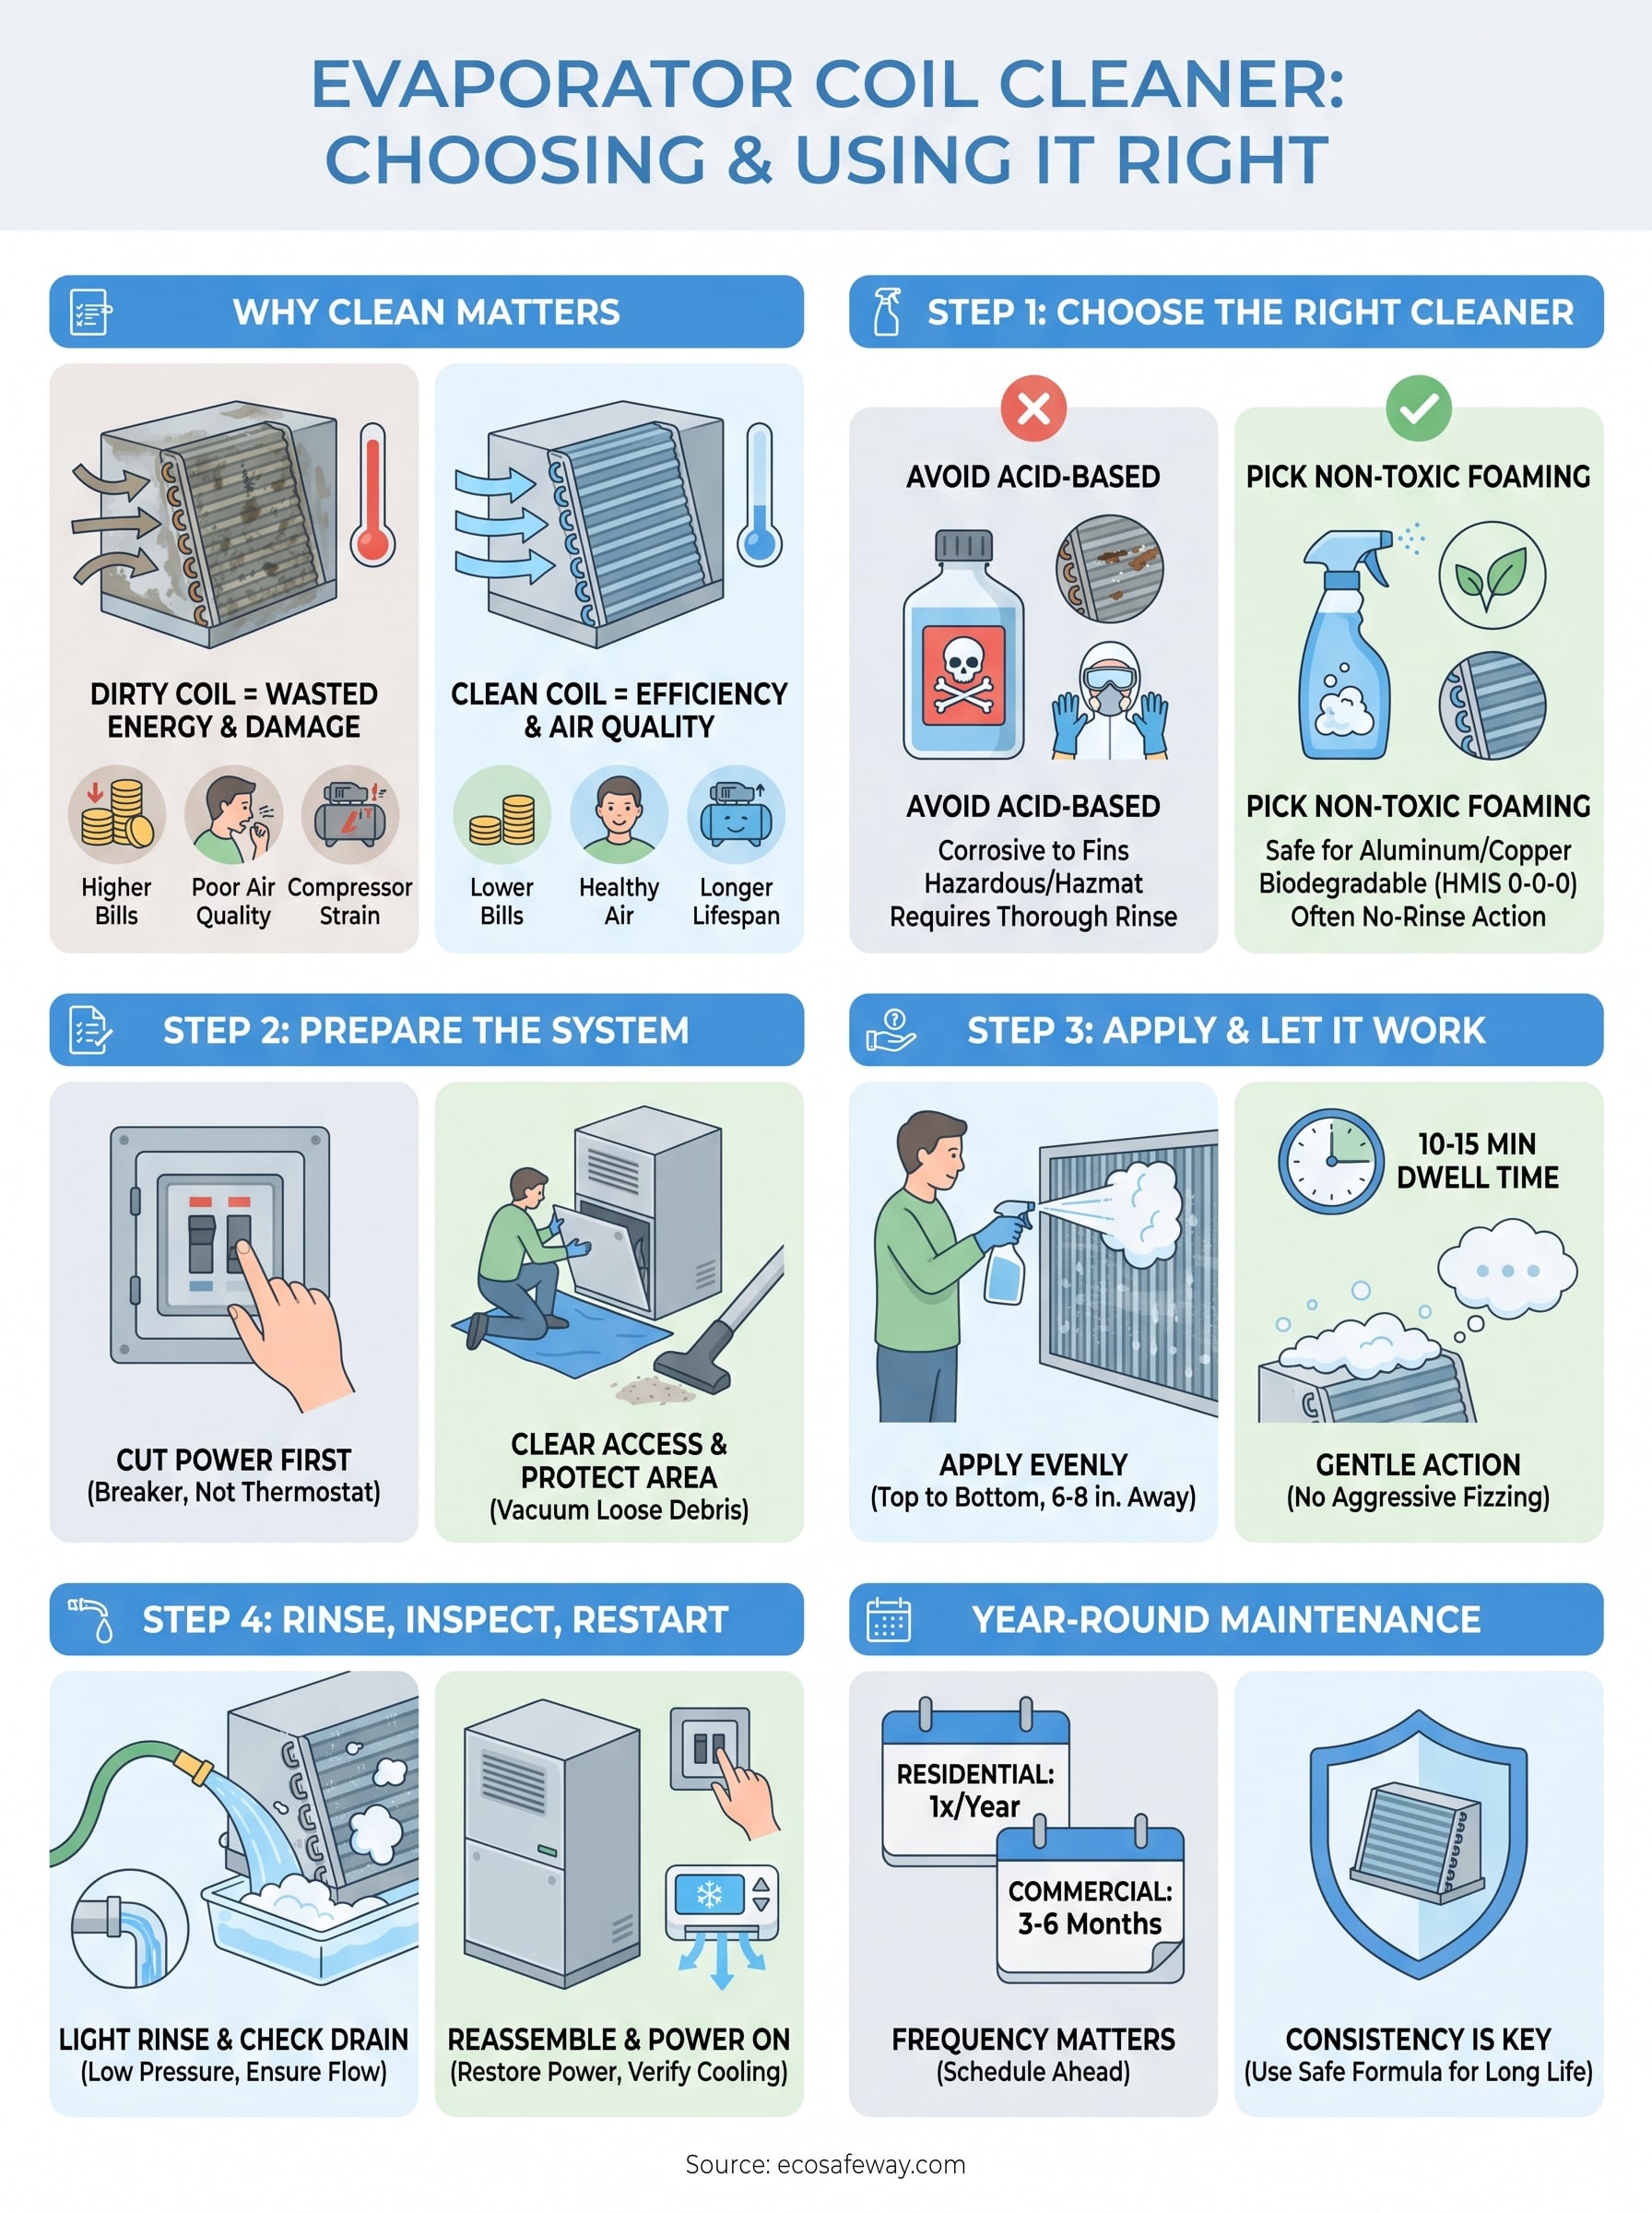
Keeping your coils clean year-round
A clean evaporator coil isn't a one-time fix, it's a maintenance rhythm. Residential systems typically need a coil cleaning once a year, ideally before peak cooling season, while commercial units running longer hours or sitting in dusty environments benefit from checks every three to six months. Set a reminder on your maintenance calendar now, because waiting for warm air or ice buildup means you're already behind.
Schedule matters, but so does the product you reach for each time. Skip the acid sprays that chip away at aluminum with every use, and stick with a non-corrosive, HMIS 0-0-0 rated formula that protects the coil while it cleans. That consistency is what keeps a system running efficiently for a decade instead of limping through year six with a leaking coil.
If you're maintaining commercial HVAC systems, chillers, or rooftop units, check out Eco Safeway's condenser coil cleaner built for exactly this kind of year-round upkeep.


