





Teak looks incredible when it's fresh off the boat, then six months of sun and saltwater turn it gray, rough, and streaked with mildew. If you're searching for how to maintain teak on a boat, you've probably already tried a random deck brush and a bottle of something from the hardware store, and watched the wood get worse instead of better. That's the wrong approach, and it's the reason so many owners end up sanding down teak that should have lasted another decade.
This guide gives you the actual sequence that works: cleaning without stripping the natural oils, addressing mildew and salt buildup at the source, and sealing or oiling the wood so it holds up against UV and moisture. We'll also cover which cleaning products protect the wood fibers instead of eating into them, since harsh acid-based teak cleaners are one of the biggest reasons decks age faster than they should.
You'll get a straightforward maintenance routine you can repeat every season, plus guidance on choosing non-toxic, non-corrosive cleaners that won't damage surrounding gelcoat, hardware, or the surrounding marine environment. By the end, you'll know exactly how often to clean, when to oil or seal, and how to keep your teak deck maintenance simple instead of a recurring headache.
Understanding your teak before you start
Before you grab a brush, take a few minutes to actually look at your teak. Not all teak ages the same way, and treating soft, oil-rich teak like it's hardened, weathered teak is how owners strip wood that didn't need stripping. Teak's natural oils are what make it resistant to rot and UV damage in the first place, so your goal at every stage is protecting those oils, not scrubbing them out.
Identify the wood's current condition
Run your hand across a plank. Fresh or recently oiled teak feels slightly waxy and shows a warm golden-brown tone. Neglected teak turns silver-gray, feels rough or fuzzy, and often has raised grain where the softer wood fibers have worn away faster than the harder grain lines. This raised grain is a giveaway that previous cleaning was too aggressive, usually from an acid-based cleaner or a wire brush used against the grain.
Teak that feels fuzzy or silver-gray has already lost surface oils, so gentle restoration beats aggressive stripping every time.
Know what you're dealing with structurally
Check whether your teak is solid planking over fiberglass, a teak-and-holly plywood sole, or veneer. Solid teak decking can handle light sanding once or twice over its lifespan. Thin veneers and plywood soles cannot, since you can sand through the usable wood in a single aggressive session. If you're unsure which you have, look at the plank thickness where it meets a drain or hatch cutout.
Gather what you'll actually need
Skip the wire brushes and acid cleaners sold as "teak brighteners." Here's a simple kit that works across almost every boat:
- Soft-bristle deck brush (never wire or brass)
- Bucket and fresh water hose
- Non-toxic, non-corrosive teak cleaner
- Soft cloths or a synthetic scrub pad
- Teak sealer, oil, or varnish (depending on your chosen finish)
- Painter's tape to protect gelcoat and hardware
Having this ready before you start keeps you from reaching for whatever's under the sink, which is usually the fastest way to damage both the wood and the surrounding fiberglass and gelcoat around it.
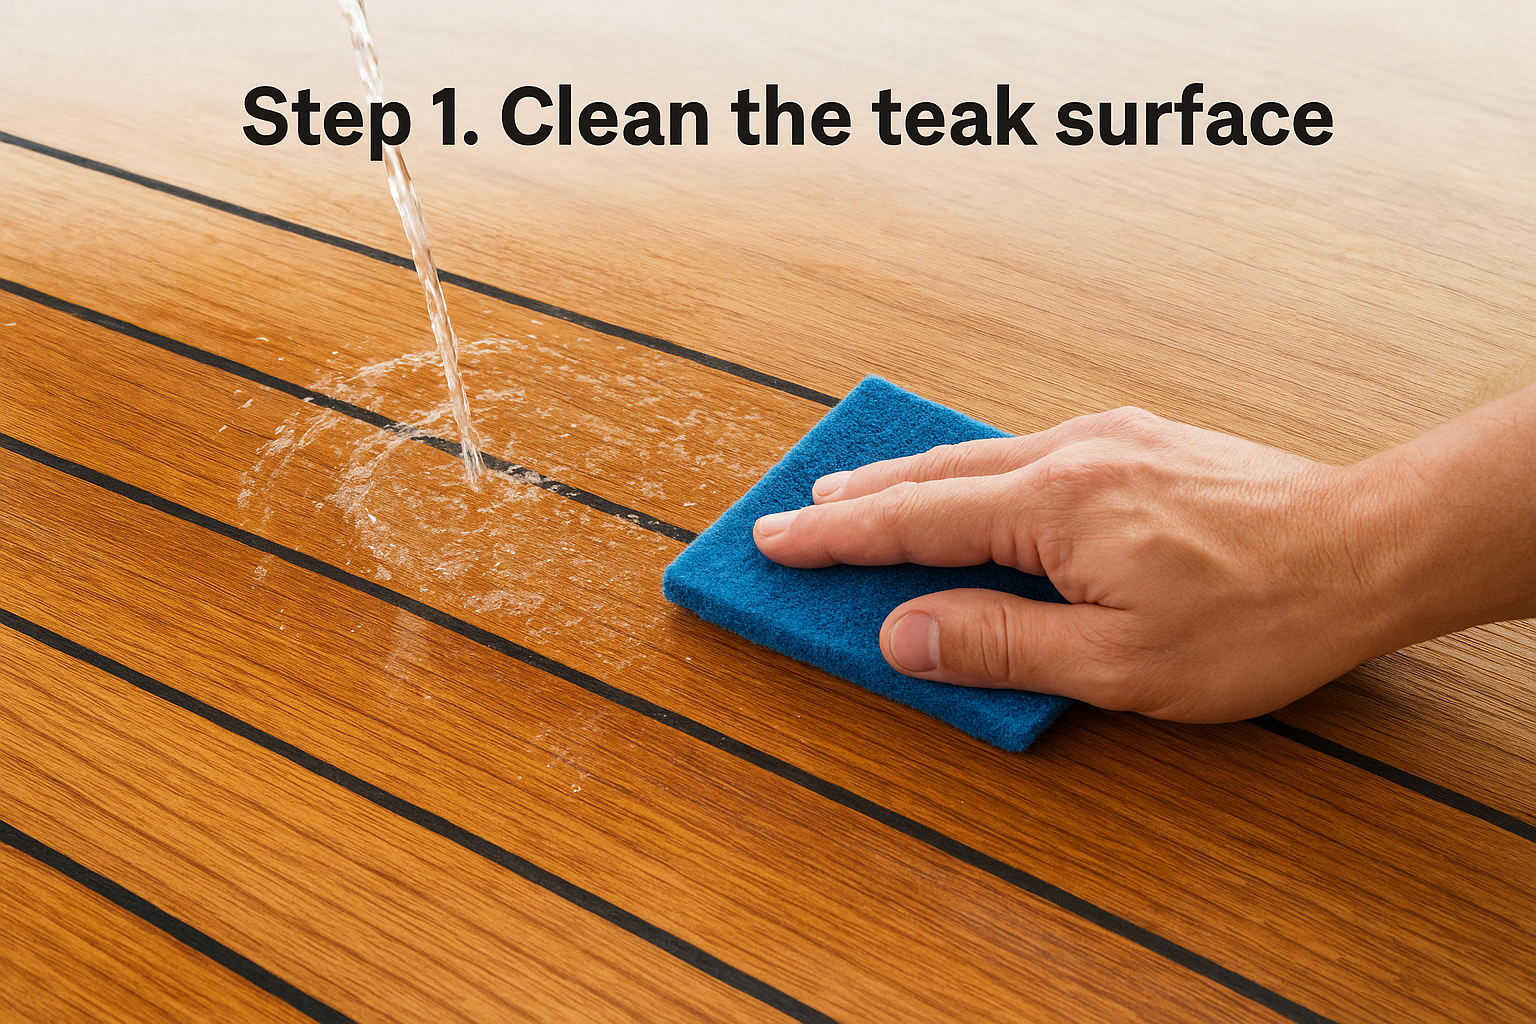
Step 1. Clean the teak surface
Start every cleaning session with a plain fresh-water rinse before any product touches the wood. This knocks loose salt crystals and grit that would otherwise act like sandpaper once you start scrubbing, and it keeps you from grinding debris into the grain.
Work with the grain, not against it
Apply a non-toxic, non-corrosive teak cleaner and let it sit for the time listed on the label, usually two to three minutes. Scrub only in the direction of the grain using a soft-bristle brush or synthetic pad. Cross-grain scrubbing tears at the softer fibers between the hard grain lines, which is exactly what creates that rough, raised texture on tired decks.
Clean with the grain and a mild formula, and you protect the same oils that make teak weather-resistant in the first place.
Rinse thoroughly and check your work
Rinse twice as long as you think you need to. Leftover cleaner residue attracts dirt faster and can interfere with oil or sealer absorption later. A quick checklist keeps this step consistent:
- Pre-rinse the entire section with fresh water
- Apply cleaner and let it dwell per label instructions
- Scrub gently, following the grain direction
- Rinse until no suds or residue remain
- Let the wood dry fully, ideally 24 hours, before moving to Step 2
Avoid acid-based teak brighteners here entirely. They strip the wood's natural color and oils in one pass, which forces you into a repeat cycle of harsher cleaning every season. A gentler, EPA-compliant formula takes slightly longer but preserves the wood you're trying to maintain.
Step 2. Treat stains and discoloration
Once the wood is dry, look closely at what's actually staining it. Rust streaks from hardware, mildew spotting, and old sunscreen or fish oil marks all need different treatment, and dumping the same acid-based cleaner on all of them is how owners end up bleaching healthy wood right along with the stain. Isolate the discolored area first, then treat it specifically instead of re-cleaning the whole deck.
Match the treatment to the stain
A quick reference makes this easier to apply on deck:
| Stain type | Likely cause | Recommended approach |
|---|---|---|
| Black or green spotting | Mildew, algae | Diluted oxygen-based cleaner, soft brush |
| Orange-brown streaks | Rust from fittings | Localized rust remover, rinse fast |
| Dark oily patches | Sunscreen, fuel, food oils | Enzyme-based degreaser, gentle scrub |
| Overall graying | UV and oil loss | Restorative teak cleaner, not bleach |
Using a biodegradable, non-corrosive formula for each category keeps you from introducing chlorine bleach or muriatic acid, both of which damage surrounding gelcoat and hardware finishes.
Spot treat, don't resurface
Work the stained area only, feathering slightly into the surrounding wood so you don't leave a visible line. Rinse immediately after the stain lifts rather than letting any treatment dwell longer than needed.
Spot-treating stains keeps the rest of your teak's natural oils intact instead of stripping wood that was never damaged.
Yellowed or grayed teak nearby usually just needs your regular cleaner from Step 1, not another aggressive treatment.
Step 3. Seal, oil, or varnish the teak
Once the wood is clean, dry, and stain-free, decide how you want to protect it going forward. Teak sealer, oil, or varnish all guard against UV and moisture, but they behave differently and demand different upkeep schedules, so pick based on how much maintenance time you actually want to commit.
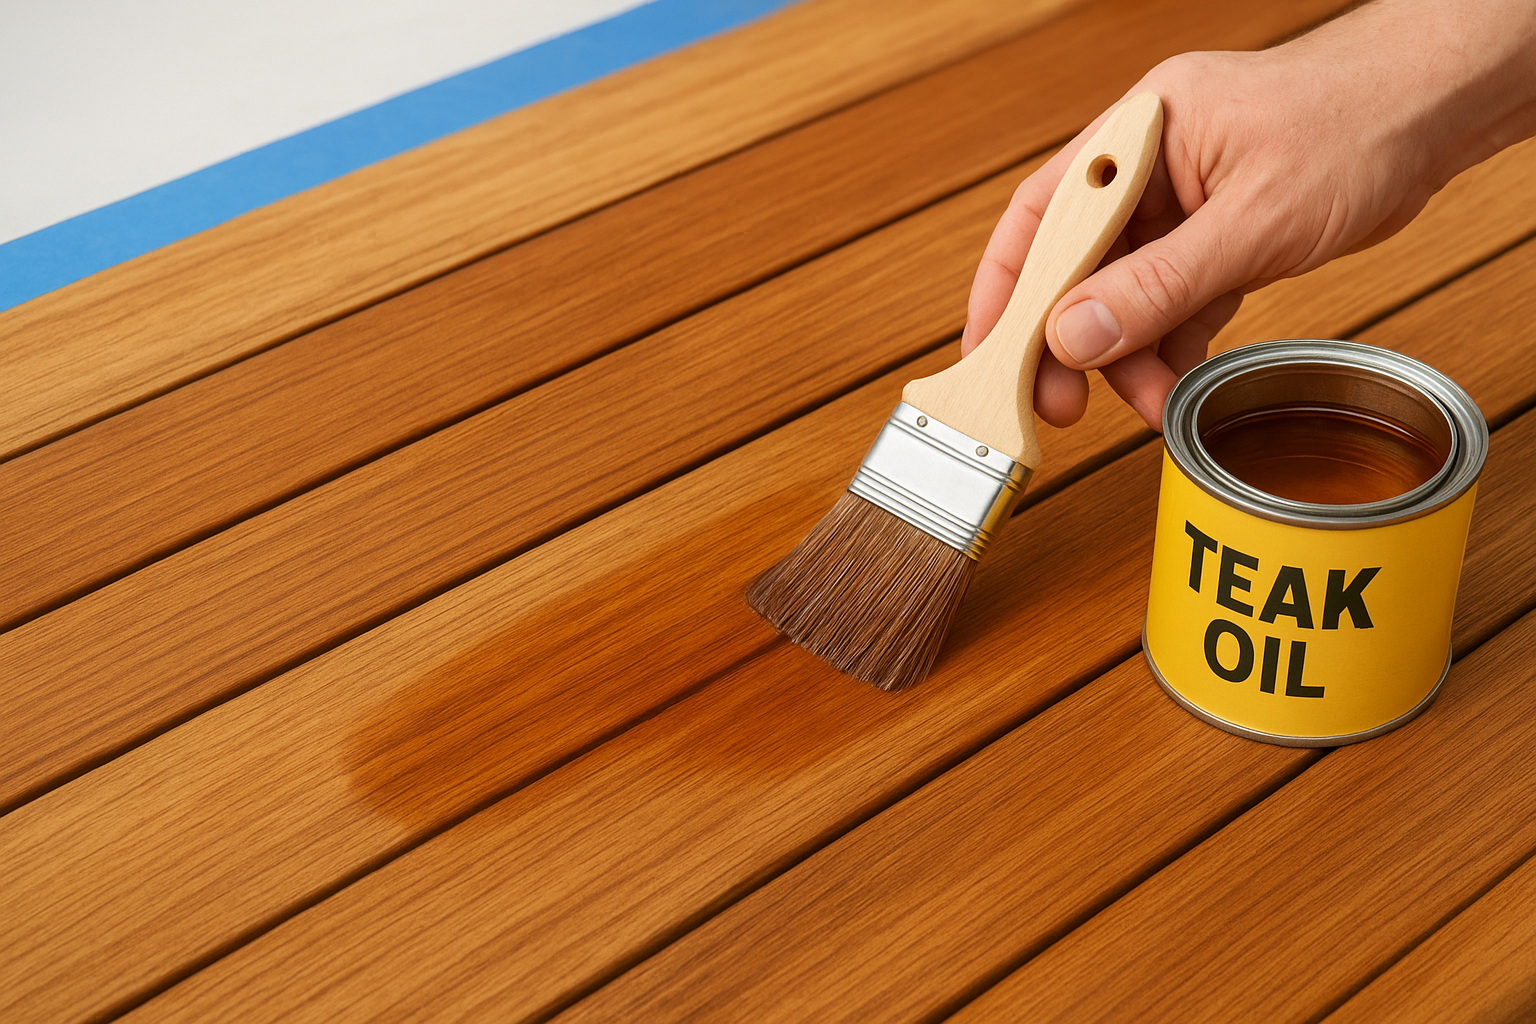
Choose your finish type
Compare the options before you open a can:
| Finish | Look | Maintenance frequency |
|---|---|---|
| Teak oil | Warm, natural | Every 4-6 weeks |
| Teak sealer | Matte, natural | Every 2-3 months |
| Varnish | Glossy, high-shine | Multiple coats yearly, more prep work |
Most working boats do better with sealer or oil since varnish demands more sanding and recoating to avoid peeling in high-traffic areas.
Apply in thin, even coats
Work in sections so the product doesn't dry before you can wipe off excess. Follow this order:
- Tape off gelcoat, hardware, and non-teak surfaces
- Apply a thin coat with a clean brush or cloth, following the grain
- Wipe away pooled excess after a few minutes
- Let it cure fully per label instructions before foot traffic
- Recoat only once the previous layer is fully dry
A thin, even coat that's allowed to cure fully outlasts a thick coat rushed on before a weekend trip.
Avoid over-applying. Thick coats trap moisture underneath, which accelerates mildew growth instead of preventing it, undoing the work you just did in Steps 1 and 2.
Step 4. Inspect and maintain caulk seams
Walk the deck once your oil or sealer has cured and check every seam between the planks. Caulk seams take the brunt of expansion and contraction as teak swells with moisture and shrinks in the sun, and a cracked or lifted seam lets water sit against bare wood edges where rot starts fastest. This is the step most owners skip, yet it's often what determines whether a deck lasts fifteen years or five.
Spot the seams that need attention
Look for these warning signs as you move plank to plank:
- Seams that have pulled away from the wood edge, leaving a visible gap
- Caulk that feels brittle, cracked, or crumbles when pressed
- Standing water after a rinse, which signals a low or failed seam
- Black staining running along a seam line, usually trapped moisture
Any of these means it's time to re-bed that section rather than waiting for next season.
Re-caulk without damaging the wood
Remove failed caulk with a proper seam-cutting tool, never a screwdriver or utility knife, since both gouge the plank edges and create bigger gaps than you started with. Clean the channel thoroughly, let it dry fully, then apply a marine-grade polyurethane sealant rated for teak decking, tooling it flush so water sheds instead of pooling.
A dry, well-bedded seam does more to prevent teak rot than any oil or sealer you apply on top.
Check seams again after the first hard rain following any repair, since new caulk sometimes needs a second pass before it seals completely.
Building a maintenance routine that lasts
Teak doesn't fail because of one bad season. It fails because small problems, a raised grain here, a cracked seam there, get ignored until they compound into a full resurfacing job. Consistent, gentle maintenance beats occasional aggressive restoration every time, both for the wood and for your weekend schedule.
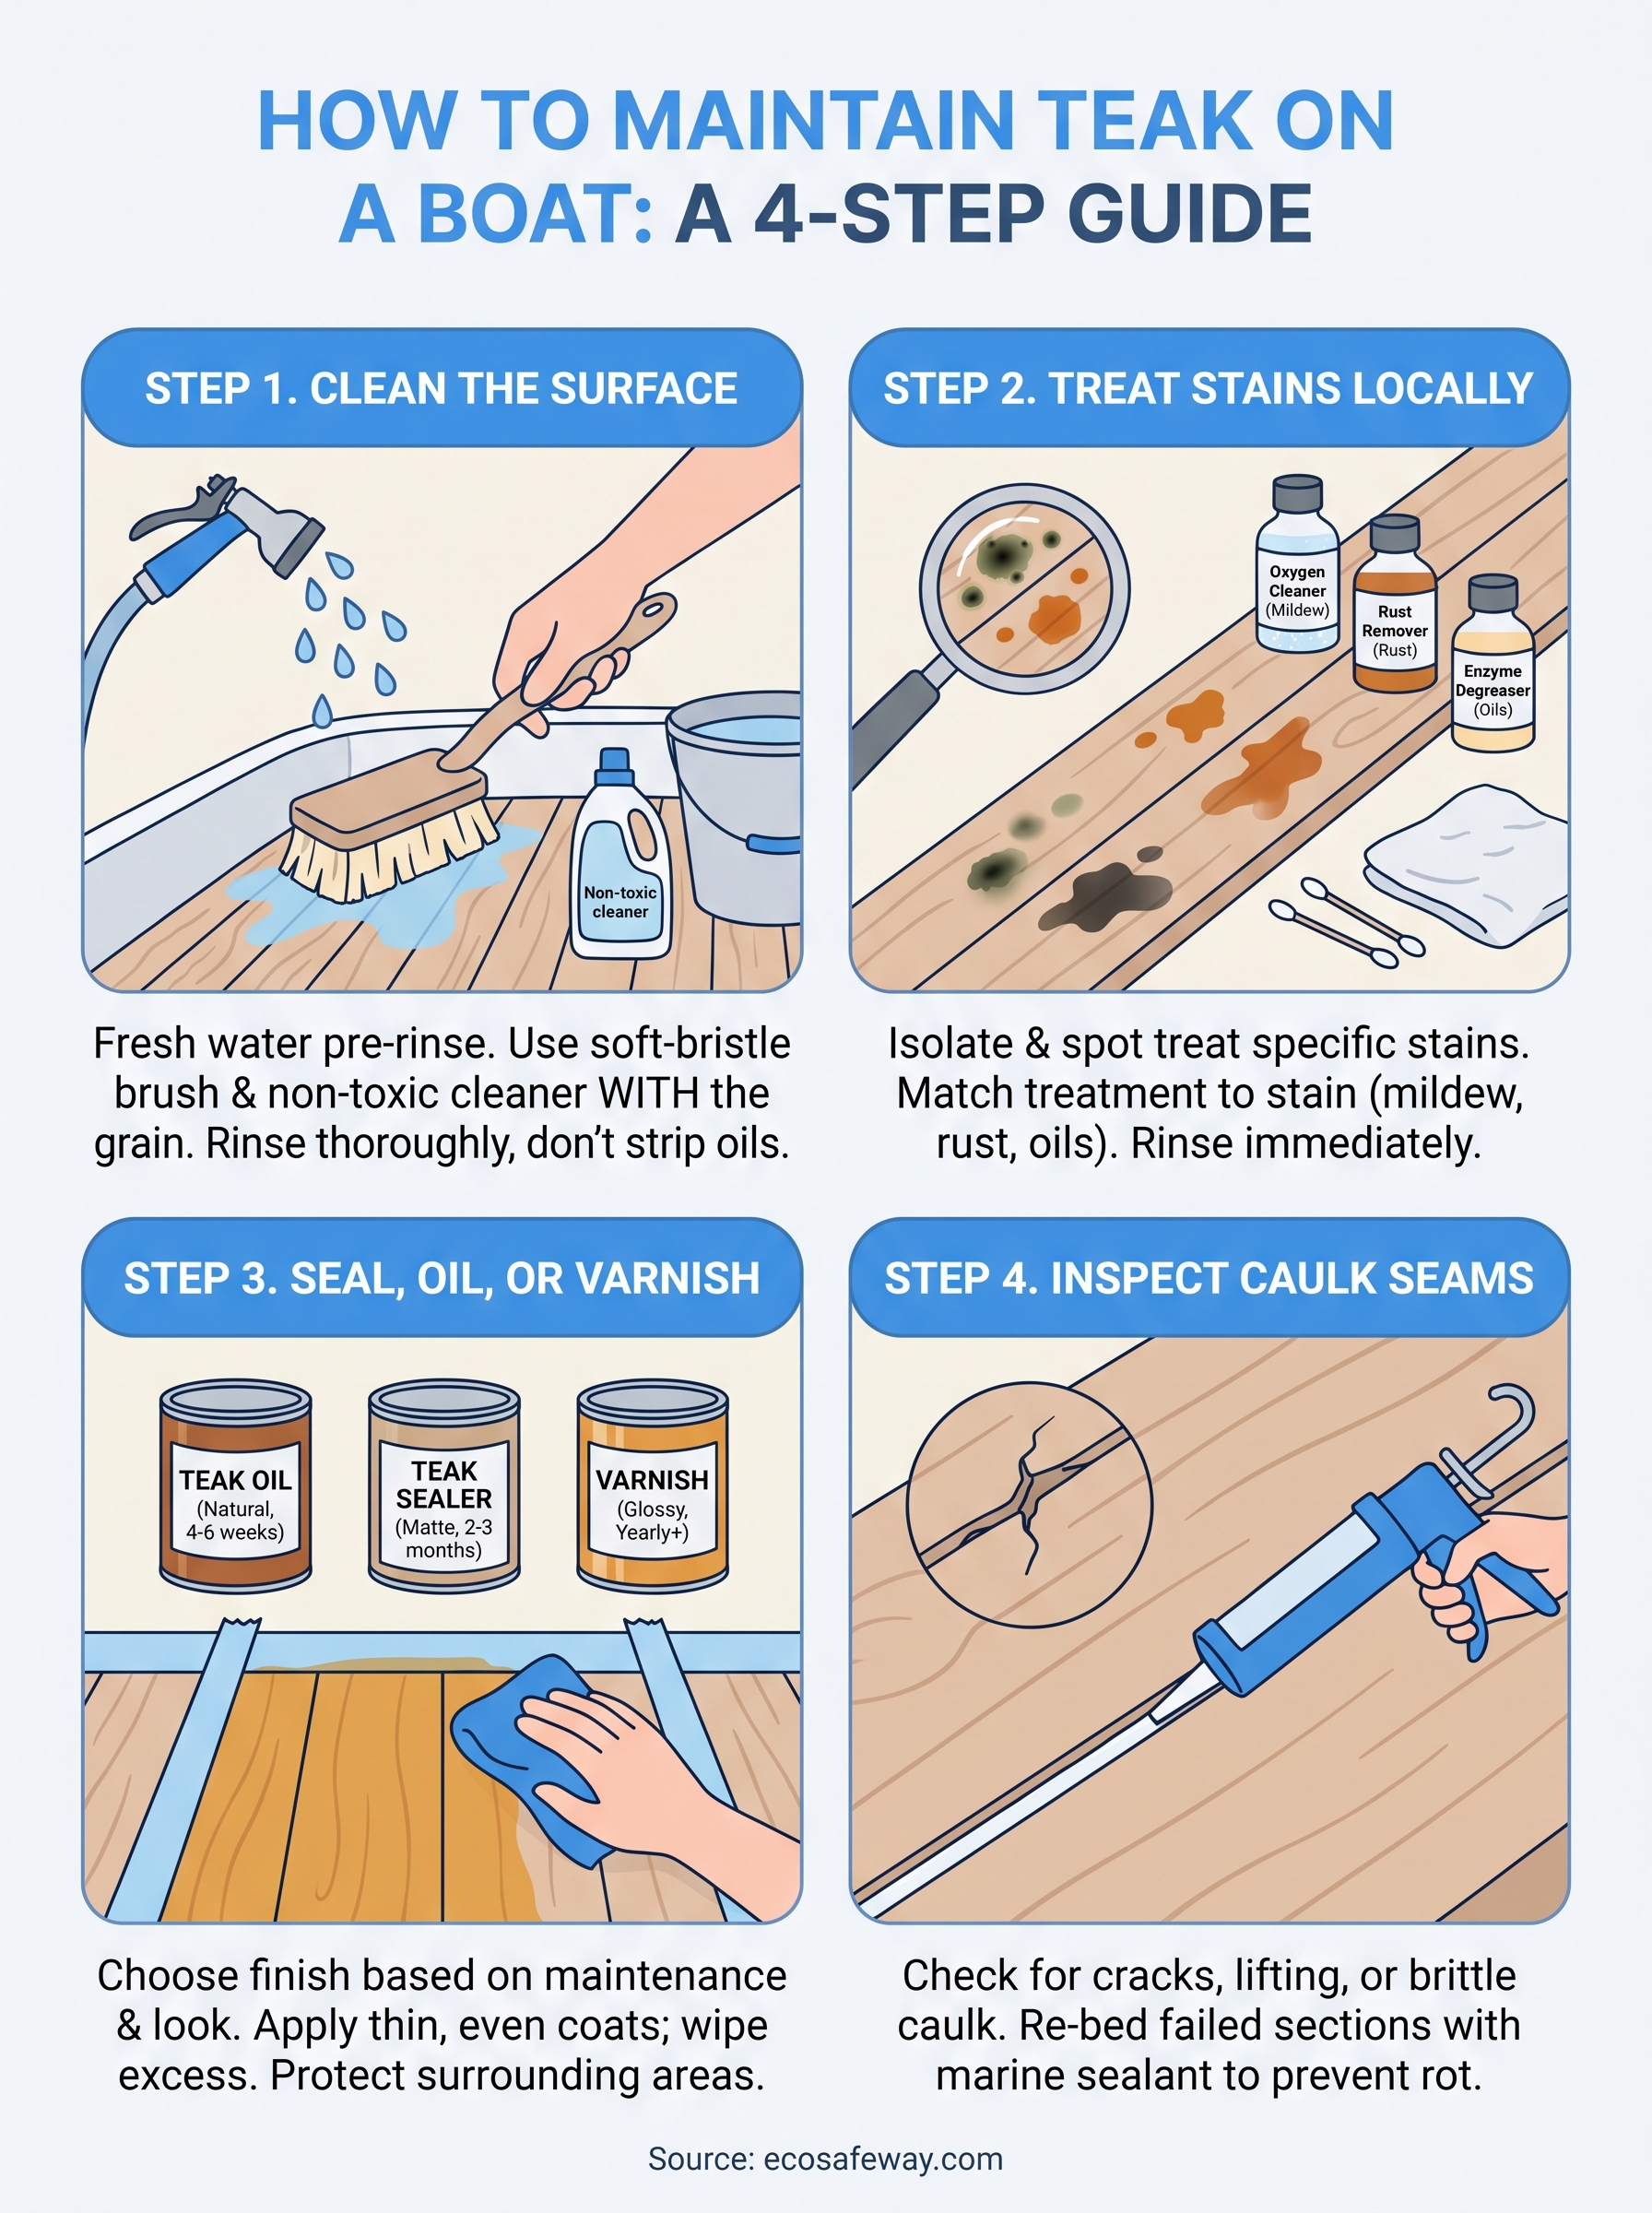
Stick to the sequence in this guide: rinse often, clean with the grain, treat stains locally, oil or seal on schedule, and check your seams every few months. That rhythm is what actually determines how to maintain teak on a boat for the long haul, not the occasional deep clean before a big trip. If you're ready to build that routine with a product that won't strip oils or damage surrounding gelcoat, take a look at Eco Safeway's pH neutral deck cleaner and add it to your regular rotation.


