





A dirty hull isn't just ugly, it's expensive. Algae, barnacles, and mineral deposits create drag that increases fuel consumption by up to 30%, and left unchecked, marine growth can damage gelcoat and compromise the hull's protective barrier. Knowing how to clean a boat hull the right way protects your investment and keeps your vessel performing at its best.
The problem is that many hull cleaning methods rely on harsh acids and abrasive techniques that strip coatings, corrode metal fittings, and dump toxic chemicals into the water. That's exactly why we developed Eco Safeway's marine cleaning products, HMIS 0-0-0 rated, non-toxic, and biodegradable formulations that remove stubborn growth and stains without harming your boat, your skin, or the marine environment.
This guide walks you through the full process, from choosing the right tools and cleaning products to step-by-step methods for both in-water and out-of-water cleaning. Whether you're dealing with light slime or a season's worth of barnacles, you'll find practical techniques you can use today to get your hull clean safely and effectively.
What to know before you clean a boat hull
Before you grab a scrub brush, take a few minutes to understand what's under the waterline. Hull material and coating type determine which cleaning products and techniques are safe to use. Using the wrong approach can strip antifouling paint, etch gelcoat, or corrode metal fittings, turning a routine cleaning job into a costly repair.
Know your hull material and coating type
Fiberglass hulls are the most common and tolerate a wider range of cleaners, but they still need non-abrasive products to protect the gelcoat layer. Aluminum hulls are more reactive and can corrode quickly when exposed to acidic cleaners, so only pH-neutral or mildly alkaline formulations are safe. Painted hulls, especially those with antifouling paint, need the gentlest approach because aggressive scrubbing or harsh chemicals will remove the ablative layer you paid to have applied.
Stripping antifouling coating during cleaning defeats the purpose of having it. Always confirm what your hull coating is before you choose a cleaner or scrubbing tool.
Understand in-water cleaning rules in your area
Regulations on in-water hull cleaning vary by state and marina, and some regions restrict or ban underwater scrubbing entirely to prevent copper and other biocides from contaminating local waterways. Before you learn how to clean a boat hull while it's still in the slip, check with your local marina management or state environmental agency to confirm what methods are permitted. In areas where in-water cleaning is restricted, you'll need to haul the boat and clean it on a trailer or in a boatyard.
A quick call or email to your marina office takes two minutes and can save you a fine. It also confirms whether your current antifouling paint is compliant with local environmental rules before you start scrubbing.
Step 1. Pick the right method for your situation
The method you choose determines your tools, products, and how long the job takes. Two main approaches cover most scenarios: cleaning in the water while the boat stays in the slip, or cleaning out of the water on a trailer or in a boatyard. Each has advantages depending on your access, local regulations, and the level of fouling on the hull.
In-water cleaning
In-water cleaning works well for light to moderate growth when your marina permits it. You'll need a dive mask or snorkel, soft non-abrasive scrubbing pads rated for your specific hull coating, and an ocean-safe hull cleaner that won't contaminate the surrounding water.
Best for:
- Light slime or algae buildup
- Boats that stay in a slip year-round
- Marinas where underwater scrubbing is allowed
Out-of-water cleaning
Hauling your boat gives you full access to the entire hull surface, which makes it far easier to treat heavy fouling, inspect for blistering or damage, and apply fresh bottom paint afterward. This is the recommended method for anyone working through how to clean a boat hull for the first time.
Out-of-water cleaning on a trailer is the safest starting point when you're unsure about local in-water restrictions.
Best for:
- Heavy barnacle or full-season growth
- Bottom paint reapplication
- First-time hull cleaning
Step 2. Remove growth without damaging coatings
With your method selected, it's time to start scrubbing, but technique matters as much as effort. The most common mistake people make when learning how to clean a boat hull is using too much force or the wrong tool, which leads to scratched gelcoat, damaged antifouling paint, and a hull that's more vulnerable than when you started.
Match your scrubbing tool to the growth level
Matching your tool to the type and severity of fouling protects your coating while still getting the job done. Use a soft nylon pad or sponge for light slime and algae, and step up to a medium-bristle brush rated safe for your hull type when dealing with moderate growth, since it removes buildup without cutting into the surface layer.
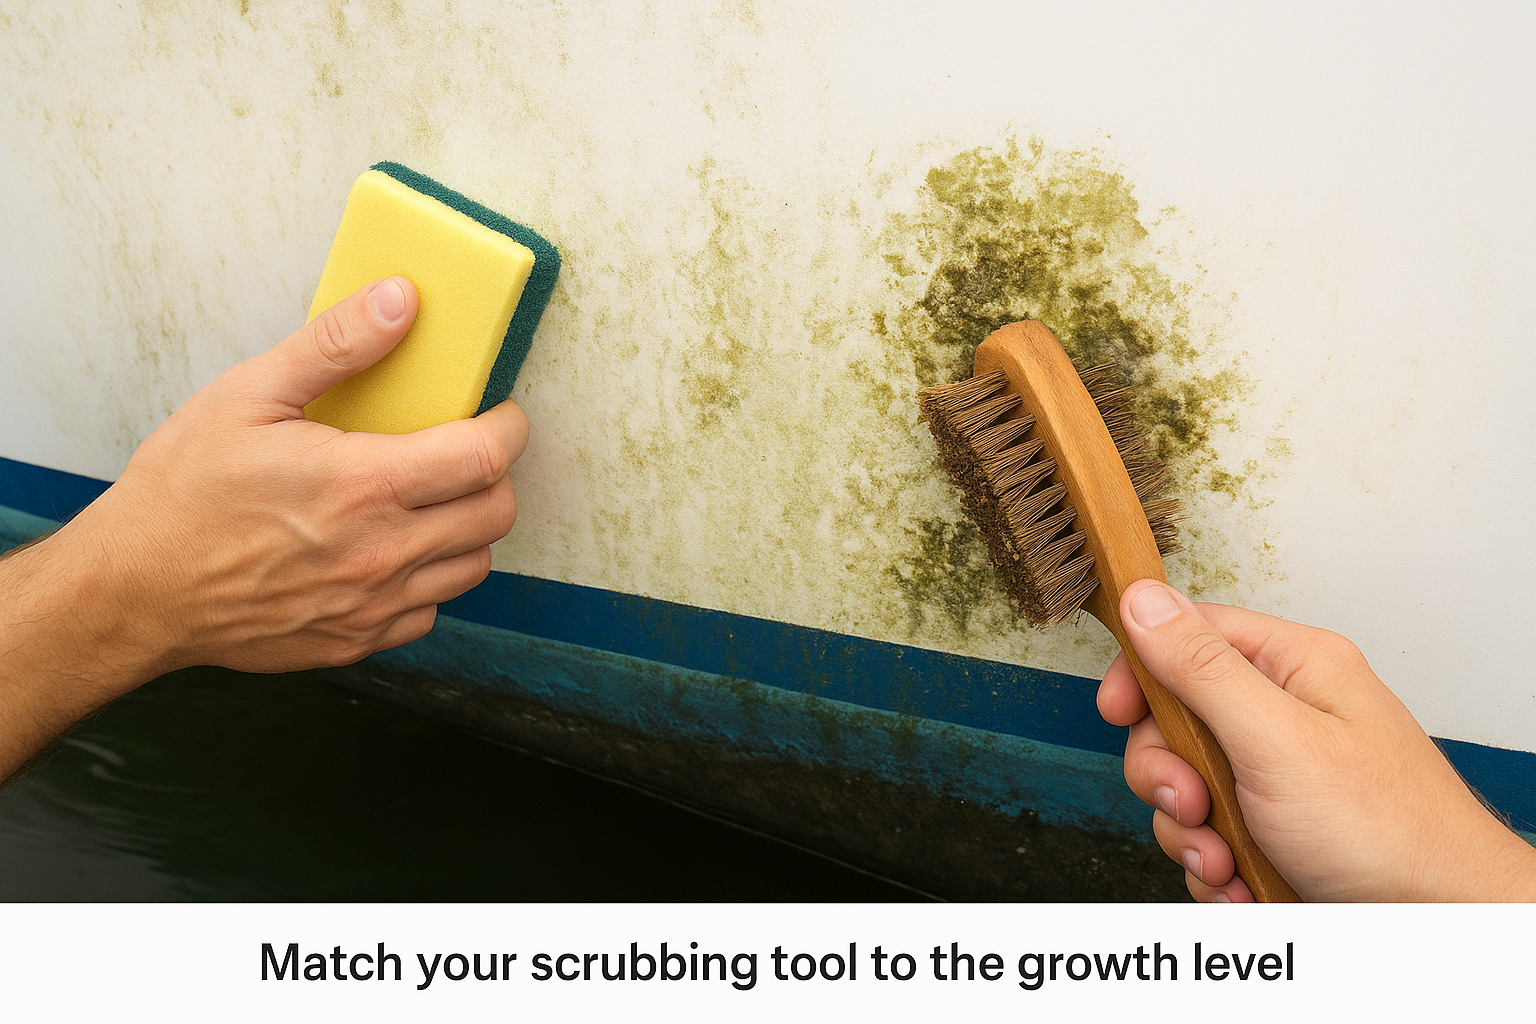
| Growth Level | Recommended Tool |
|---|---|
| Light slime or algae | Soft nylon pad or sponge |
| Moderate growth | Medium-bristle brush |
| Heavy barnacles | Plastic scraper, then medium brush |
Never use metal scrapers or steel wool on fiberglass or painted hulls. They leave scratches that trap debris and accelerate future fouling.
Apply cleaner and scrub in sections
Work your hull in manageable 2-foot sections, rinsing each area before moving to the next. Apply your hull cleaner and let it dwell for 2 to 3 minutes before scrubbing so the formula can loosen growth at the surface level, which reduces the force you need to use and lowers your risk of coating damage.
Step 3. Treat stains and waterline scum safely
Once the bulk of growth is off, you'll likely find rust streaks, waterline scum, and mineral deposits that scrubbing alone won't remove. These stains form at the waterline where tannins, oil, and oxidized metals settle into the gelcoat or paint. Knowing what caused each stain is the key to removing it without damaging the surface underneath.
Identify the stain type first
Not every discoloration responds to the same treatment, and using the wrong product wastes time and risks coating damage. The table below gives you a quick reference for the most common stains you'll encounter when figuring out how to clean a boat hull thoroughly.
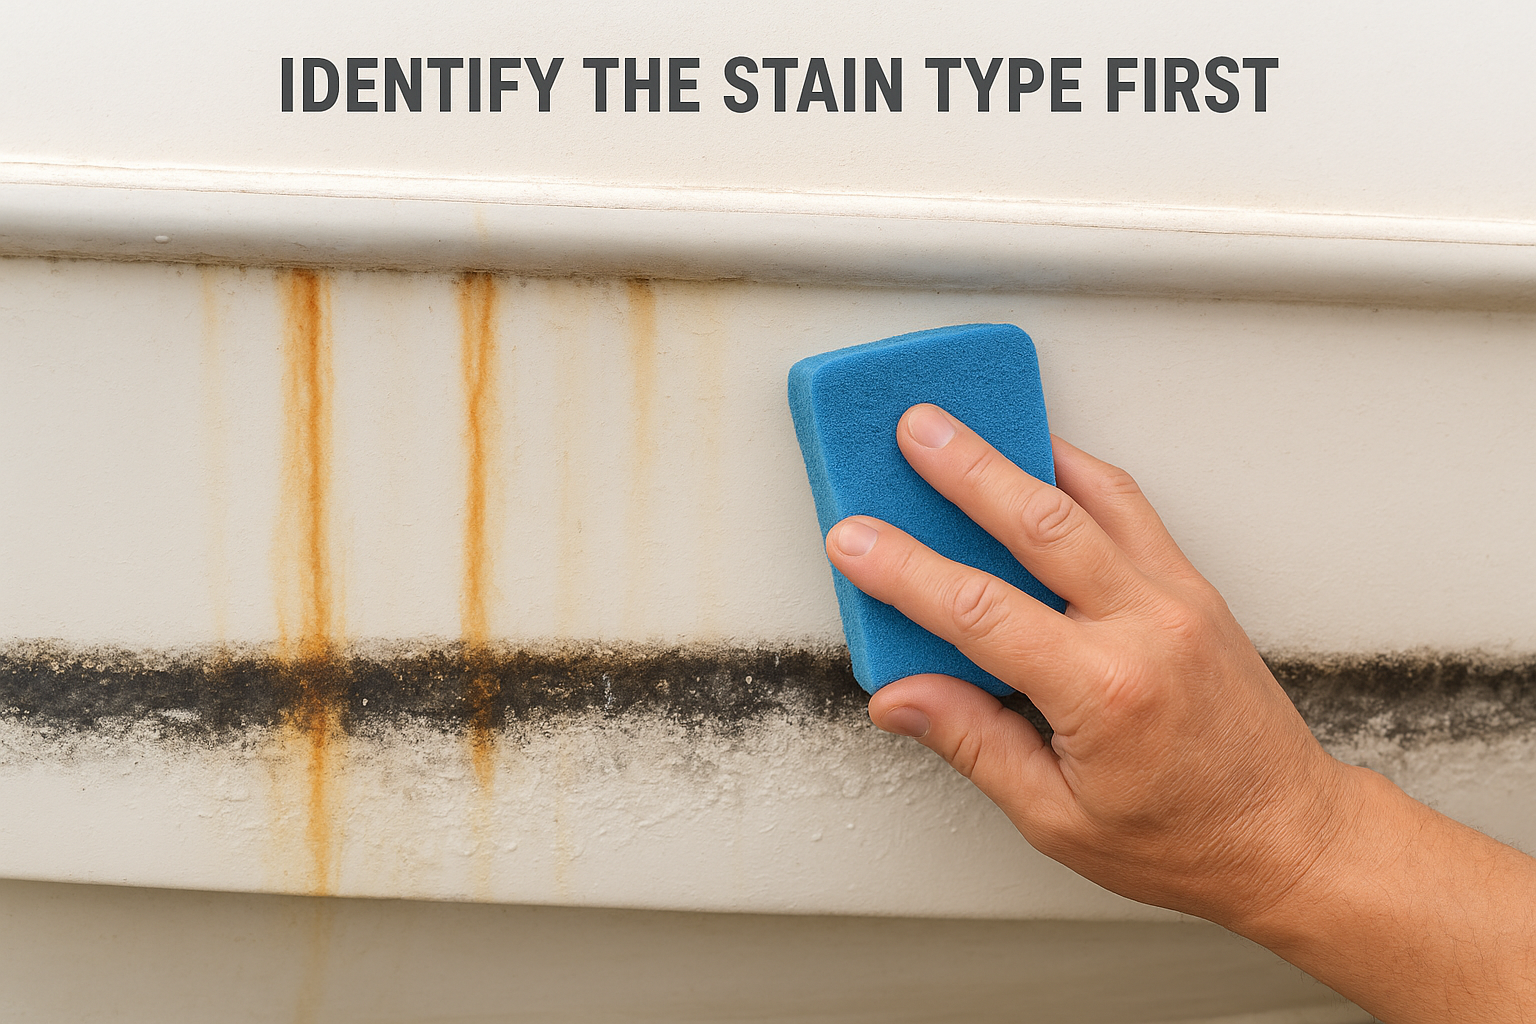
| Stain Type | Cause | Treatment |
|---|---|---|
| Brown/orange streaks | Rust or iron oxidation | Non-toxic descaler |
| Black waterline scum | Oil, fuel, and algae mix | Biodegradable degreaser |
| White mineral deposits | Hard water or salt buildup | Non-corrosive descaling solution |
| Yellow discoloration | Tannins from vegetation | Enzyme-based cleaner |
Apply the right treatment without harsh acids
Apply your cleaner directly to the stain, let it dwell for 3 to 5 minutes, then work it in with a soft pad using circular, light-pressure strokes. Resist the urge to scrub harder if the stain doesn't lift immediately; a second application is always safer than abrading the gelcoat.
A non-corrosive, HMIS 0-0-0 rated cleaner removes mineral stains and waterline scum without acid burns, hazmat concerns, or coating damage.
Step 4. Final rinse, drying, and prevention
The final rinse is the step most people rush, but it's where you either lock in a clean hull or leave residue that causes new staining. Once you've treated every section, rinse the entire hull from top to bottom with fresh water under moderate pressure. This removes loosened growth, cleaner residue, and any remaining salt that would otherwise dry into a mineral film.
Rinse thoroughly and inspect
Work your rinse water from the waterline down to the keel, not the other way around, so debris flows off the hull rather than back over a surface you've already cleaned. While you rinse, run your hand across the hull to feel for patches of remaining buildup. Any rough or tacky areas need a second pass with your scrub pad before you consider the job done.
Rinsing with fresh water after every hull cleaning session also extends the life of your antifouling coating.
Protect the hull before your next launch
After the hull dries completely, apply a marine-grade hull wax or protective coating suited to your hull type. This step is what separates a quick clean from a complete maintenance cycle. Wax fills microscopic surface pores, making it harder for algae and slime to attach during your next time in the water, which means knowing how to clean a boat hull effectively now saves you significant effort later.
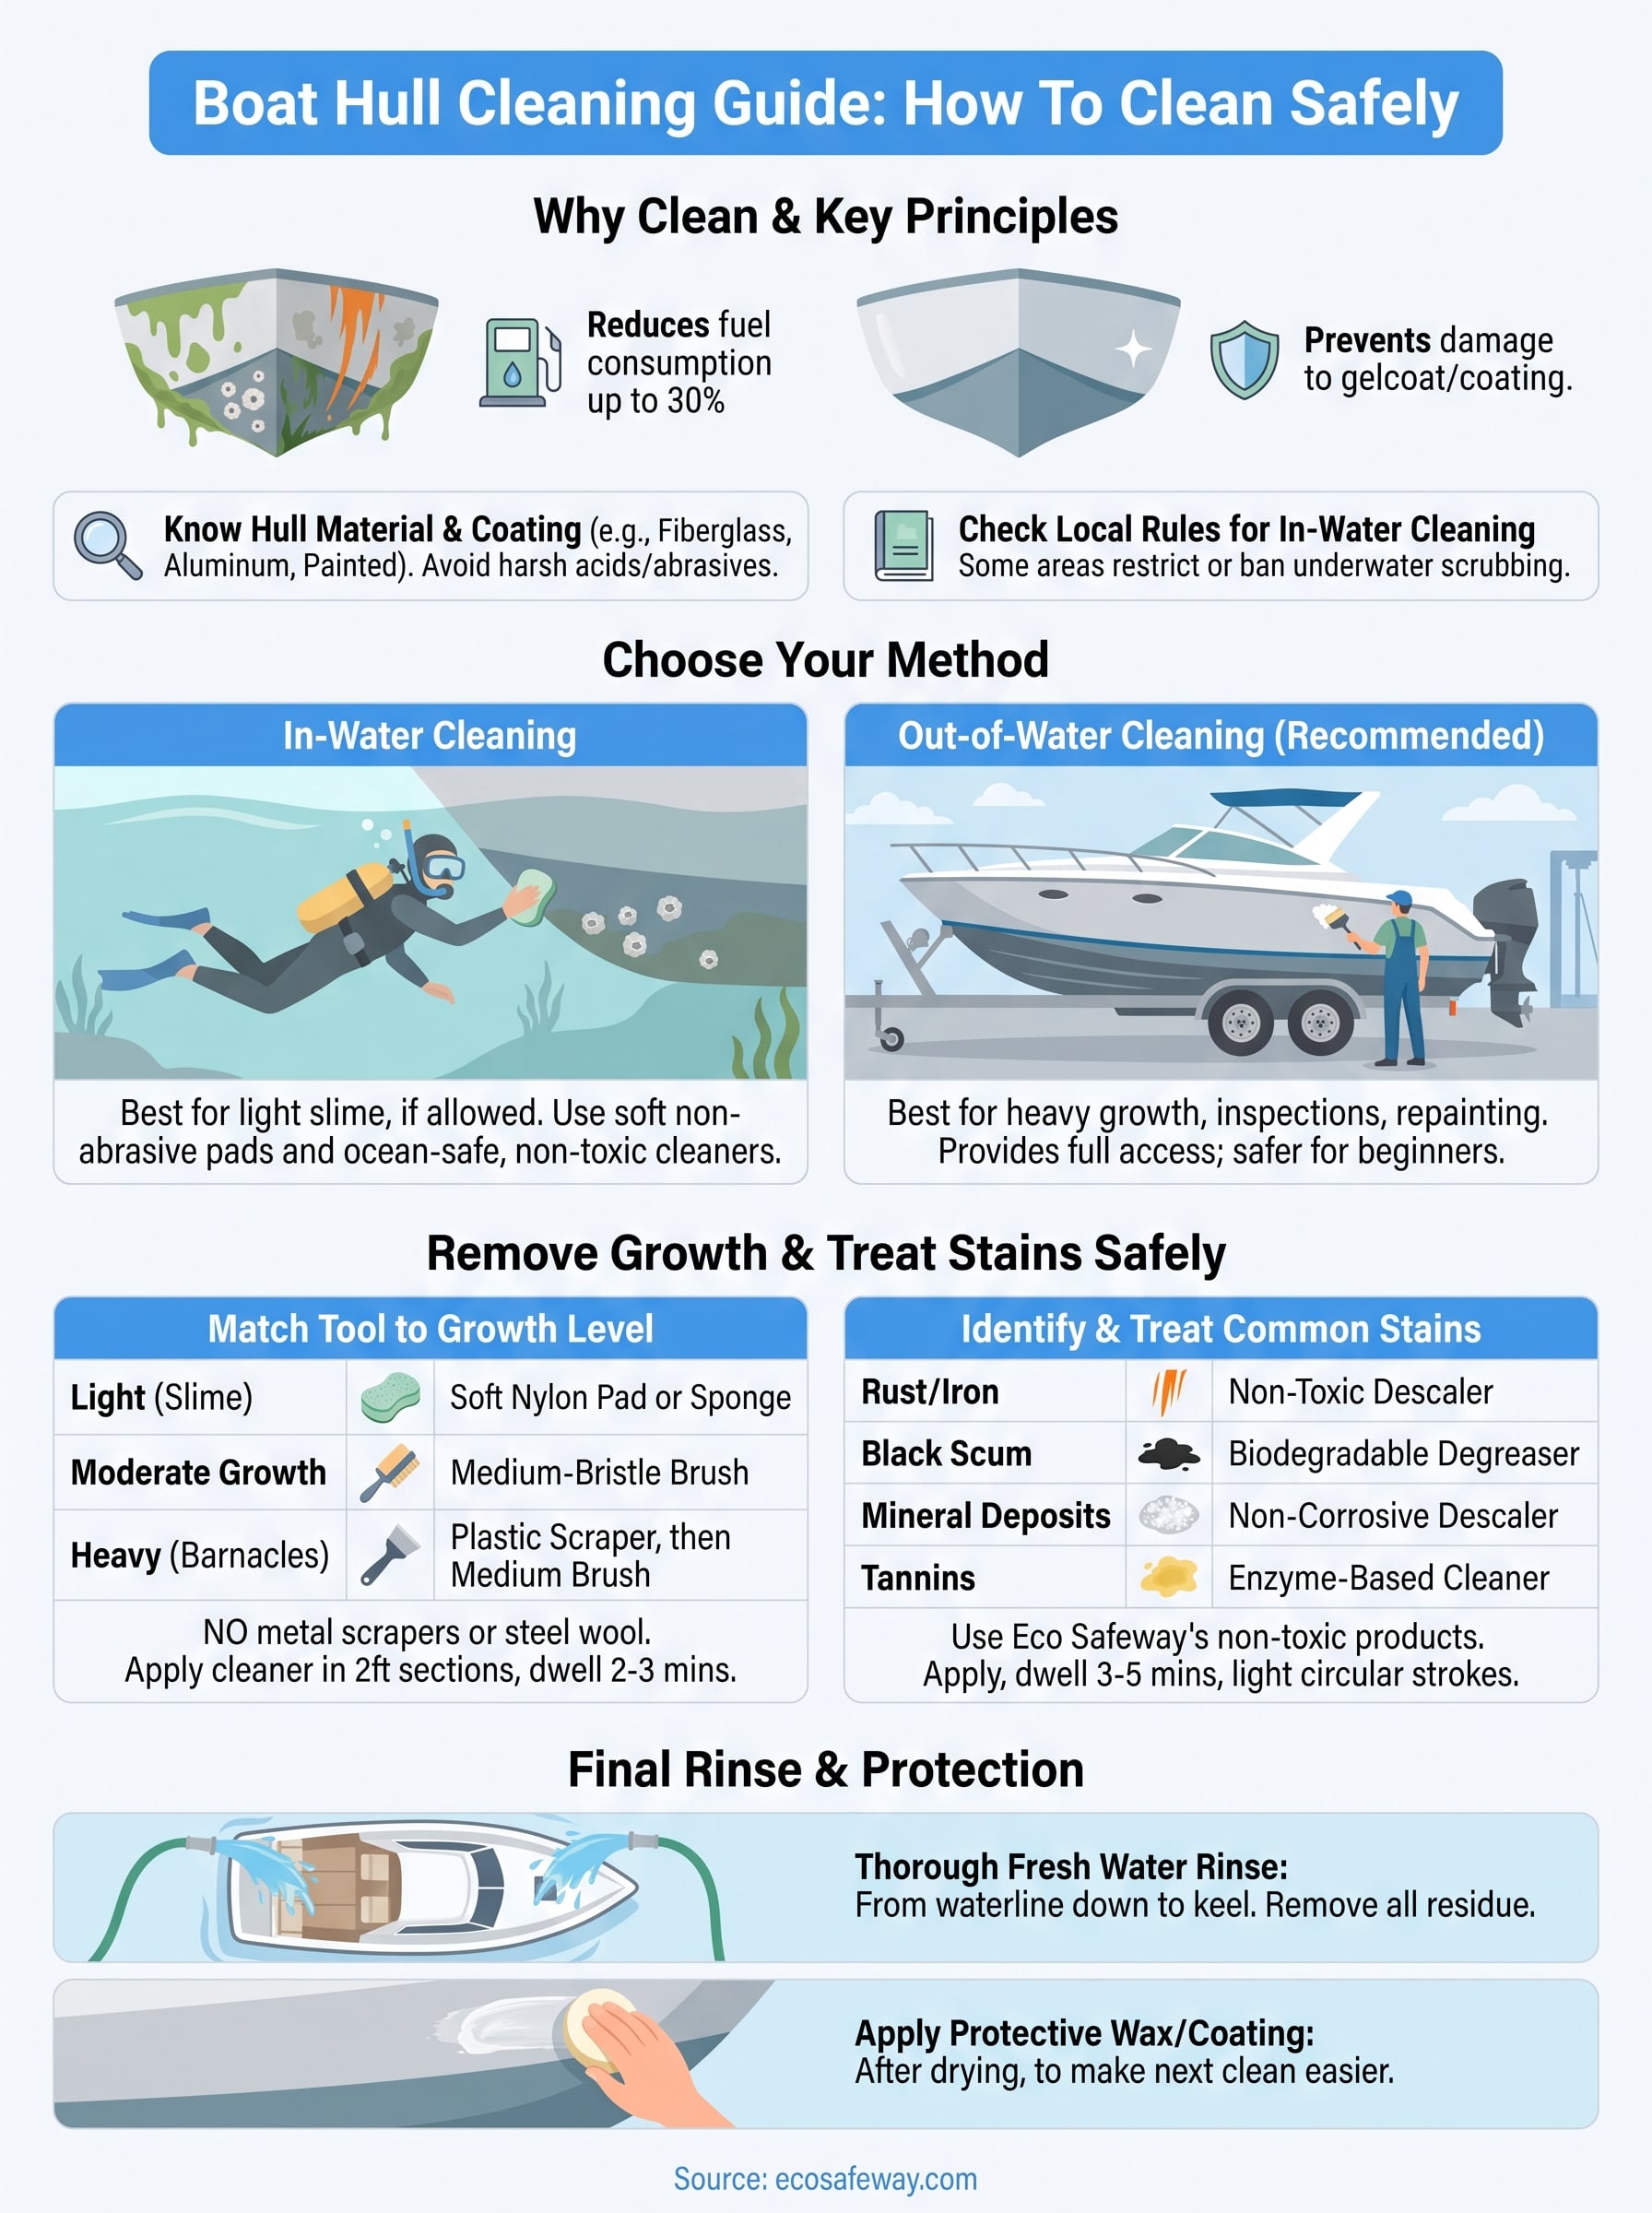
Next steps for an easier next clean
Now that you know how to clean a boat hull from growth removal to final rinse, the most effective thing you can do is make your next clean easier before you even leave the boatyard. Consistent maintenance intervals matter more than any single deep-clean session. A hull you clean every 60 to 90 days stays manageable with light scrubbing and basic tools. A hull you neglect for a full season becomes a half-day project involving plastic scrapers and multiple product applications.
Building a simple routine protects both your hull and your time. After each clean, log the date, the fouling level you found, and which products you used. That record tells you exactly when to schedule your next session before growth gets out of hand. If you want to reduce how often you haul out altogether, explore a long-term antifouling solution like Finsulate non-toxic antifouling wrap, which cuts marine attachment at the source.


