





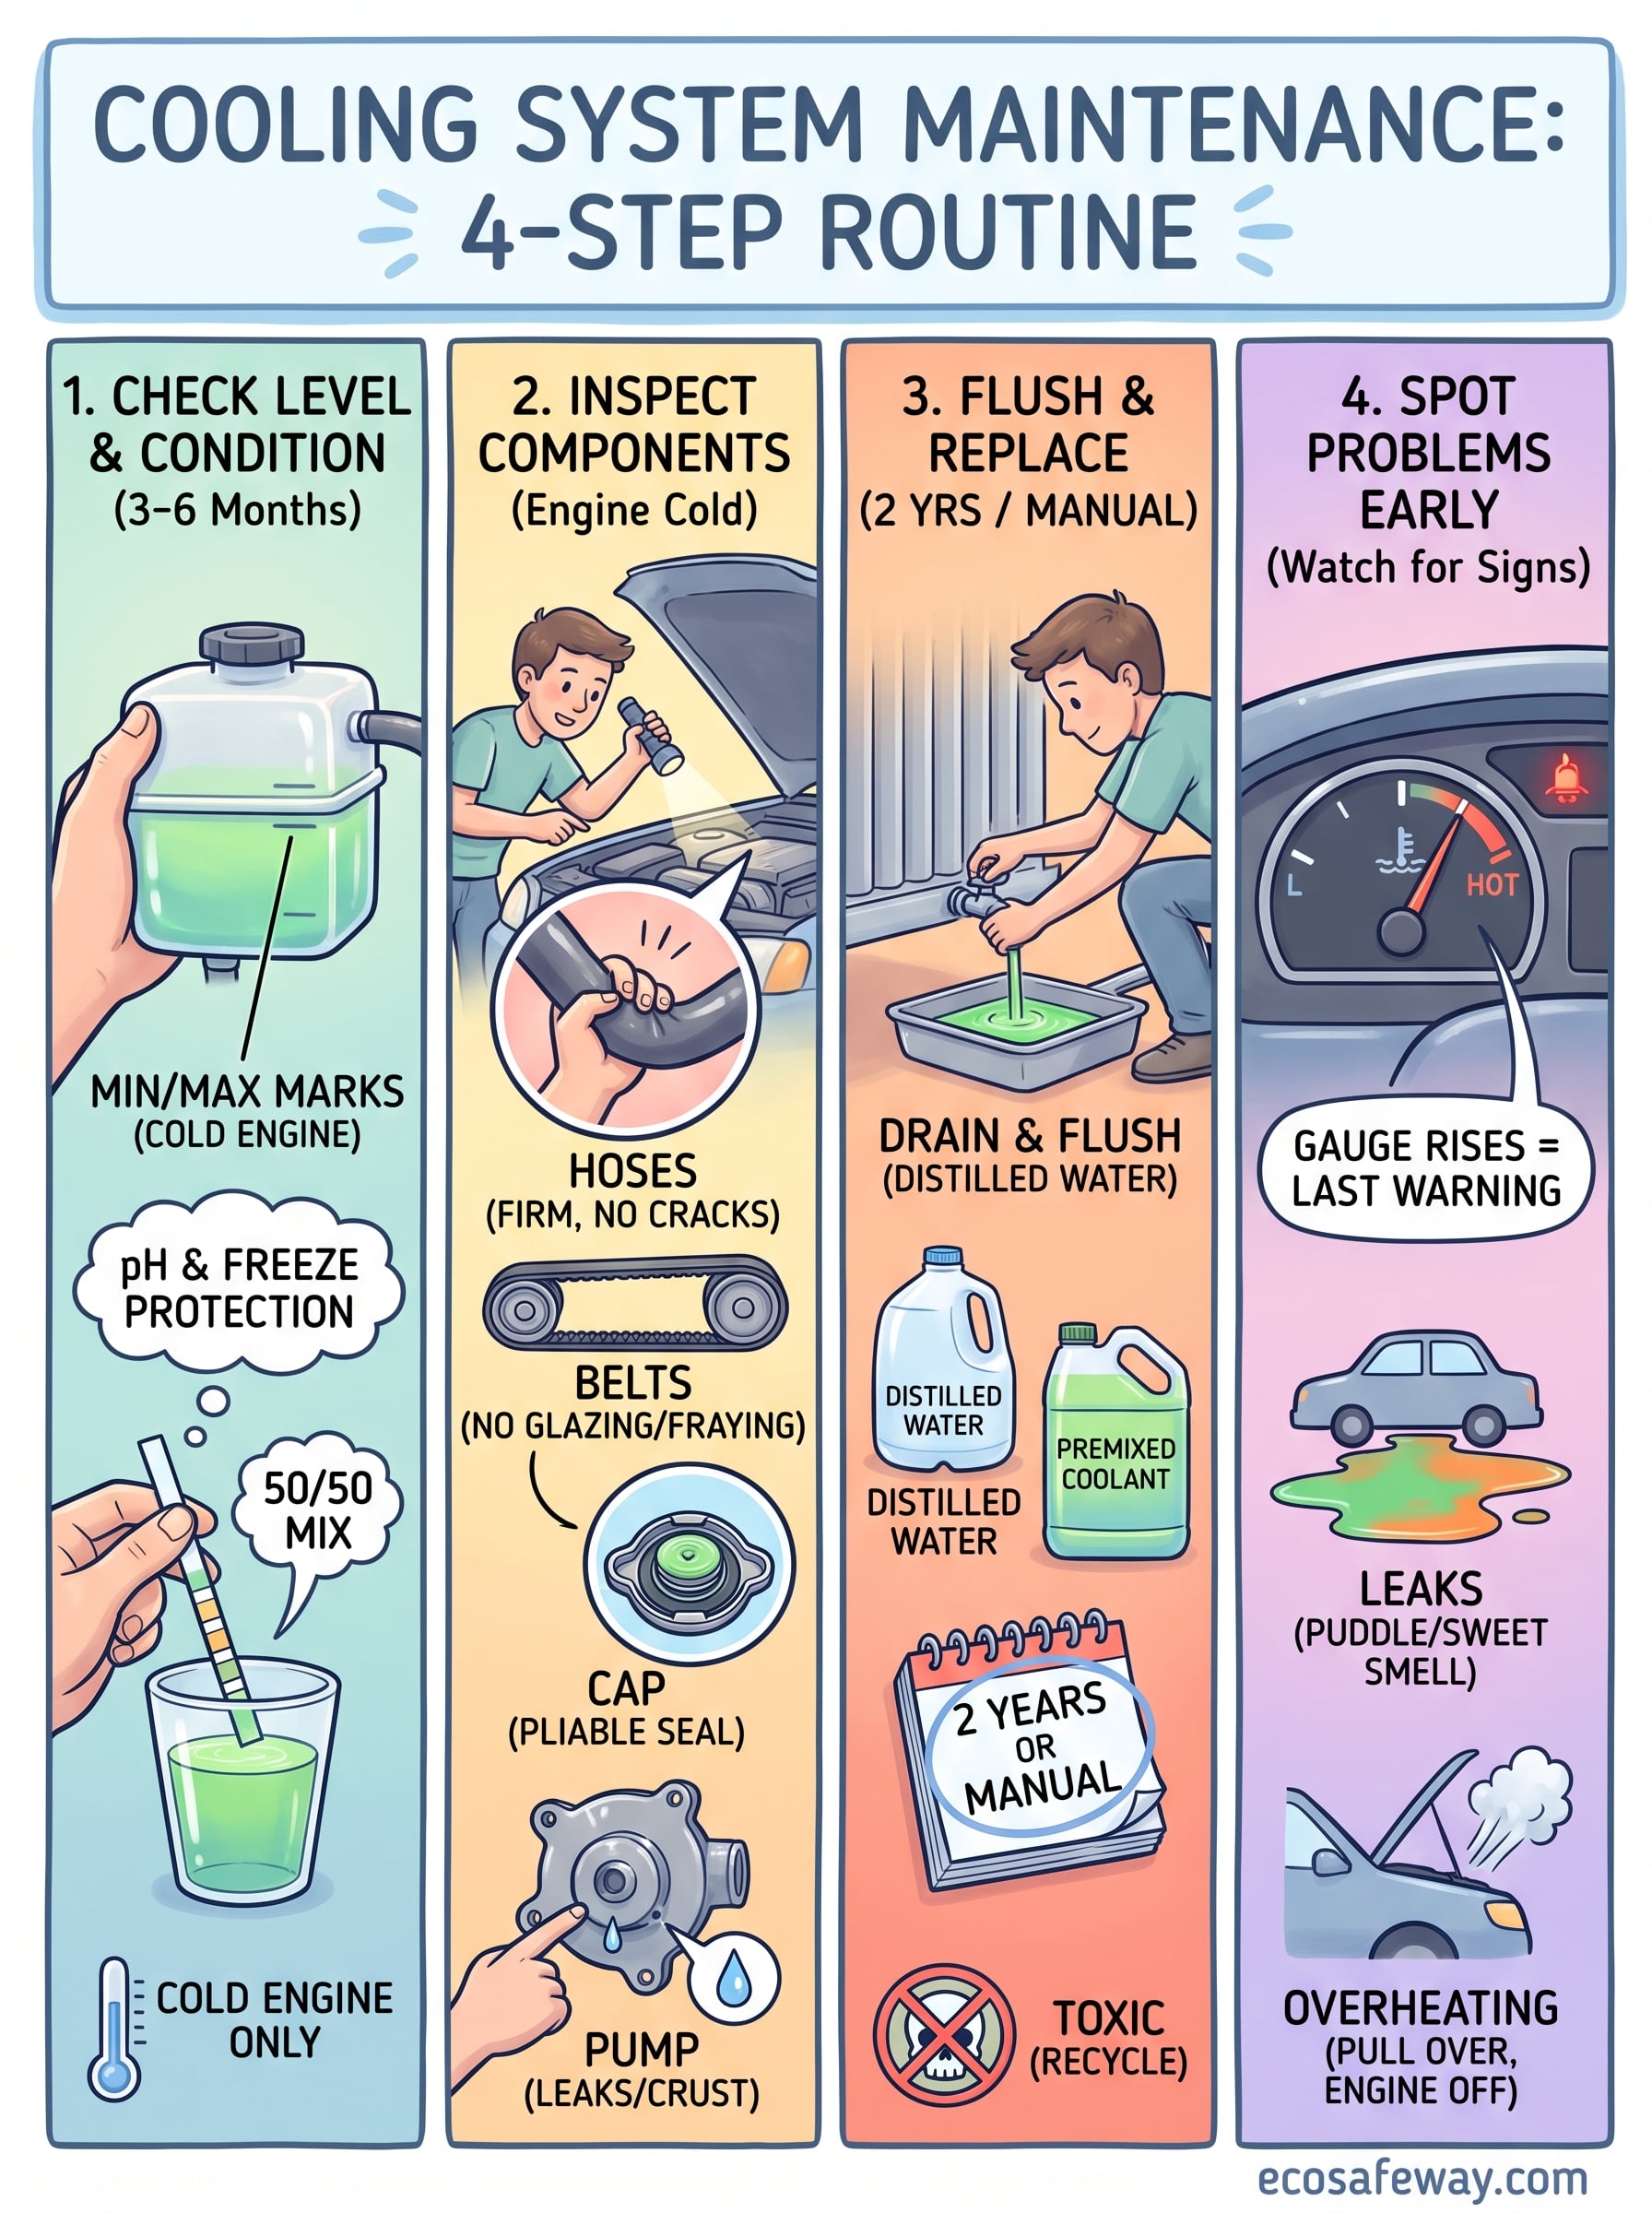
The most reliable approach to cooling system maintenance is a four-step routine. Check the coolant level and condition, inspect the hoses, belts, cap and water pump, flush and replace the coolant on the interval in your owner's manual, and act on early warning signs. The checks take about 15 minutes on a cold engine, and for most vehicles with conventional coolant the flush is a job you do every two years.
The problem is that a neglected cooling system looks fine until it fails. Coolant additives wear out, the fluid turns acidic, hoses soften from the inside, and one hot afternoon the temperature gauge starts to climb. An overheated engine can warp a cylinder head or blow a head gasket, and those repairs cost far more than any coolant service.
At Eco Safeway we deal with scale and corrosion in cooling systems on boats and HVAC equipment, and the same chemistry wears down your car's radiator. This guide explains why the system needs attention, then walks through four steps in order: level and condition, component inspection, flushing, and spotting problems early.
Why cooling system maintenance matters
Cooling system maintenance matters because coolant is a consumable fluid, not a lifetime one. Its protective additives wear out, and once they do, the system starts damaging itself.
What the system does
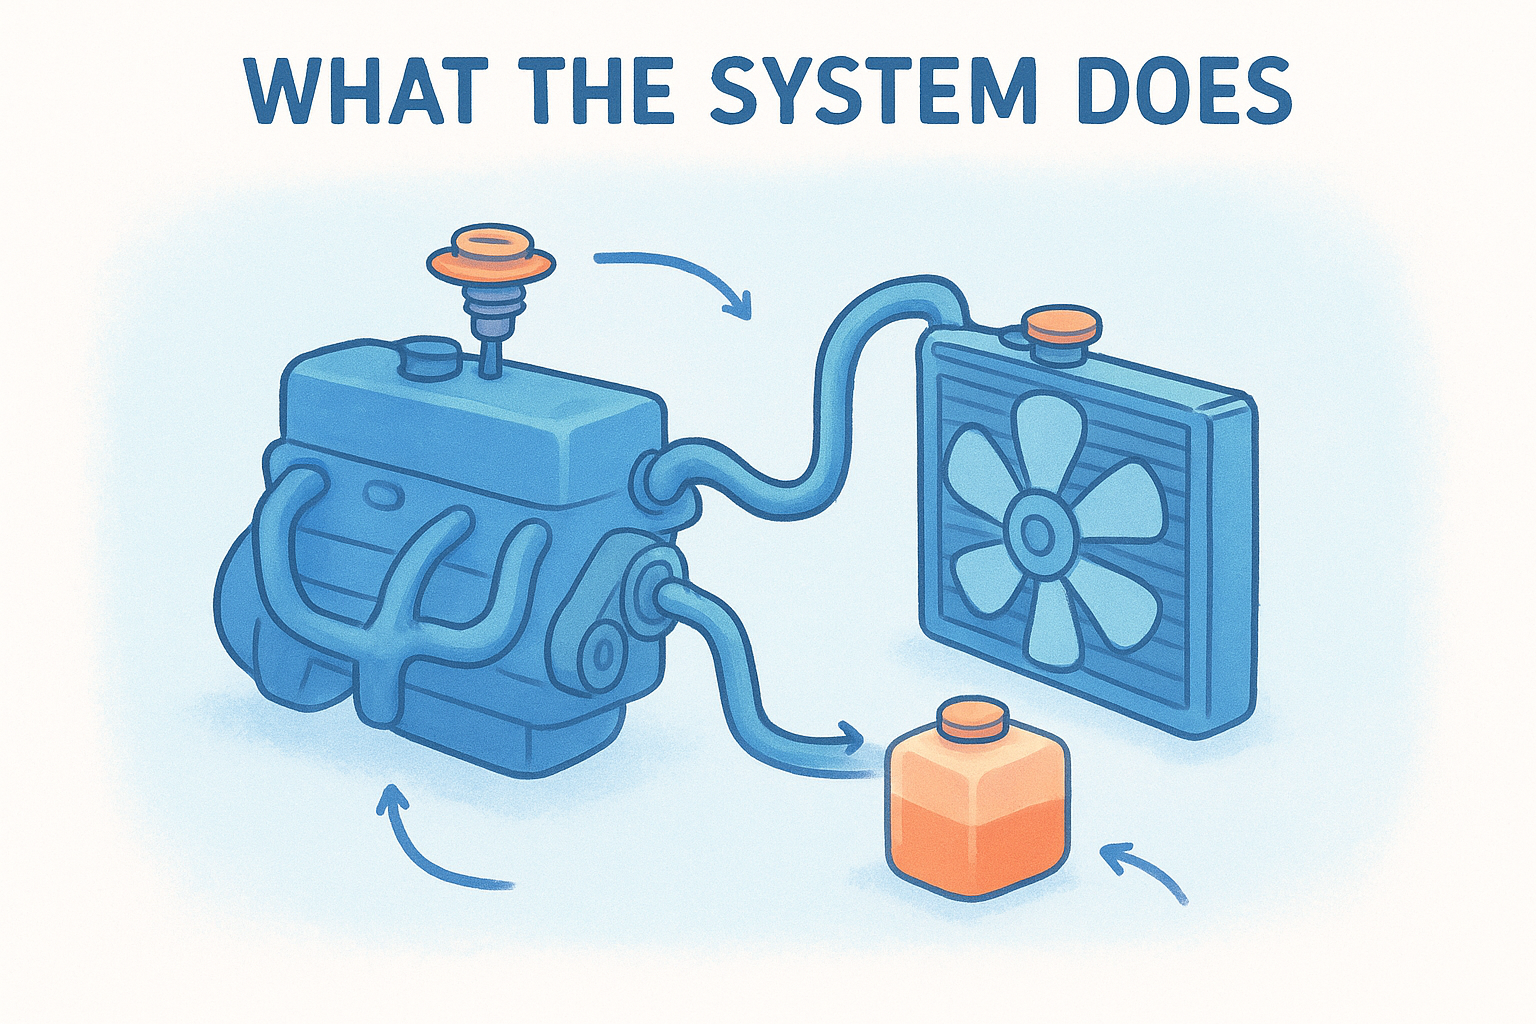
Your cooling system holds the engine at its designed operating temperature, usually around 200°F. A pump pushes coolant through the engine block, then through the radiator, where airflow carries the heat away. The main parts are the water pump, thermostat, radiator, radiator cap, hoses, cooling fan, heater core and coolant reservoir. Every one of these parts has to work, or the whole loop suffers.
What neglect does
Coolant carries corrosion inhibitors that deplete over time and miles. When they are gone, the fluid turns acidic and attacks the aluminum, iron and copper parts it touches. Rust and scale then restrict the radiator and heater core, the thermostat sticks, and the engine runs hotter. In the worst case, a failed head gasket lets coolant into the oil.
Coolant is a consumable, and the day its additives run out is the day it starts eating your engine.
Boat engines show the same process in another form. Raw-water-cooled marine engines pull outside water through a heat exchanger, so scale and deposits build up there and cut cooling capacity. Whatever you drive or sail, scale and corrosion are what you are fighting.
What you need before you start
Gather your tools first, and work only on a cold engine. Hot coolant is under pressure and can cause severe burns if you open the cap.
- Owner's manual, for coolant type and mix ratio
- The correct coolant and a jug of distilled water
- Coolant test strips or a hydrometer
- Funnel, drain pan, rags and gloves
- A flashlight
Step 1. Check coolant level and condition
A proper cooling system maintenance check starts with the level, then the quality of what is in there. Do it every 3 to 6 months and at every oil change.
Check the level on a cold engine
Wait until the engine has cooled for several hours. Most modern cars have a translucent reservoir with MIN and MAX marks, so you can read the level without opening anything. Older systems have a filler neck on the radiator, where the level should sit just below the neck.
- Park on level ground and let the engine cool completely.
- Read the reservoir against its MIN and MAX marks.
- If it is low, top up with the coolant type your manual specifies, premixed 50/50 or diluted with distilled water.
- Close the cap fully.
- Recheck in a week.
A level that keeps dropping means you have a leak, not a thirsty engine.
Test the coolant's condition
Level is only half the story. Most climates call for a mix of 50% antifreeze and 50% water. A stronger mix does not protect better and it cools worse. Test strips and hydrometers measure freeze protection, but only multi-parameter strips also read pH, which shows whether the inhibitors are spent. Match the tool to your coolant, because some hydrometers are built for propylene glycol only. If the fluid looks rusty, oily or full of debris, flush it now instead of waiting for the interval.
Step 2. Inspect the key components
Inspecting parts is the half of cooling system maintenance that catches failures before they leave you stranded. Do it with the engine cold and a flashlight.
Hoses, belts and the radiator cap
Work through these three in order:
- Hoses: Squeeze the upper and lower radiator hoses. They should feel firm with slight give. Replace any that feel mushy or crunchy, or that show cracks, bulges or damp clamps.
- Belts: Look for cracks, glazing and fraying. On many engines the belt drives the water pump, so a failed belt means overheating within minutes.
- Radiator cap: Check the rubber seal. It should be clean and pliable. Replace a cap that is hard or cracked, because the cap holds the pressure that raises the coolant's boiling point.
A $15 cap or a worn hose is the cheapest way to avoid a four-figure engine repair.
Water pump, radiator and fan
Look at the water pump for crusty residue, corrosion or drips around the seals and weep hole. A leaking weep hole signals a failing internal seal, and the pump needs prompt replacement. Check the radiator for bent fins, trapped debris and crust at the seams. Then start the engine and let it idle until it warms up. The fan should turn on as the engine reaches temperature, whether it is electric or belt-driven.
Step 3. Flush and replace coolant on schedule
Flushing is the step of cooling system maintenance that removes spent inhibitors and the scale they leave behind. It is the single most effective thing you can do for the system.
How often to flush
Plan on a full flush and coolant replacement about every two years with conventional coolant. If your car left the factory with long-life coolant, follow the interval in your owner's manual instead, because those formulas last longer. Replace the radiator cap and thermostat at the same service. Both wear out, and the labor overlaps, so doing them together saves money.
Follow the manual's interval for your coolant type, and never mix coolant types.
How to change coolant
Work on a cold engine, on level ground, with the drain pan in place.
- Open the radiator petcock and drain the old coolant.
- Close the petcock, fill with distilled water, run the engine with the heater on high for about 10 minutes, then let it cool and drain again. Repeat until the water runs clear.
- Close the petcock and fill with a 50/50 mix of the correct coolant.
- Bleed air according to your manual, running the engine with the heater on high and topping up as the level falls.
- Recheck the level after the first cool-down and again after a few drives.
Used coolant is toxic to pets and people, so take it to a recycling center or a parts store that accepts it. If your vehicle has a complicated bleed procedure, let a shop do it. Costs vary by vehicle, so ask for a quote that includes the cap and thermostat.
Step 4. Spot problems before they overheat the engine
Good cooling system maintenance includes knowing the symptoms. In practice, leaks cause most cooling system trouble, followed by stuck thermostats and failed fans.
Warning signs and what they mean
| Symptom | Likely cause | What to do |
|---|---|---|
| Gauge climbs in traffic, normal at speed | Failed fan or clogged radiator fins | Check fan operation, clean fins |
| Gauge rises fast, upper hose hot, lower hose cool | Stuck thermostat | Replace thermostat |
| Sweet smell or colored puddle under car | Coolant leak | Find the source, repair, refill |
| Heater blows cold, level low | Low coolant or air in system | Top up, bleed, check for leaks |
| Milky oil or white exhaust smoke | Head gasket failure | Stop driving, see a mechanic |
| Brown, rusty or sludgy coolant | Spent inhibitors, corrosion | Flush now |
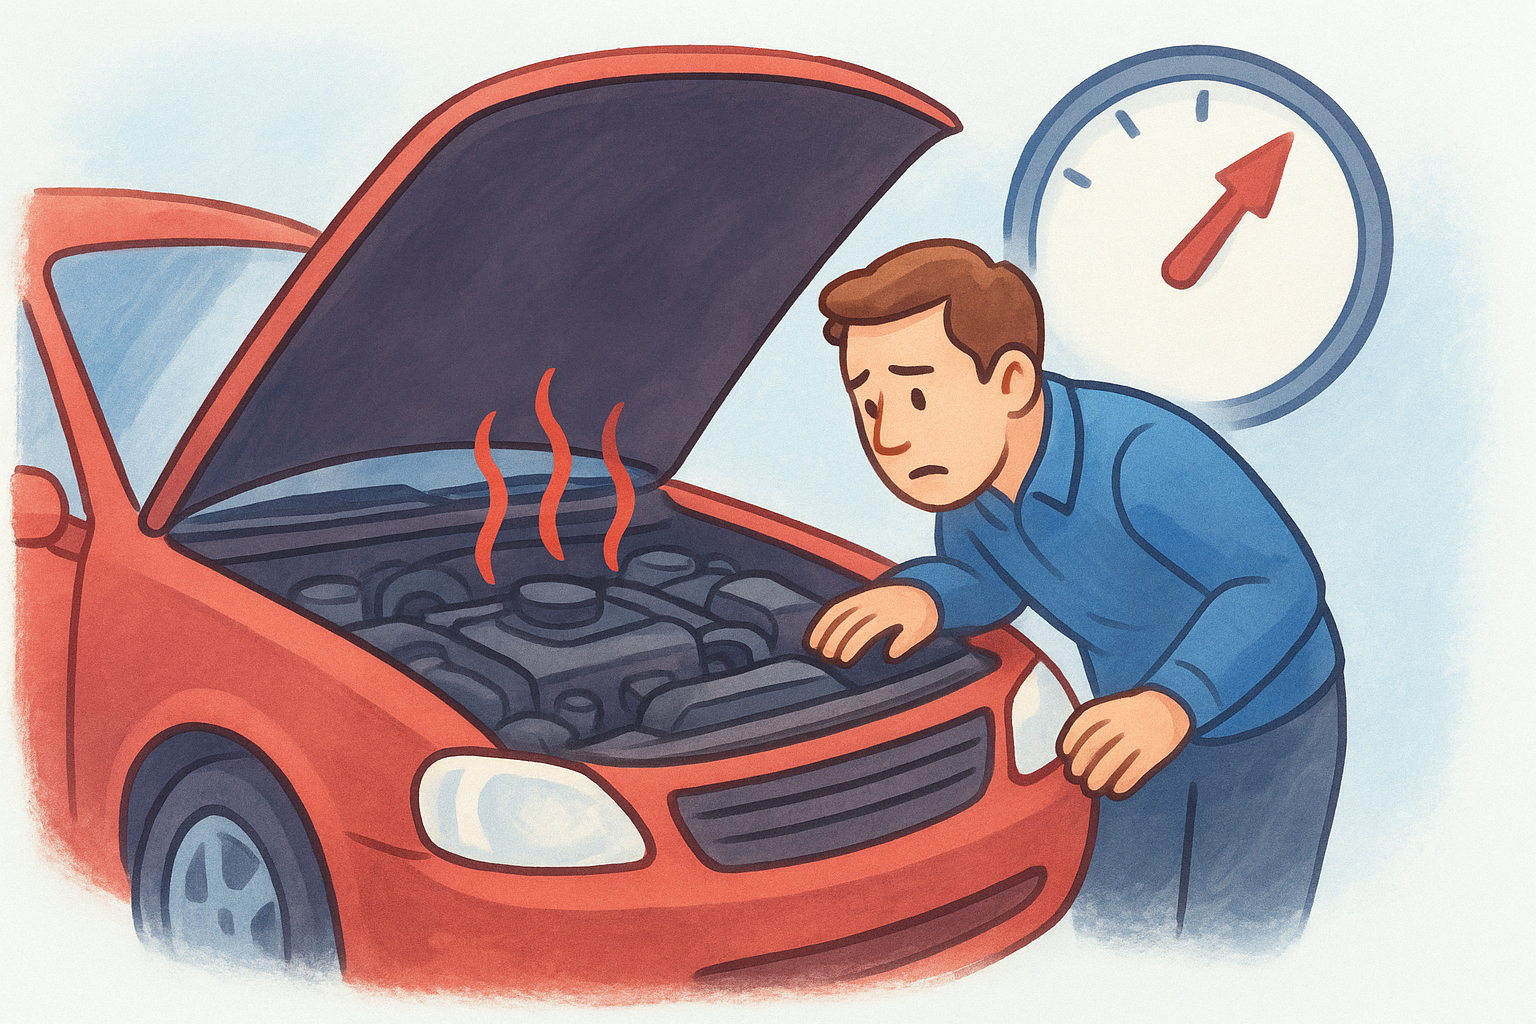
A rising gauge is the last warning, not the first, so catch the earlier signs.
What to do when the gauge climbs
Turn off the AC, set the heater to full to pull heat from the engine, and pull over safely. Shut the engine off and wait until it is cool to the touch before you open anything. Driving an overheating engine for even a few minutes can cause lasting damage, so call for a tow if the level is low and you cannot find why.
Keep the heat under control
Cooling system maintenance comes down to a few habits. Check the level and condition every few months, inspect the hoses, belts, cap and water pump, flush on the interval your manual gives, and treat any symptom in the table as a reason to act. None of it takes special skills, and all of it costs less than a single overheating repair.
The same logic applies if you run a raw-water-cooled boat engine, where scale builds up in the heat exchanger instead of the radiator. If that is your situation, see how Eco Safeway's raw water flush and marine engine descaler fits into your maintenance routine.


