





A neglected radiator is one of the fastest ways to turn a routine drive into a roadside breakdown. Rust flakes, mineral buildup, and old coolant additives clog passages until your engine runs hotter than it should, and cooling system cleaning becomes the difference between a $40 fix and a blown head gasket. If your temperature gauge creeps up in traffic or your coolant looks like rusty water instead of bright green or orange, your system is telling you something.
You don't need a mechanic's bay to handle this job right. With the correct flush solution and a few basic tools, you can clear out scale and sludge, replace worn coolant, and get your engine back to running at the temperature it was designed for. The process takes an afternoon, costs far less than a shop visit, and gives you a clear look at hoses, clamps, and the radiator cap while you're in there.
This guide walks through the entire job step by step: draining the old coolant safely, choosing between a chemical flush and a straight water flush, running the flush through the block and radiator, bleeding air pockets, and refilling with the right coolant mix for your climate. We'll also flag warning signs, like oily residue or a milky coolant color, that point to a bigger problem than routine buildup.
What you'll need to flush your cooling system
Gathering everything up front saves you from stopping halfway through with coolant draining onto your driveway. A basic cooling system flush requires a mix of safety gear, tools, and fluids, most of which you can find at any auto parts store for under $60 total. Skipping a step here, like forgetting a drain pan or the right coolant type, turns a clean job into a mess.
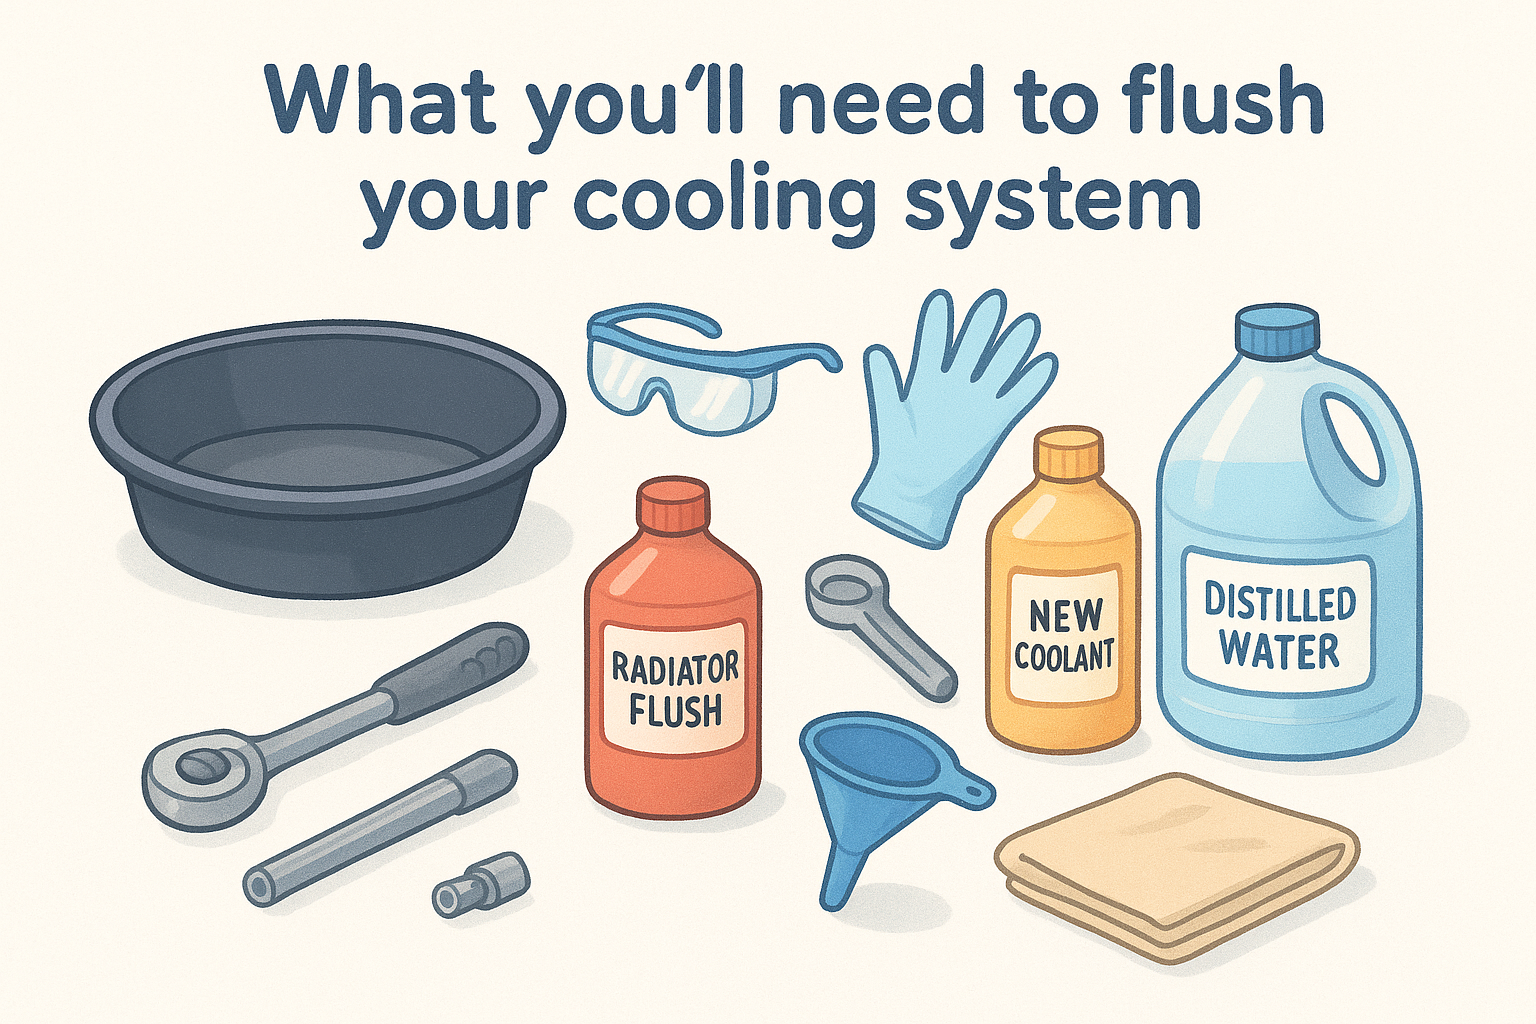
Before you start, lay out these items so you're not searching for a socket wrench with coolant running down your arm:
- Drain pan large enough to hold 1-2 gallons
- Safety glasses and nitrile gloves (coolant is toxic to pets and kids)
- Socket wrench set for the drain petcock or hose clamps
- Radiator flush chemical (a phosphate-free formula rated for your engine block material)
- Distilled water, several gallons for rinsing
- New coolant, matched to your manufacturer's specification (OAT, HOAT, or IAT)
- Funnel to avoid spills at the radiator neck
- Rags or shop towels
- A cooling system pressure tester (optional, but useful for spotting leaks afterward)
Checking your owner's manual for the correct coolant type matters more than most people realize. Mixing an old-formula green coolant with a newer orange or pink OAT coolant can create a gel that clogs passages worse than the buildup you're trying to remove.
Use the coolant your manufacturer specifies, not whatever's cheapest on the shelf.
Don't substitute tap water for the rinse step if you can avoid it. Tap water carries minerals that deposit scale right back into the block, undoing the work of the flush. Distilled water is cheap insurance against redoing this job again next season.
Step 1. Prepare the car and drain the old coolant
Start with a cold engine. Popping the radiator cap on a hot engine can send pressurized coolant spraying across your arms and face, and that liquid is often near boiling. Give the car at least an hour to cool down before you touch anything under the hood.
Position the car and locate the drain
Park on level ground and set the parking brake, then slide your drain pan under the radiator's petcock valve, usually a small plastic or brass fitting at the bottom corner. Locate the engine block drain plug too, since most vehicles have a second drain point that holds a surprising amount of leftover coolant.
Old coolant is toxic to pets, so never let it pool where an animal can reach it.
Follow this order:
- Loosen the radiator cap slightly to break the vacuum seal.
- Open the radiator petcock and let coolant drain fully into the pan.
- Remove the block drain plug and empty the remaining fluid.
- Reinstall both plugs once flow stops.
Seal the used coolant in a container and take it to a recycling center. Curbside disposal is illegal in most states.
Step 2. Flush the system with a cleaning solution
Pour your radiator flush chemical into the empty radiator, then top off with water until you hit the fill line. Most formulas call for a specific ratio, usually one bottle per gallon of water, so check the label before guessing. This is where the cleaning solution breaks down rust flakes and the same kind of scale buildup that forms inside pipes, deposits plain water can't touch.
Start the engine with the radiator cap off and let it idle until the temperature gauge reaches its normal operating range. Running the engine circulates the chemical through the block, heater core, and hoses, not just the radiator itself.
A cold flush barely reaches half the passages; heat is what pushes the solution through the whole system.
Keep an eye on the coolant level as it heats up, topping off if it drops. Give it 10 to 15 minutes of running time, then shut the engine off and let it cool completely before opening any drains.
Once cool, drain the radiator and block plugs again, just like in Step 1. Expect the fluid to run out dark and cloudy. That's the buildup leaving your engine cooling system for good.
Step 3. Rinse the system with distilled water
With the drain plugs reinstalled, pour distilled water into the radiator until it reaches the fill neck, then run the engine again just like you did with the flush chemical. This step washes out any leftover cleaning solution along with the loosened debris it broke free. Skipping it leaves chemical residue sitting in your block, which can eat away at gaskets and hoses over time.
Repeat until the water runs clear
Drain the system after each rinse cycle and check the color of what comes out. If it's still cloudy or tinted, repeat the process:
- Fill with distilled water to the neck.
- Run the engine 10 minutes with the cap off.
- Cool completely, then drain both plugs.
- Inspect the fluid color.
Most systems need two to three rinse cycles before the water runs clear. Plan on this taking longer than the flush step itself.
Clear water draining out means your engine cooling system is finally free of scale and chemical residue.
Think of this stage as quality control. A rinse that still looks dirty tells you buildup was worse than expected, and it's better to run an extra cycle now than trap sediment behind a fresh coolant fill.
Step 4. Refill with fresh coolant and bleed air
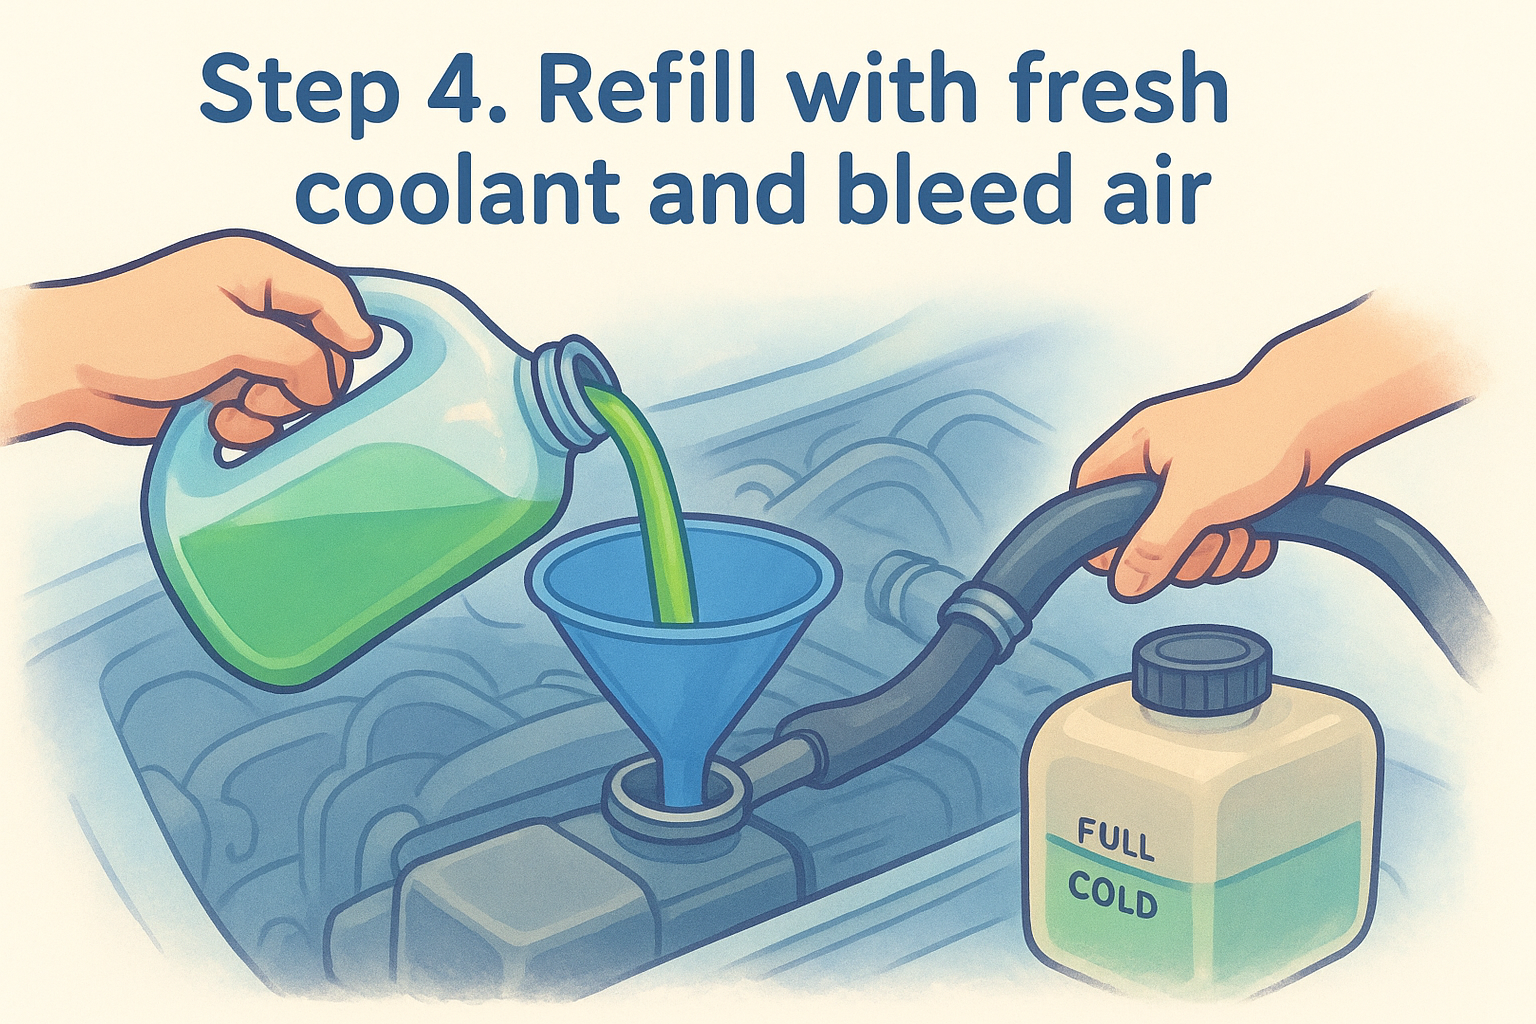
With the drain plugs closed and the block rinsed clean, mix your new coolant according to the manufacturer's ratio, typically a 50/50 blend of coolant and distilled water unless you bought a pre-mixed formula. Pour slowly through the funnel to avoid trapping large air pockets, filling until the radiator reaches its neck and the overflow reservoir sits at the "full cold" line.
Bleeding trapped air pockets
Air pockets cause hot spots and false temperature readings, so don't skip this part. Follow these steps:
- Leave the radiator cap off and start the engine.
- Turn the heater to full hot, which opens the heater core circuit.
- Squeeze the upper radiator hose gently to help push air bubbles out.
- Watch the coolant level drop as trapped air escapes, topping off as needed.
- Once the level holds steady and the thermostat opens, replace the cap.
Air trapped in the block will read as overheating even when your coolant level looks fine.
Run the engine for another ten minutes, check for leaks at the hoses and drain plugs, then confirm the reservoir level once everything cools.
Keeping your engine running cool
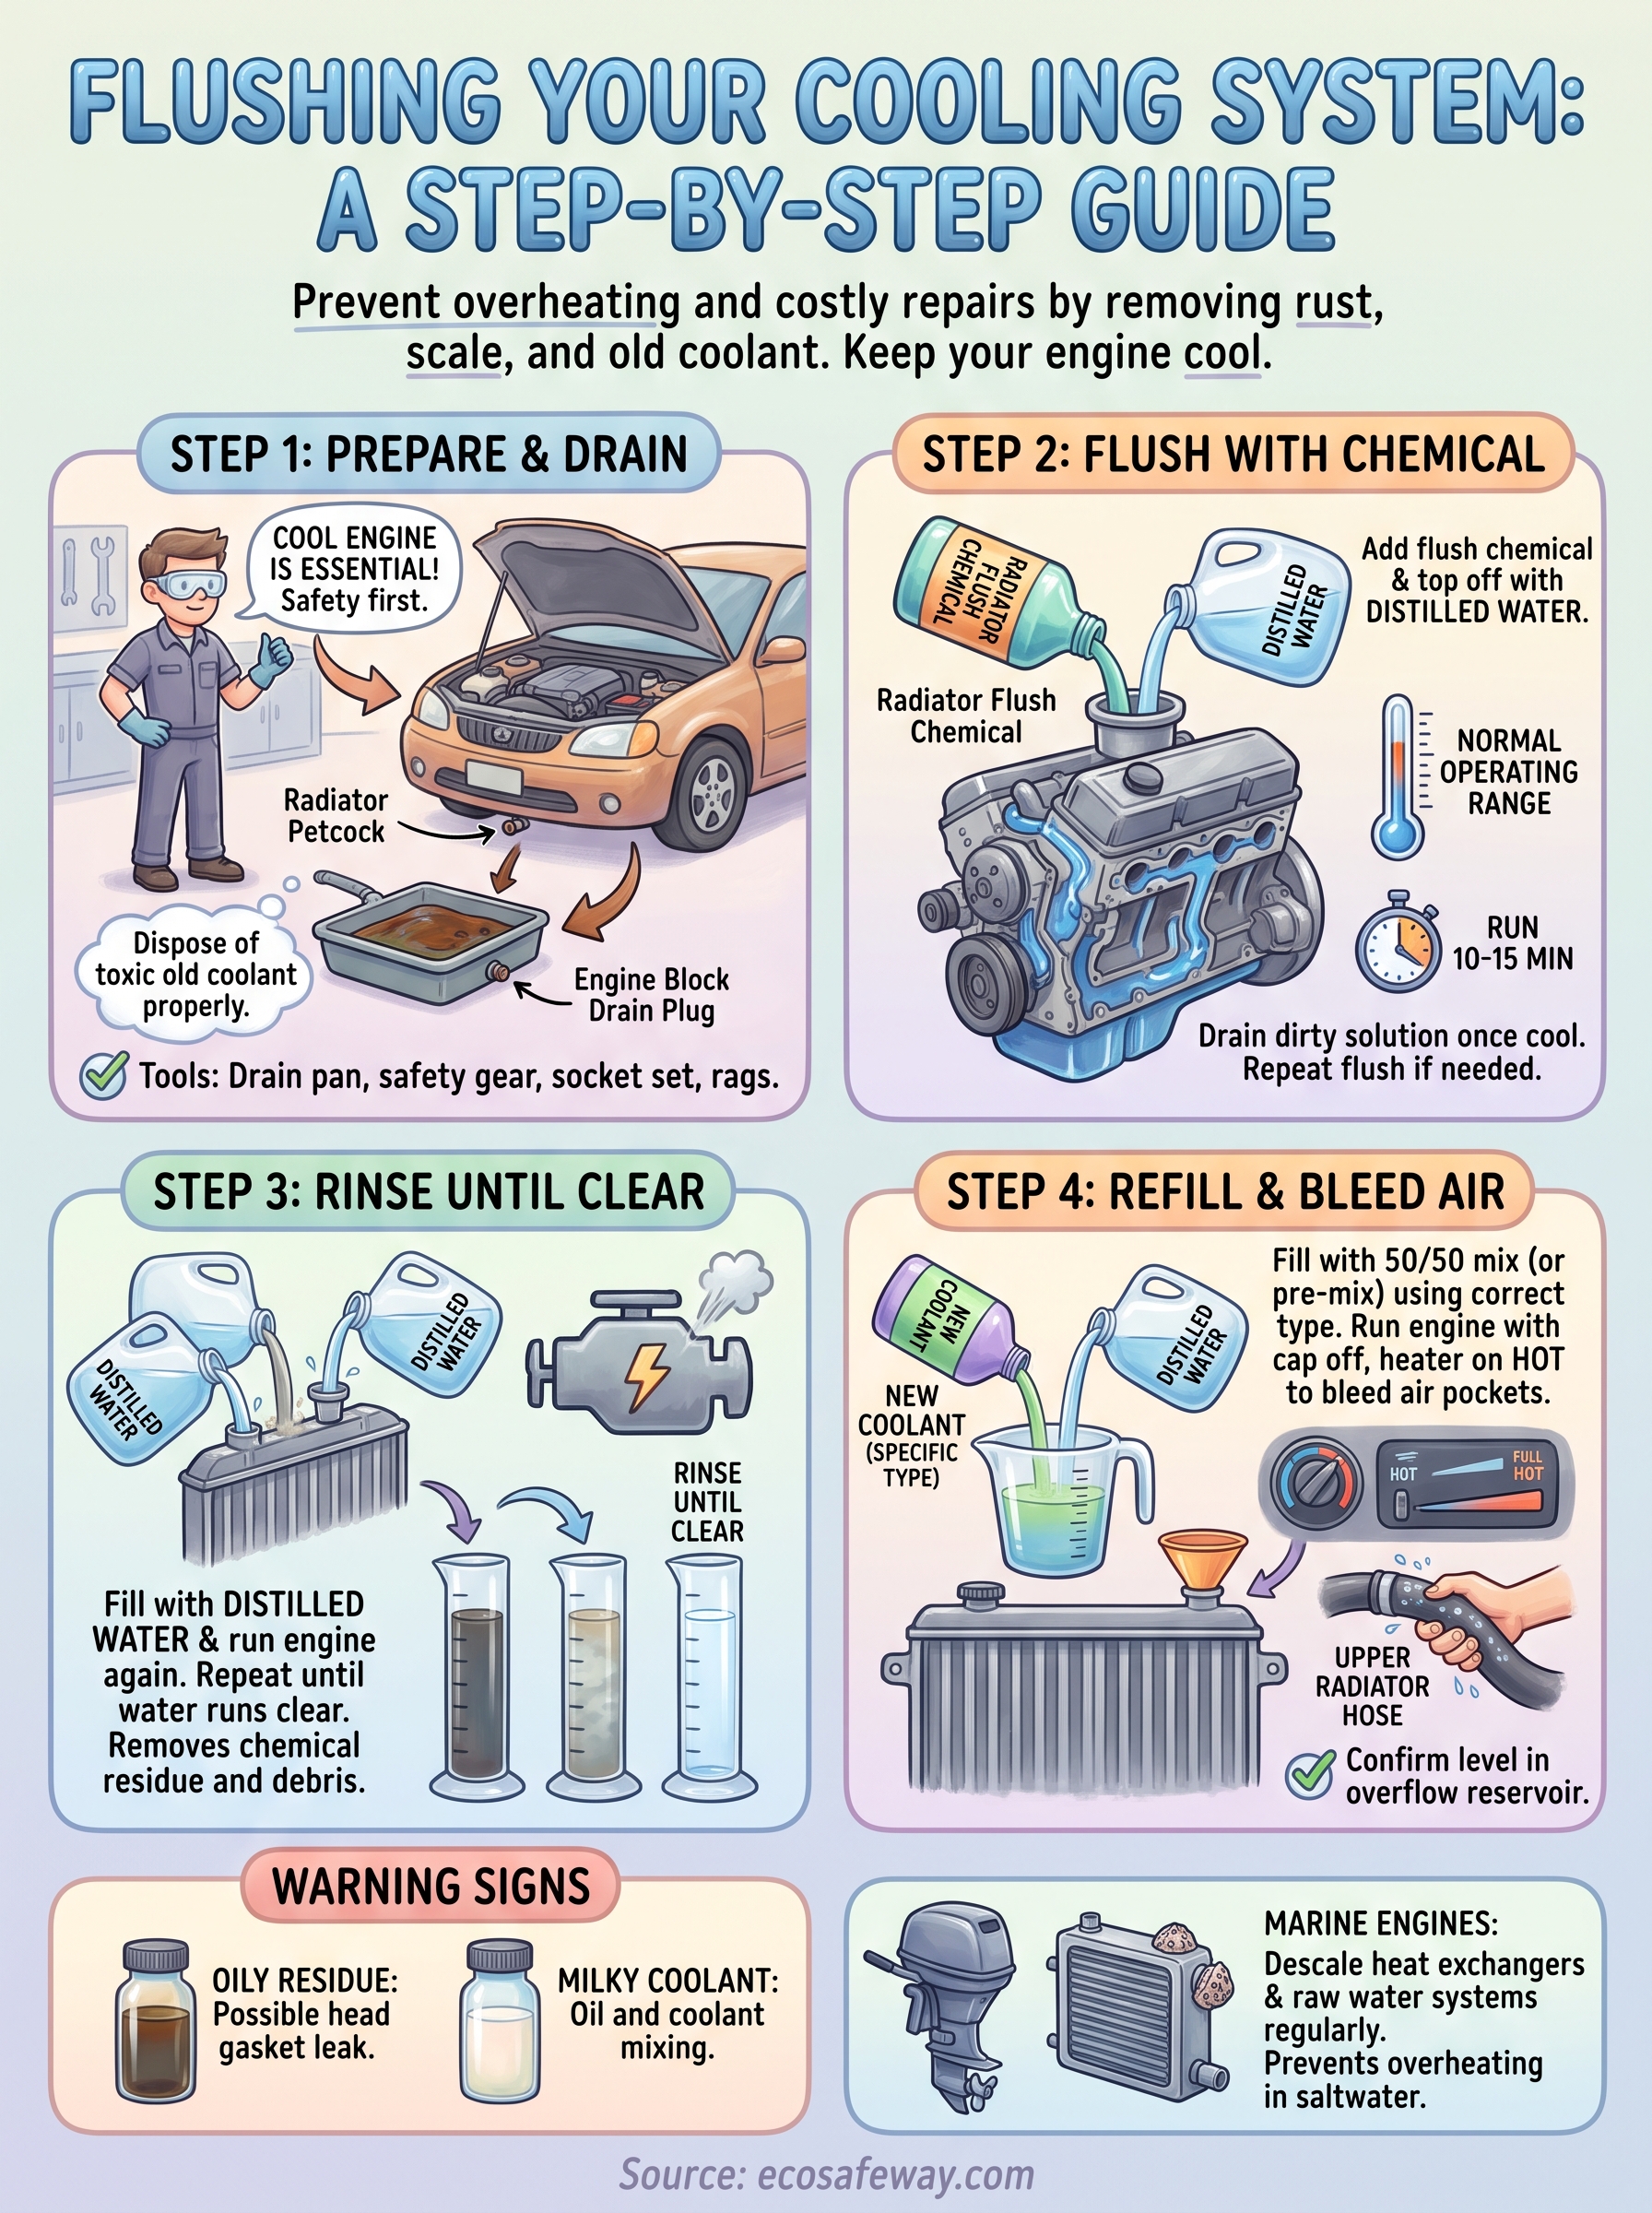
A clean cooling system pays you back every time you drive in traffic or climb a long grade without watching the temperature needle creep toward the red. Regular flushes every two to three years, paired with distilled water rinses and the right coolant mix, keep rust and scale from ever building up enough to threaten your head gasket or water pump. Catching a milky coolant color or oily film early, before you even reach for the drain pan, saves you from a much bigger repair bill down the road.
If you split time between a car and a boat, the same scale and mineral buildup that clogs a radiator also clogs marine heat exchangers and raw water intakes, just with saltwater making it worse. When your vessel's engine cooling system starts running hot or the raw water flow slows down, our marine engine descaler for heat exchangers and raw water systems clears that buildup before it causes real damage.


