





A slimy buildup inside your Hoshizaki ice machine isn't just gross, it's a food safety problem that can shut down a kitchen or bar in a single health inspection. If you've searched for ice machine cleaner hoshizaki, you're probably staring at a yellowed bin or cloudy ice cubes and wondering which product actually works without damaging the internal components. Hoshizaki units have specific descaling and sanitizing needs, and using the wrong chemical mix can void your warranty or corrode evaporator plates.
The short answer: you need a nickel-safe descaler paired with a food-grade sanitizer, applied in the correct sequence and rinsed thoroughly before the machine returns to service. Skipping steps or guessing at dilution ratios is how operators end up with lingering odors or scale that comes right back within weeks.
This guide walks through the exact cleaning solution and sanitizing solution to use, the step-by-step process Hoshizaki recommends, and how often commercial kitchens should schedule this maintenance to keep ice production running clean, safe, and compliant.
What you need before you start cleaning
Before you touch a single component, gather everything you need so you're not dripping descaler on the floor while hunting for gloves. A rushed cleaning session is how people skip the rinse cycle or use the wrong dilution, and that's exactly what causes the yellow tint and off-tastes you're trying to eliminate. Set aside 45 minutes to an hour, block off the machine from service, and lay out your supplies on a clean towel nearby.
The right cleaning solution for hoshizaki ice machine models
Hoshizaki evaporator plates and water systems use nickel and other metals that react badly with generic descalers built for home coffee and espresso machines or residential units. You want a non-corrosive descaler for commercial ice machines specifically formulated for nickel-plated evaporators, and Hoshizaki's own scale-and-slime remover is the benchmark most technicians reach for. Pair it with a food-grade sanitizer, typically a chlorine-based or quaternary ammonium solution rated safe for surfaces that contact food and ice.
Using a household descaler on a Hoshizaki unit can strip protective coatings and void the manufacturer warranty in one cleaning cycle.
Tools and safety gear
Once your chemicals are lined up, check that you have the physical tools to apply and remove them properly. Missing a soft-bristle brush or a proper rinse bucket usually means someone improvises with a scouring pad, and that scratches interior surfaces you can't easily replace.
| Item | Purpose |
|---|---|
| Hoshizaki-approved descaler | Removes mineral scale from evaporator and water lines |
| Food-grade sanitizer | Kills bacteria and biofilm on ice-contact surfaces |
| Soft-bristle brush | Scrubs plates without scratching |
| Rinse bucket and clean water | Flushes chemical residue |
| Rubber gloves and eye protection | Protects skin and eyes from concentrated solution |
| Clean, lint-free towels | Wipes down bins and dispensers |
| Manufacturer manual or service card | Confirms model-specific dilution ratios |
Grab your machine's model number too, since dilution ratios and cycle counts vary between Hoshizaki's cubers, flakers, and nugget-ice models. Nail down the exact ratio before you start mixing, because guessing here is the single biggest reason cleaning cycles fail to fully clear scale on the first pass.
Finally, confirm you have a safe place to dispose of the spent solution once you're done. Commercial kitchens dealing with strict wastewater rules should check local code before pouring chemical runoff down a floor drain, and keep up with routine eco-friendly drain maintenance so those lines stay clear. If your facility already stocks a verified food-safe descaling and sanitizing solution for ice equipment, you can skip the guesswork on ratios and go straight to the shutdown steps below.
Step 1. Prepare and shut down the machine
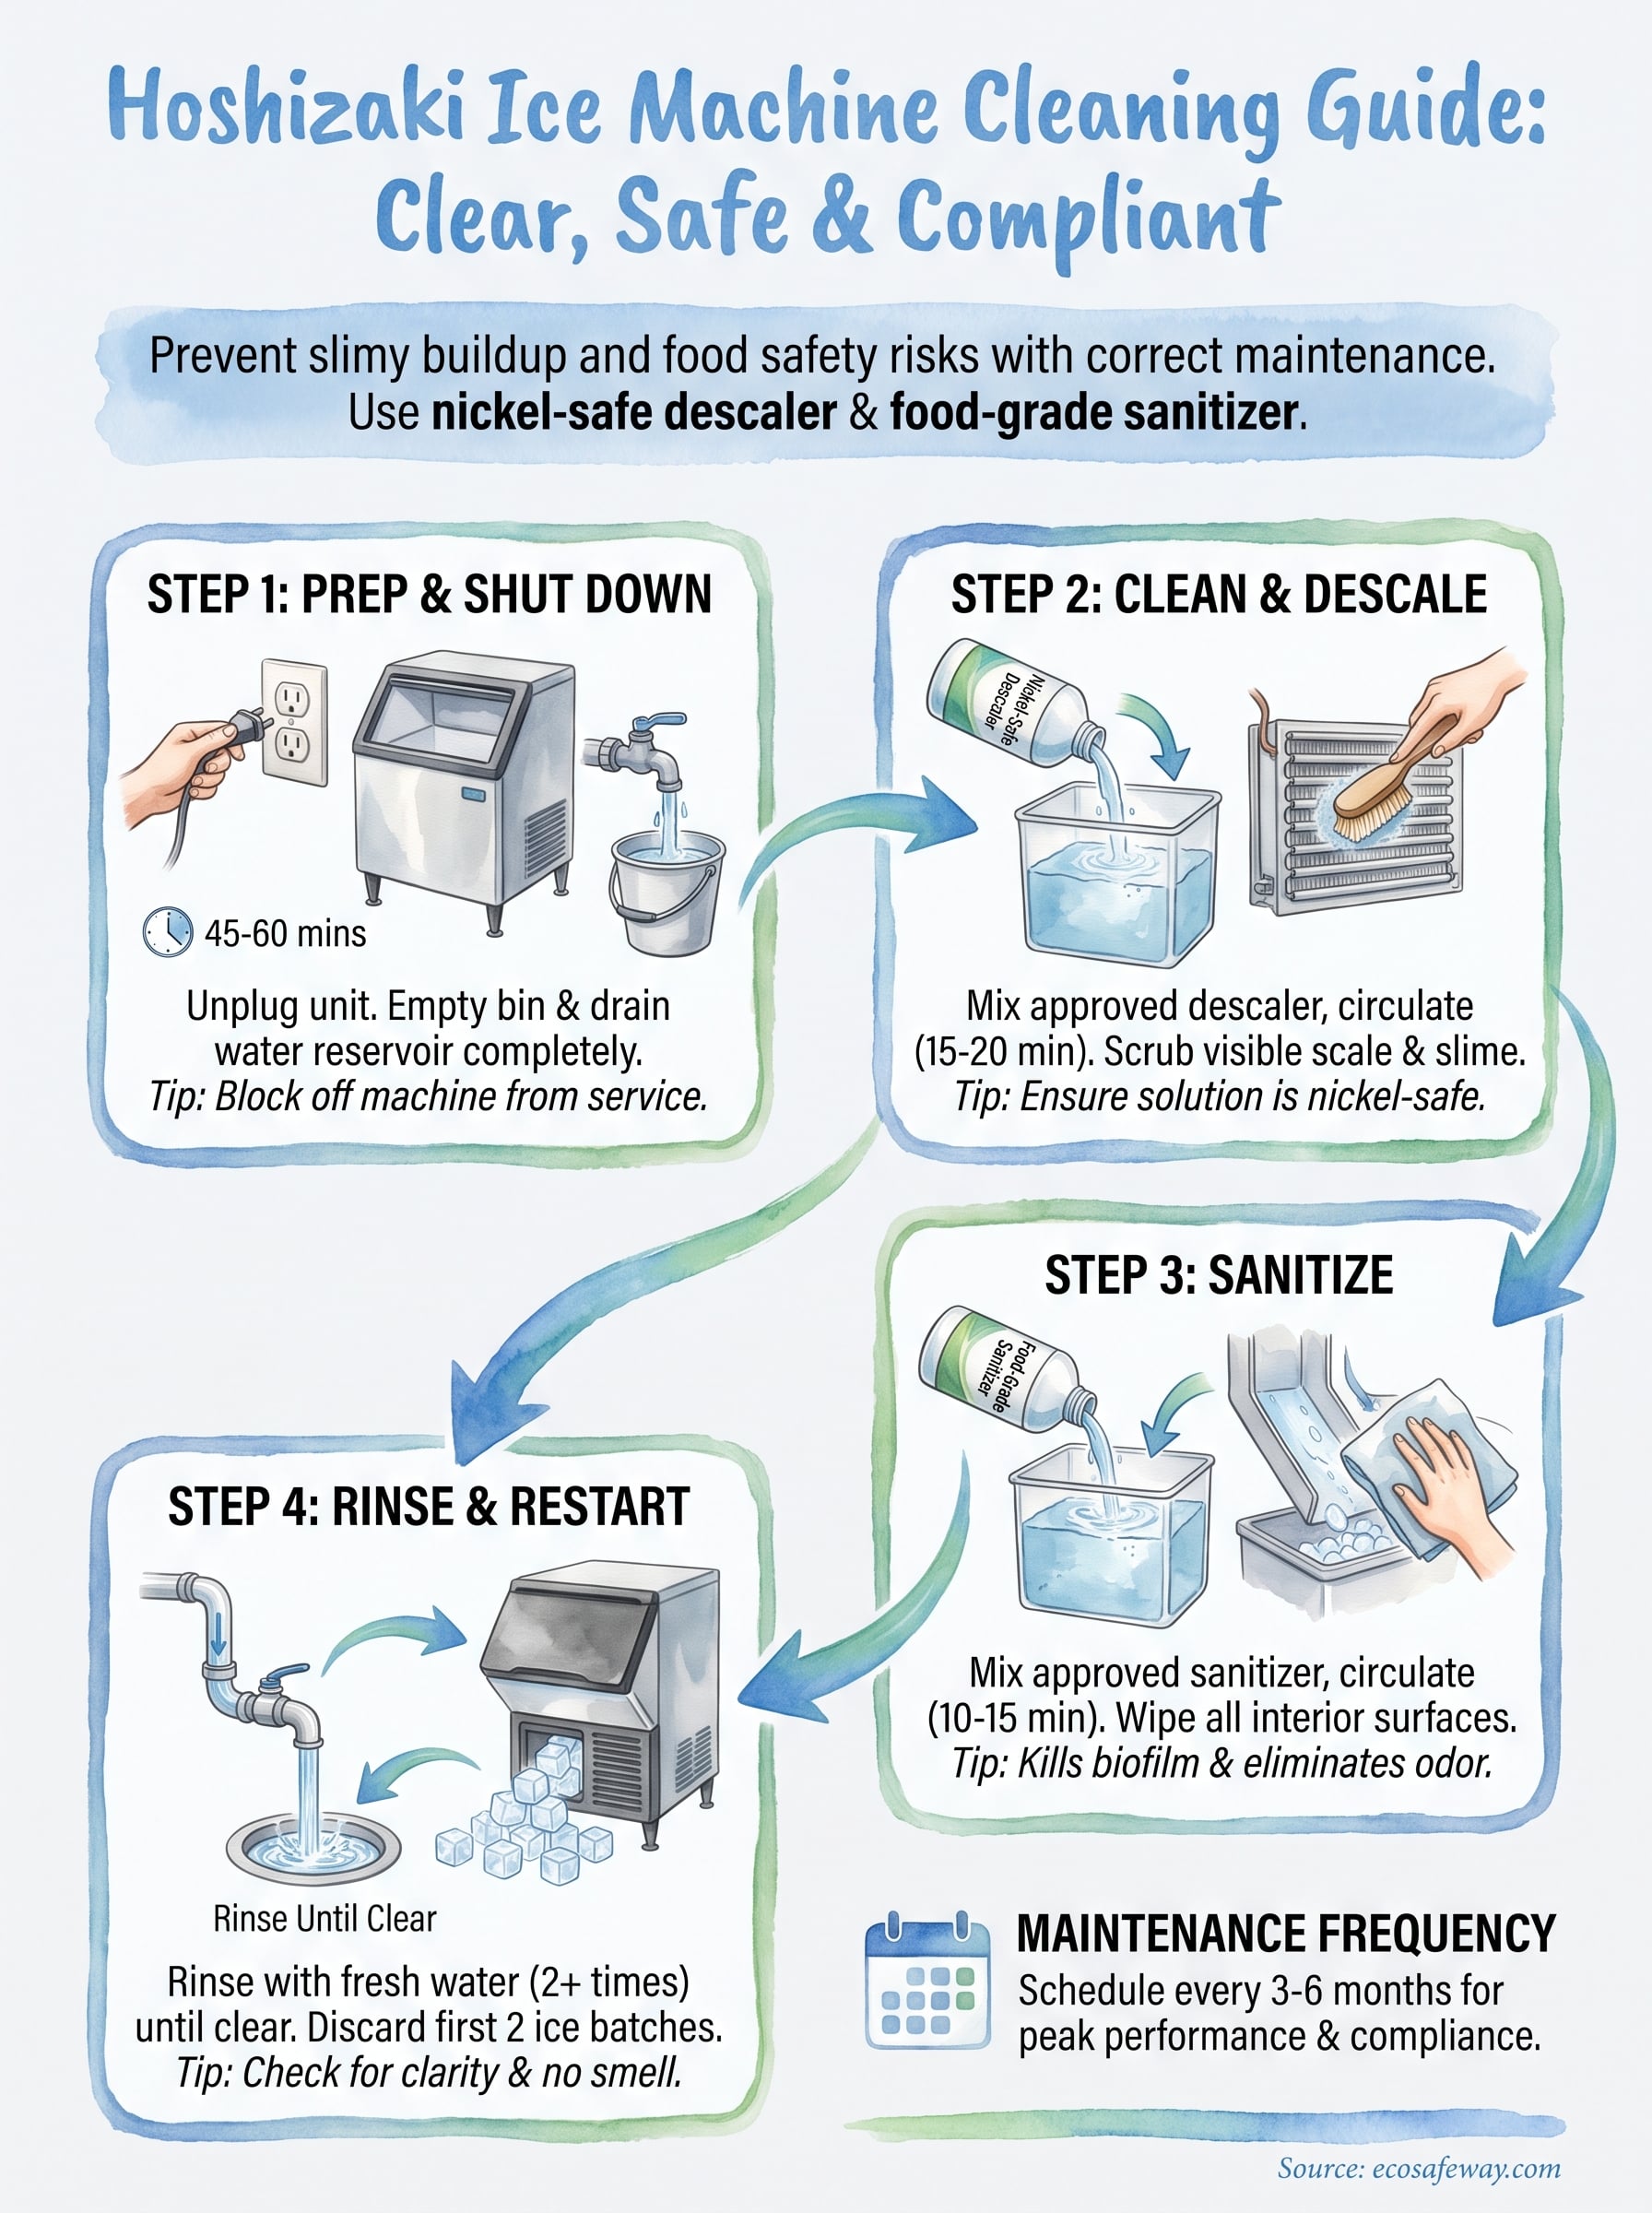
Start by pulling the plug, not just flipping a switch. Most Hoshizaki cuber and flaker models run on a timed cycle, and interrupting power mid-cycle without a proper shutdown can trigger error codes or leave the water valve open. Locate the power switch inside the storage bin area (usually top left on cubers), set it to the "off" or "clean" position if your model has one, then unplug the unit at the wall for full isolation while you work.
Drain the bin and reservoir
Next, empty the bin completely. Scoop out all existing ice and either discard it or use it elsewhere.
Any ice left in the bin during the descaling cycle will absorb chemical residue, and you don't want that anywhere near a customer's drink. Wipe down the visible bin surfaces with a damp cloth to clear loose debris before you go further.
A machine that isn't fully drained and powered down before cleaning will fight you at every later step, from uneven descaler contact to false error readings on restart.
Access the water system
Remove the front panel and any access covers per your service manual, since Hoshizaki models vary slightly on panel placement.
Behind the panel, locate the water reservoir and drain line. Open the drain valve and let the reservoir empty fully; residual water dilutes your descaler and throws off the ratio you carefully measured. If your unit has a purge pump, run it briefly to clear standing water from the lines.
Finally, inspect the evaporator plate and water distribution tube for visible scale buildup or slime. This visual check tells you whether you're dealing with a light maintenance clean or a heavier descaling job, and it gives you a baseline to compare against once you finish. Photograph it if you're tracking maintenance for a compliance log.
Step 2. Clean and descale with Hoshizaki cleaner
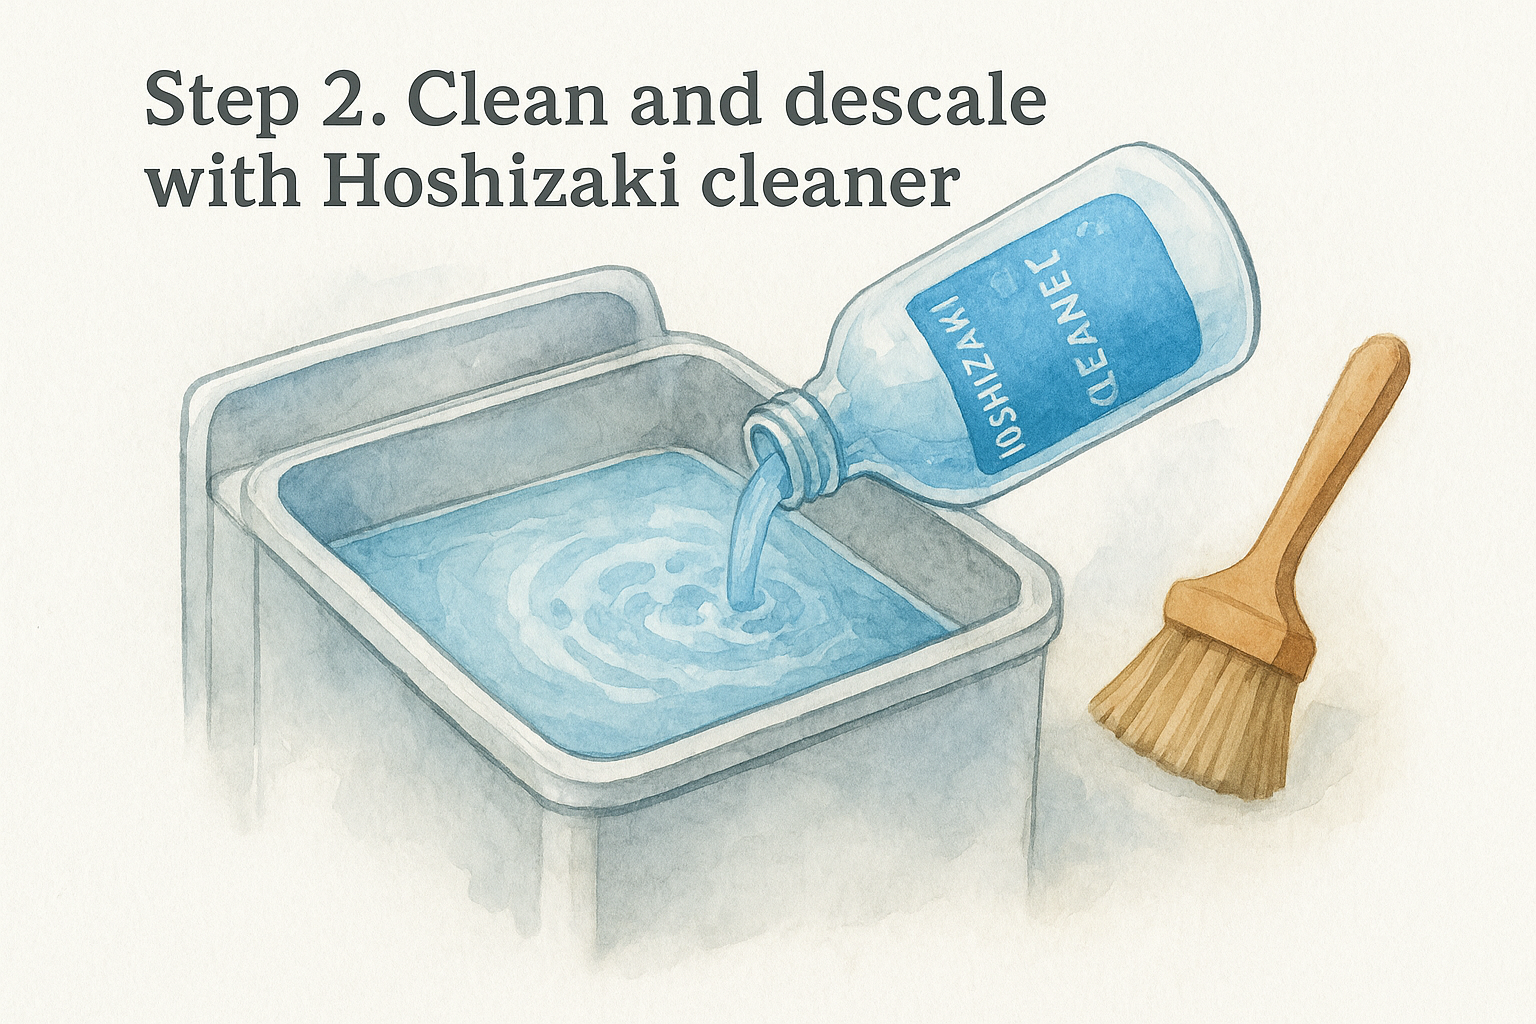
Mix your Hoshizaki-approved descaler according to the ratio printed on the bottle or your service manual, usually one part solution to several parts warm water depending on the model. Pour the mixture directly into the water reservoir you drained in Step 1, filling it to the manufacturer's marked line. Overfilling wastes solution and underfilling leaves scale untouched on the upper plate, so measure rather than eyeball it.
Run the descaling cycle
Turn the machine's switch to the "clean" or "wash" cycle if your unit has one, or manually run the water pump for the time listed in your manual, typically 15 to 20 minutes.
This circulates the descaling solution across the evaporator plate and through the distribution tube, breaking down calcium and mineral deposits that plain water can't touch. Listen for the pump running steadily; a sputtering or uneven sound often means a clogged line still needs manual attention.
Circulating the descaler for the full cycle time matters more than the concentration, since scale needs contact time to dissolve, not just chemical strength.
Hand-scrub stubborn spots
While the cycle runs, use your soft-bristle brush to hand-scrub any visible slime or scale spots the circulating solution can't reach, especially corners and seams around the plate.
Once the cycle finishes, drain the reservoir completely again. If the water still looks cloudy or you can feel gritty residue on the plate, run a second short cycle rather than moving forward with scale still present. This is the step where a purpose-built cleaning solution for Hoshizaki ice machine models earns its keep over generic descalers, since it's formulated to lift mineral scale without pitting nickel-coated surfaces. Eco Safeway stocks a food-safe option built for exactly this kind of commercial equipment turnaround if you'd rather not guess at ratios.
Step 3. Sanitize the ice machine
After the descaler drains completely and the plate runs clear, refill the reservoir with fresh warm water and add your food-grade sanitizer at the ratio listed on the label or your service manual. Chlorine-based sanitizers typically run around 1 tablespoon per gallon, while quaternary ammonium products come with their own concentration chart, so don't assume one ratio works across both chemical types. Mixing sanitizer stronger than recommended doesn't clean better, it just leaves more residue for you to rinse out later.
Run the sanitizing cycle
Run the sanitizing cycle the same way you ran the descaling cycle, circulating the solution through the water lines and across the evaporator plate for the full time listed in your manual, usually 10 to 15 minutes.
This step targets the bacteria and biofilm that scale removal alone doesn't touch, which is exactly what causes the musty smell operators associate with old ice machines. Skipping sanitizing after descaling is one of the most common shortcuts technicians take, and it's why some machines keep producing off-tasting ice even after a thorough scale removal.
Descaling removes mineral buildup, but only sanitizing kills the bacteria that cause odor and contamination, so treat them as two separate, non-negotiable steps.
Wipe down contact surfaces
While the cycle circulates, wipe down the interior bin walls, the ice chute, and any splash guards with a cloth dipped in the same sanitizing solution.
These surfaces sit in direct contact with finished ice, and a quick wipe here catches residue the circulating solution inside the water lines never reaches. Pay extra attention to seams and corners where slime tends to collect first.
Once the cycle finishes, don't rinse yet if your sanitizer label calls for air-drying or a set contact time before rinsing. Some food-grade sanitizer formulas need several extra minutes of surface contact to fully kill bacteria, and rinsing too early cuts that window short and undermines the whole step.
Step 4. Rinse, restart, and check ice quality
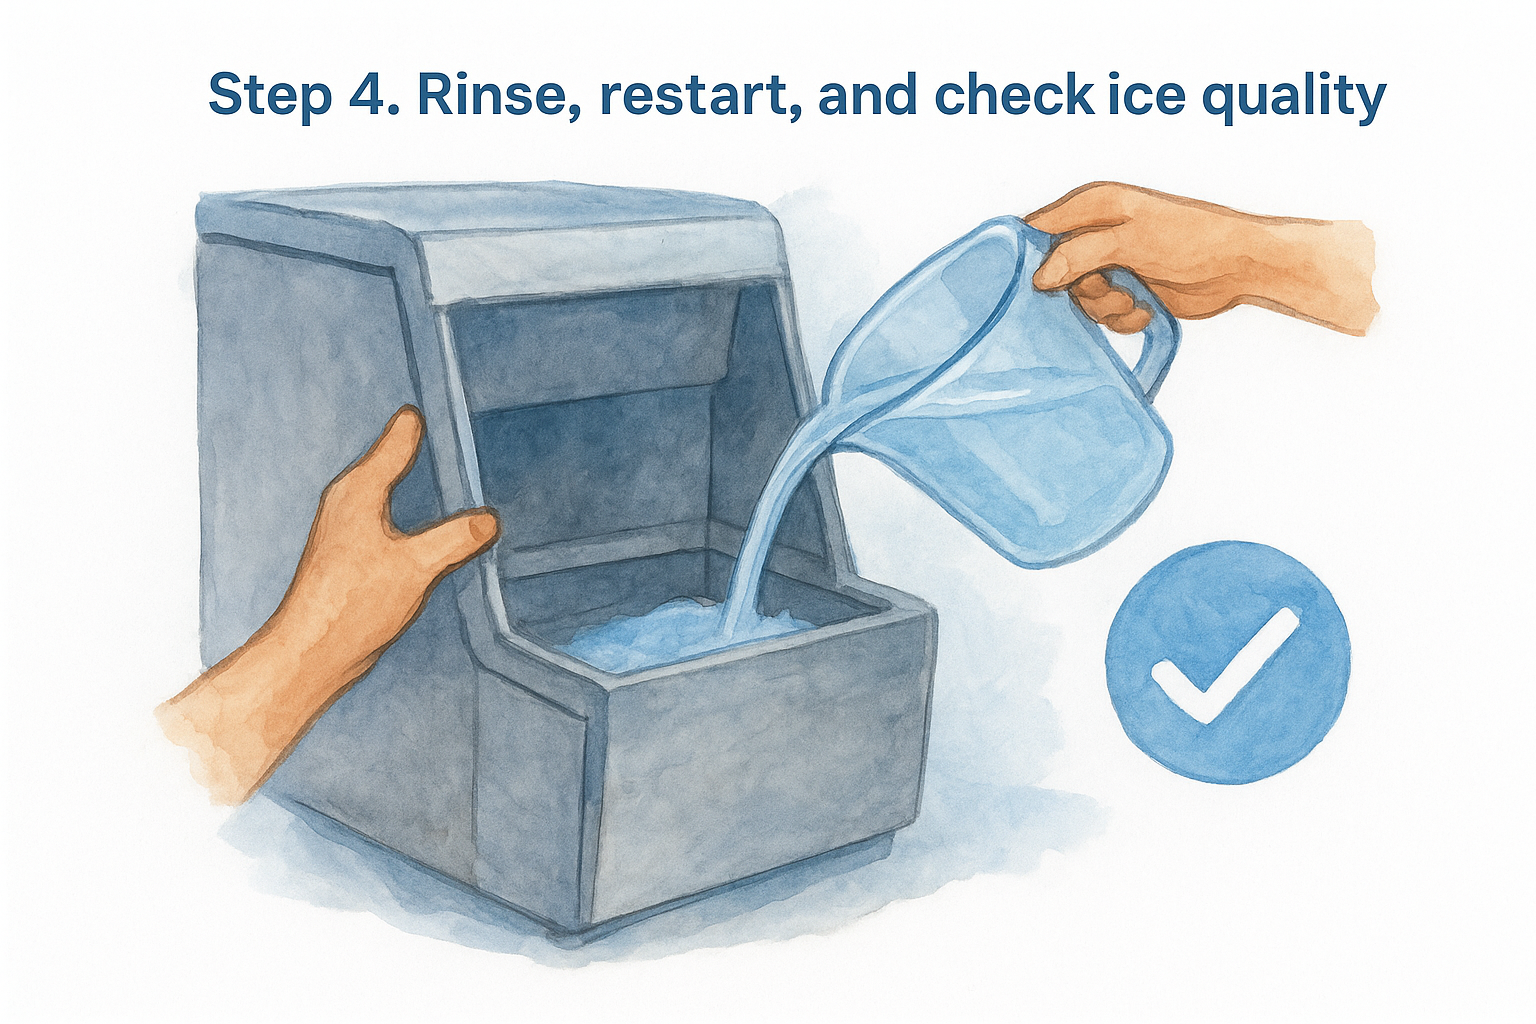
Drain the sanitizing solution completely once your contact time is up, then refill the reservoir with plain, clean water for the rinse cycle. Run this cycle at least twice, draining fully between each pass, since leftover sanitizer residue is what causes that chemical taste people mistake for a hoshizaki ice machine cleaning solution gone wrong. Check the drained water each time; once it runs clear with no soapy film or smell, you're ready to move on.
Reassemble and restart
Reassemble the front panel and any access covers you removed in Step 1, making sure gaskets seat properly so you don't get a water leak once the unit repressurizes.
Plug the machine back in and flip the power switch to normal operation. Most Hoshizaki units cycle through a self-check on startup, so give it a few minutes before you expect ice production to begin.
Rinse until the water runs completely clear, because sanitizer residue in the ice is a compliance risk you don't want to explain to a health inspector.
Check the first batches of ice
Discard the first one to two full batches of ice the machine produces.
This isn't optional. Even a thorough rinse can leave trace chemical residue in the lines, and that first batch is the machine flushing itself clean, not ice you want in a customer's drink. After discarding those batches, pull a sample and check for:
- Clear, odorless ice with no chemical or musty smell
- Full-sized cubes or flakes matching your model's normal output shape
- No cloudiness or white specks, which can signal leftover scale
- Normal production speed, since a clogged line often shows up as slower cycles
If the ice still smells off or looks cloudy after two batches, repeat the sanitizing cycle from Step 3 before returning the machine to service.
Keeping your ice machine reliably clean
Which ice machine cleaner Hoshizaki technicians recommend
When people search for an ice machine cleaner hoshizaki technicians trust, they usually mean a nickel-safe descaler paired with a food-grade sanitizer, not a generic all-purpose cleaner. Stick with that combination and the right ice machine cleaner hoshizaki approves for your model, and scale and odor problems stop coming back between cleanings.
A clean Hoshizaki isn't a one-time fix, it's a recurring task that belongs on your maintenance calendar every three to six months, depending on your water hardness and how hard the unit runs.
Skipping this schedule is how you end up back at square one with yellowed bins and cloudy cubes, undoing all the work you just put in. Following the same sequence each time, descale, sanitize, rinse, restart, keeps the process quick and predictable instead of a scramble every time ice quality slips.
Getting this right protects your equipment warranty, your health inspection scores, and the taste of every drink that leaves your bar or kitchen. Choosing the right ice machine cleaner hoshizaki technicians actually recommend matters just as much as following the steps themselves, since generic descalers and sanitizers cost you more in damaged components than they save in price. If you want a food-safe, nickel-safe option built specifically for this job, check out Eco Safeway's food-safe ice machine cleaner and descaler and keep your next cleaning cycle simple.


