





Stripping old paint off a hull is one of the dirtiest, slowest jobs in boat ownership. Done wrong, it also damages the gelcoat or laminate underneath. If you are weighing boat bottom paint removal options, you are probably choosing between scraping, chemical strippers, soda blasting and sanding, and you want to know which one costs the least effort without hurting the hull.
Here is the short answer. For most DIY owners, chemical stripping is the easiest bottom paint removal method on a hull with many built-up layers. Sanding or scraping suits thin ablative coats, and it costs the least. Soda blasting is gentler on the hull, but it usually means hiring a contractor. All of them create toxic dust or waste, so protective gear and proper disposal are not optional.
Below, we compare each method on effort, cost and hull risk, name the products worth using, and show when a pro is the smarter call. We also explain why some owners stop repainting altogether. As the official US Finsulate dealer in Fort Lauderdale, we see the other side of this job: what a hull needs before a paint-free alternative goes on.
Before you strip: paint type, safety and prep
Every method in this guide releases copper-bearing dust or sludge, so prep matters as much as the stripping itself. Spend an afternoon on three things first: identify what is on the hull, protect yourself, and confirm you are allowed to do the work where the boat sits.
Know what you are removing
Paint type decides your method. Ablative paint wears away slowly, so a hull with a few thin coats often needs only scraping and sanding. Hard or modified epoxy paint does not wear off, so coats stack up year after year. That buildup is where chemical bottom paint removal earns its keep.
| Paint type | How it behaves | Usual removal route |
|---|---|---|
| Ablative | Wears down with use, leaves a thin chalky layer | Scrape and sand |
| Hard or modified epoxy | Stays put, builds thick layers | Chemical stripper or blasting |
| Unknown, many layers | Mixed products, possibly old formulations | Test patch first, then chemical or pro blasting |
Protect yourself
Marine bottom paint removal puts biocides into the air and onto your skin. Many bottom paints contain copper, and very old coats may hold other toxic compounds. Treat every unknown layer as hazardous. Gear up before you touch the hull:
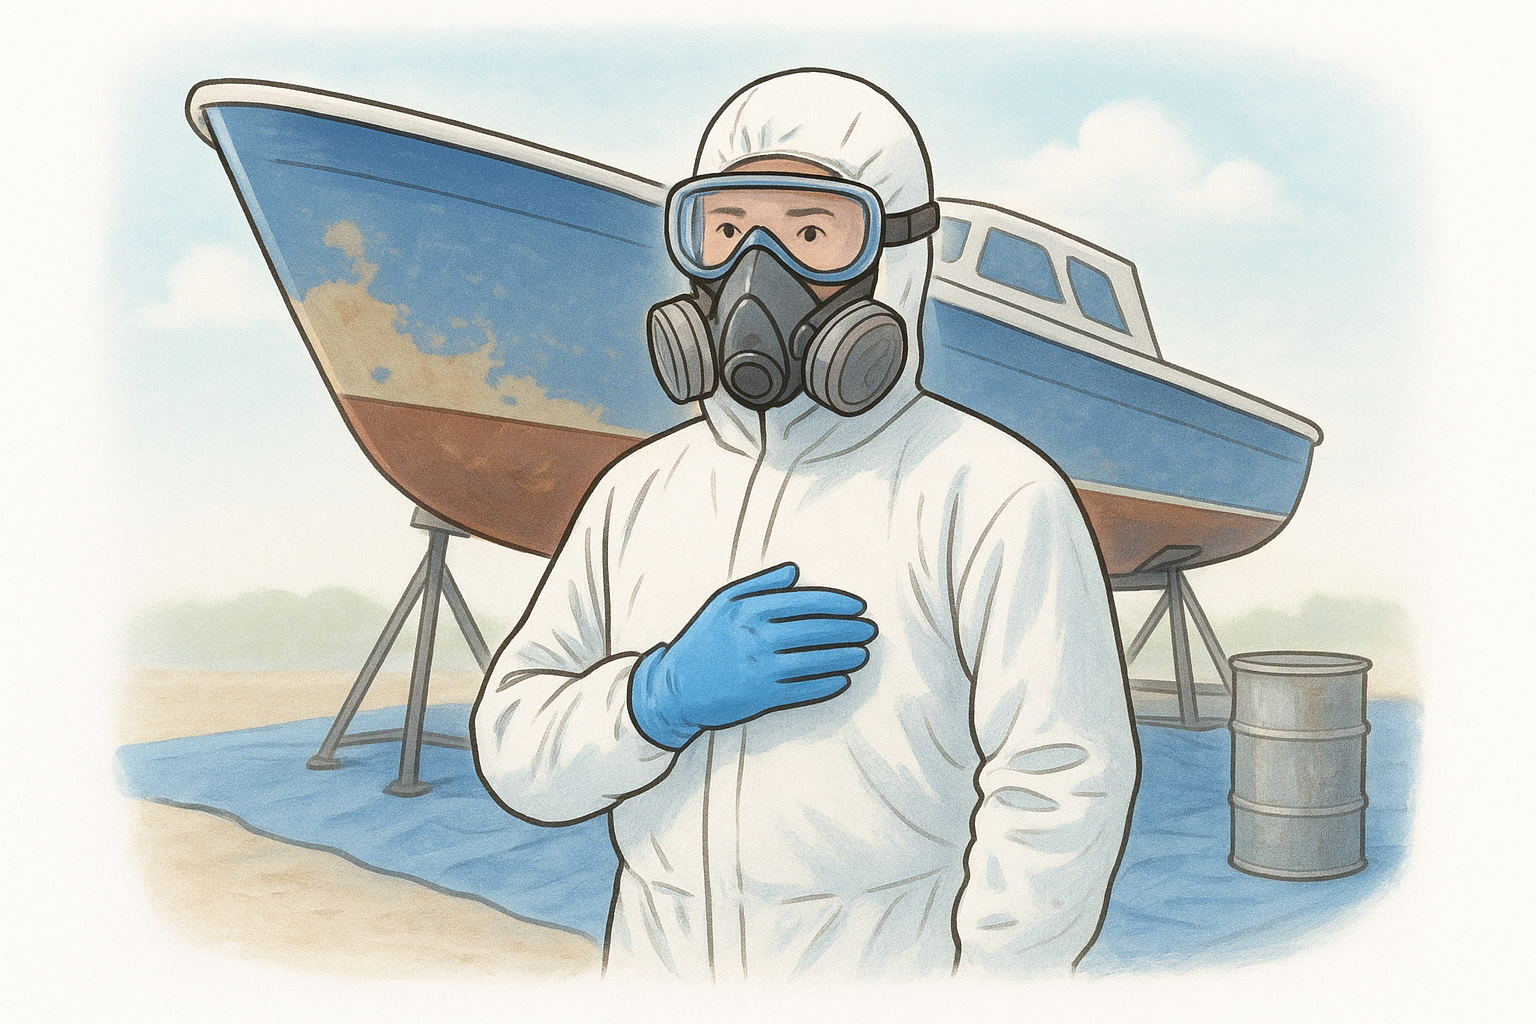
- A half-face respirator with P100 filters for sanding and scraping, and organic vapor cartridges added for strippers
- Disposable coveralls with a hood, taped at the wrists and ankles
- Chemical-resistant gloves rated for your stripper, not thin disposable ones
- Sealed safety goggles, plus a face shield when spraying or scraping overhead
Treat every flake of old paint and every drop of stripper as hazardous waste until you know otherwise.
Check the rules and set up the site
Call the yard or marina before you buy anything. Many yards ban DIY sanding or blasting, require a licensed contractor, or insist you work on a containment pad. Local and state rules on paint waste also differ, so ask what the yard accepts and where hazardous waste goes.
Then build your work zone. Lay heavy plastic sheeting under the hull and well past the sides, and weight it down. Pick a calm, dry day, because wind carries dust to neighboring boats and rain washes paint into storm drains. Stage a covered drum or sealed buckets for waste, and keep bystanders and pets out of the area.
Step 1. Identify your paint and test a small patch
Work out what is on the hull
Start with records. Ask the yard or the previous owner which paints went on and when. If nobody knows, run a few quick checks on the hull itself. They take about ten minutes and keep you from buying the wrong stripper for your boat bottom paint removal job.
- Rub test: Wipe a damp rag firmly across the paint. Ablative coats leave color on the rag. Hard paint does not.
- Chip test: Cut a small notch near the waterline with a sharp knife and read the edge like tree rings. Two or three thin layers mean scraping and sanding will do. Five or more layers point toward chemicals.
- Surface check: Look for blisters, cracks or an epoxy barrier coat under the paint. That is the layer you must not damage.
Test a small patch
Never commit to the whole hull on a guess. Pick a low, out-of-the-way spot of about one square foot and run your chosen method on that patch first. A chemical stripper should be tested the same way, following the label on the can for dwell time and temperature.
- Apply or sand the patch exactly as you plan to do the full hull.
- Time how long it takes and count how many layers come off.
- Rinse or wipe the area and check what is underneath.
- Look for softened, dull, gummy or blistered gelcoat, and for fibers showing through.
A one-square-foot test patch costs you an hour and can save you a ruined hull.
Finally, write down your results. If the patch took 40 minutes and left a clean surface, you can estimate the full job and decide whether it is worth doing yourself. If it damaged the surface or barely moved the paint, change the method before going further.
Step 2. Choose the right removal method
Compare the four methods
Your test patch and layer count point to one of four routes. Effort, cost and hull risk trade off against each other, so let the patch results decide, not the price tag.
| Method | Your effort | Cost | Hull risk | Best for |
|---|---|---|---|---|
| Scraping | High | Lowest | Medium, easy to gouge | Flaking paint, small areas |
| Sanding | High, very dusty | Low | Medium, can cut into gelcoat | Thin ablative coats |
| Chemical stripper | Medium | Medium | Low to medium, depends on product | Many layers, hard paint |
| Soda blasting | Low, contractor does it | Highest | Low when done well | Large hulls, delicate surfaces |
Apply a simple decision rule
For ablative bottom paint removal on two or three thin layers, sanding with a vacuum-equipped orbital sander is usually enough. Add a scraper only where paint has lifted. Use this rule of thumb:
- Two or three thin layers: scrape and sand.
- Five or more layers, or hard paint: use a chemical stripper. It is the easiest bottom paint removal route for most DIY owners.
- Blisters, unknown barrier coat, or a hull over 40 feet: get a quote for soda blasting.
The best method is the gentlest one that still clears your paint in a reasonable number of passes.
Match the stripper to your hull as well. Look for a marine-rated product, such as Peel Away Marine Safety Strip or Franmar Soy Gel, and confirm on the label that it is safe for fiberglass. Skip general-purpose hardware store strippers, since some soften gelcoat. If your patch showed that a product damaged the surface, switch products before you scale up.
Step 3. Strip the hull with your chosen method
Whatever method you picked, work in sections of about four by four feet. Small sections keep the job controllable, and you can check the surface as you go instead of finding damage at the far end of the hull.
Chemical stripping
Chemical stripping is mostly waiting, so timing is the skill. Follow the can for dwell time and never let the stripper dry out on the hull.
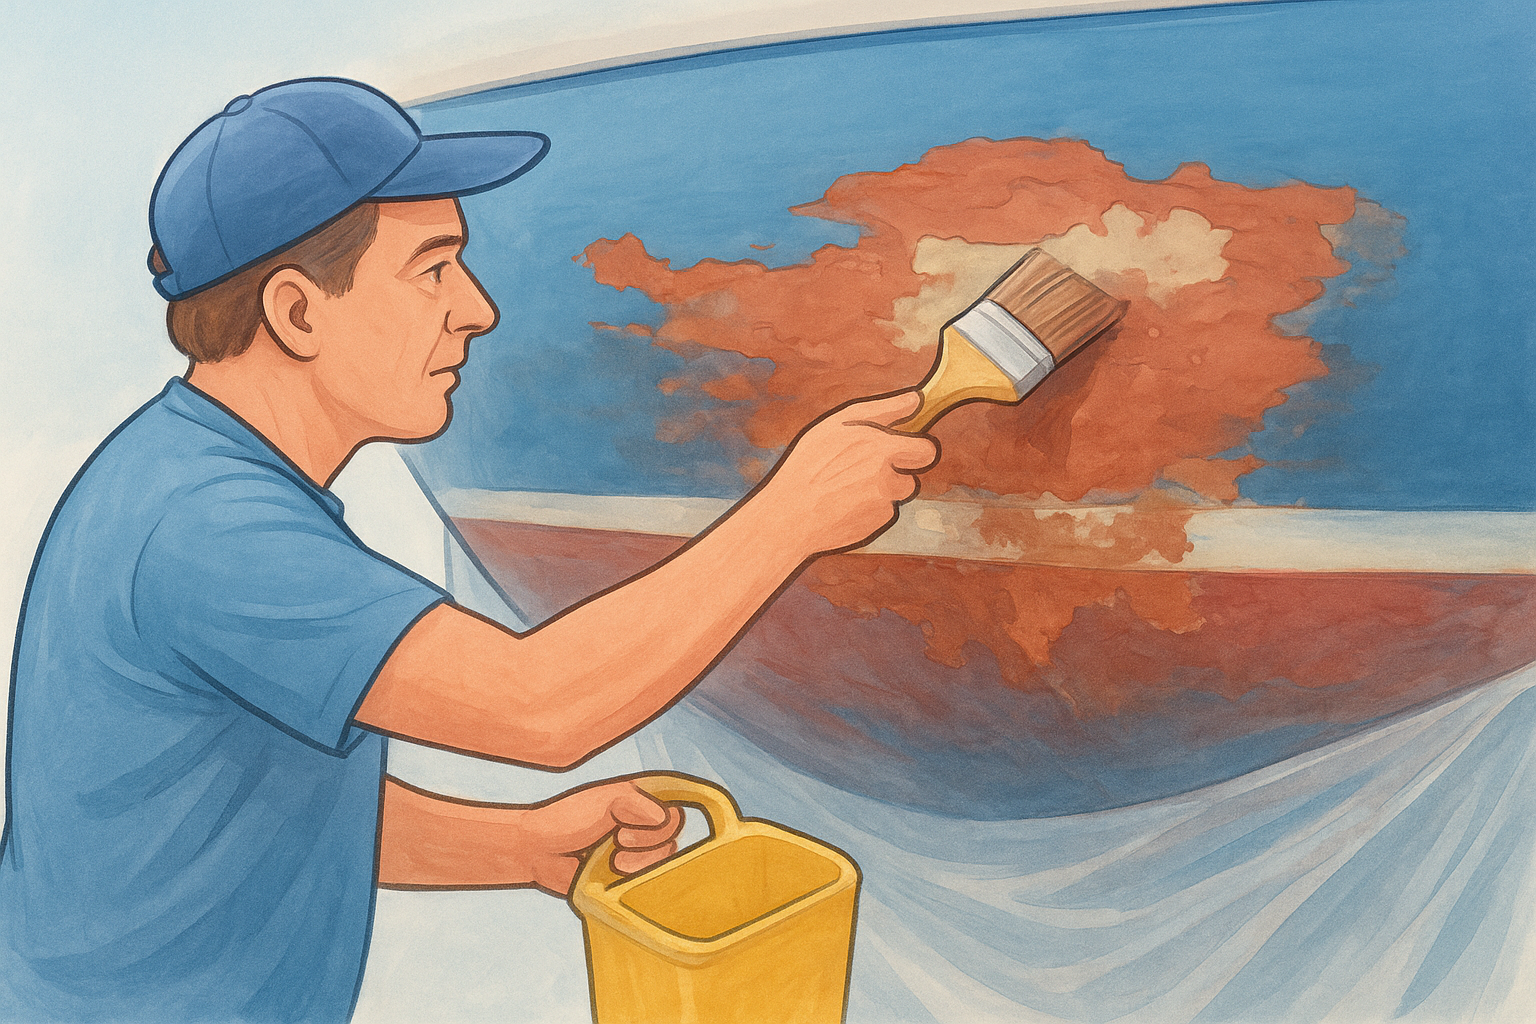
- Brush on a thick, even coat in one direction. Do not scrub it back and forth.
- Cover it with plastic sheeting if the label calls for it, which slows drying.
- After the labeled dwell time, test with a plastic scraper. Paint should lift in sheets.
- Scrape the softened paint into a bucket, not onto the sheeting.
- Reapply on stubborn layers, then wipe residue as the label directs.
Let the stripper do the work, because pressure is what damages gelcoat.
Sanding and scraping
For thin ablative coats, use a random orbital sander connected to a HEPA vacuum. Start at 80 grit and go no coarser. Keep the sander moving and flat, and stop the moment a different color shows, since that is usually the barrier coat or gelcoat.
Scrape only where paint has lifted. Use a sharp carbide scraper at a low angle, pulling it away from you. Check your progress every few passes with your hand, because ridges and gouges are easy to feel before you see them.
Soda blasting
Soda blasting is a contractor job, so your work is oversight. Before the crew starts, confirm they will tarp and contain the media, and ask how they protect the gelcoat and where the waste goes. Stay clear of the work zone, and inspect each finished section before the crew moves on.
Step 4. Clean up, dispose of waste and inspect the hull
Stripping is only half of boat bottom paint removal. How you clean up decides whether you leave the yard legally and safely, and whether the hull is ready for its next coating.
Contain and dispose of the waste
First, gather everything while it is still contained. Fold the sheeting inward so chips and dust stay in the middle, then use a HEPA vacuum instead of a broom. Seal paint chips, sanding dust, stripper sludge, used rags and your disposable coveralls in labeled containers.
After that, find out where the waste goes. Ask the yard or your local hazardous waste program about drop-off, because rules differ by county and state. Never rinse residue toward a storm drain or into the water.
Bottom paint removal is not finished until the waste is sealed and accounted for.
Wash and inspect the surface
Once the waste is out, wash the hull as the stripper label directs and let it dry fully. Then inspect it with a bright light held at a low angle, which makes gouges and ridges show up. Check for:
- Leftover paint in corners, around through-hulls and along the keel joint
- Gouges, deep scratches or gelcoat worn through to fibers
- Blisters or soft spots, which sound dull when you tap them with a plastic mallet
- Stripper residue or a waxy film, which can stop new coatings from bonding
Finally, decide what goes on next before the hull sits bare. Bare fiberglass picks up moisture and dirt, so fix damage and prepare the surface promptly. If you find blisters or a damaged barrier coat, get a surveyor or yard to look at them before you coat anything.
Choosing a method that fits your hull
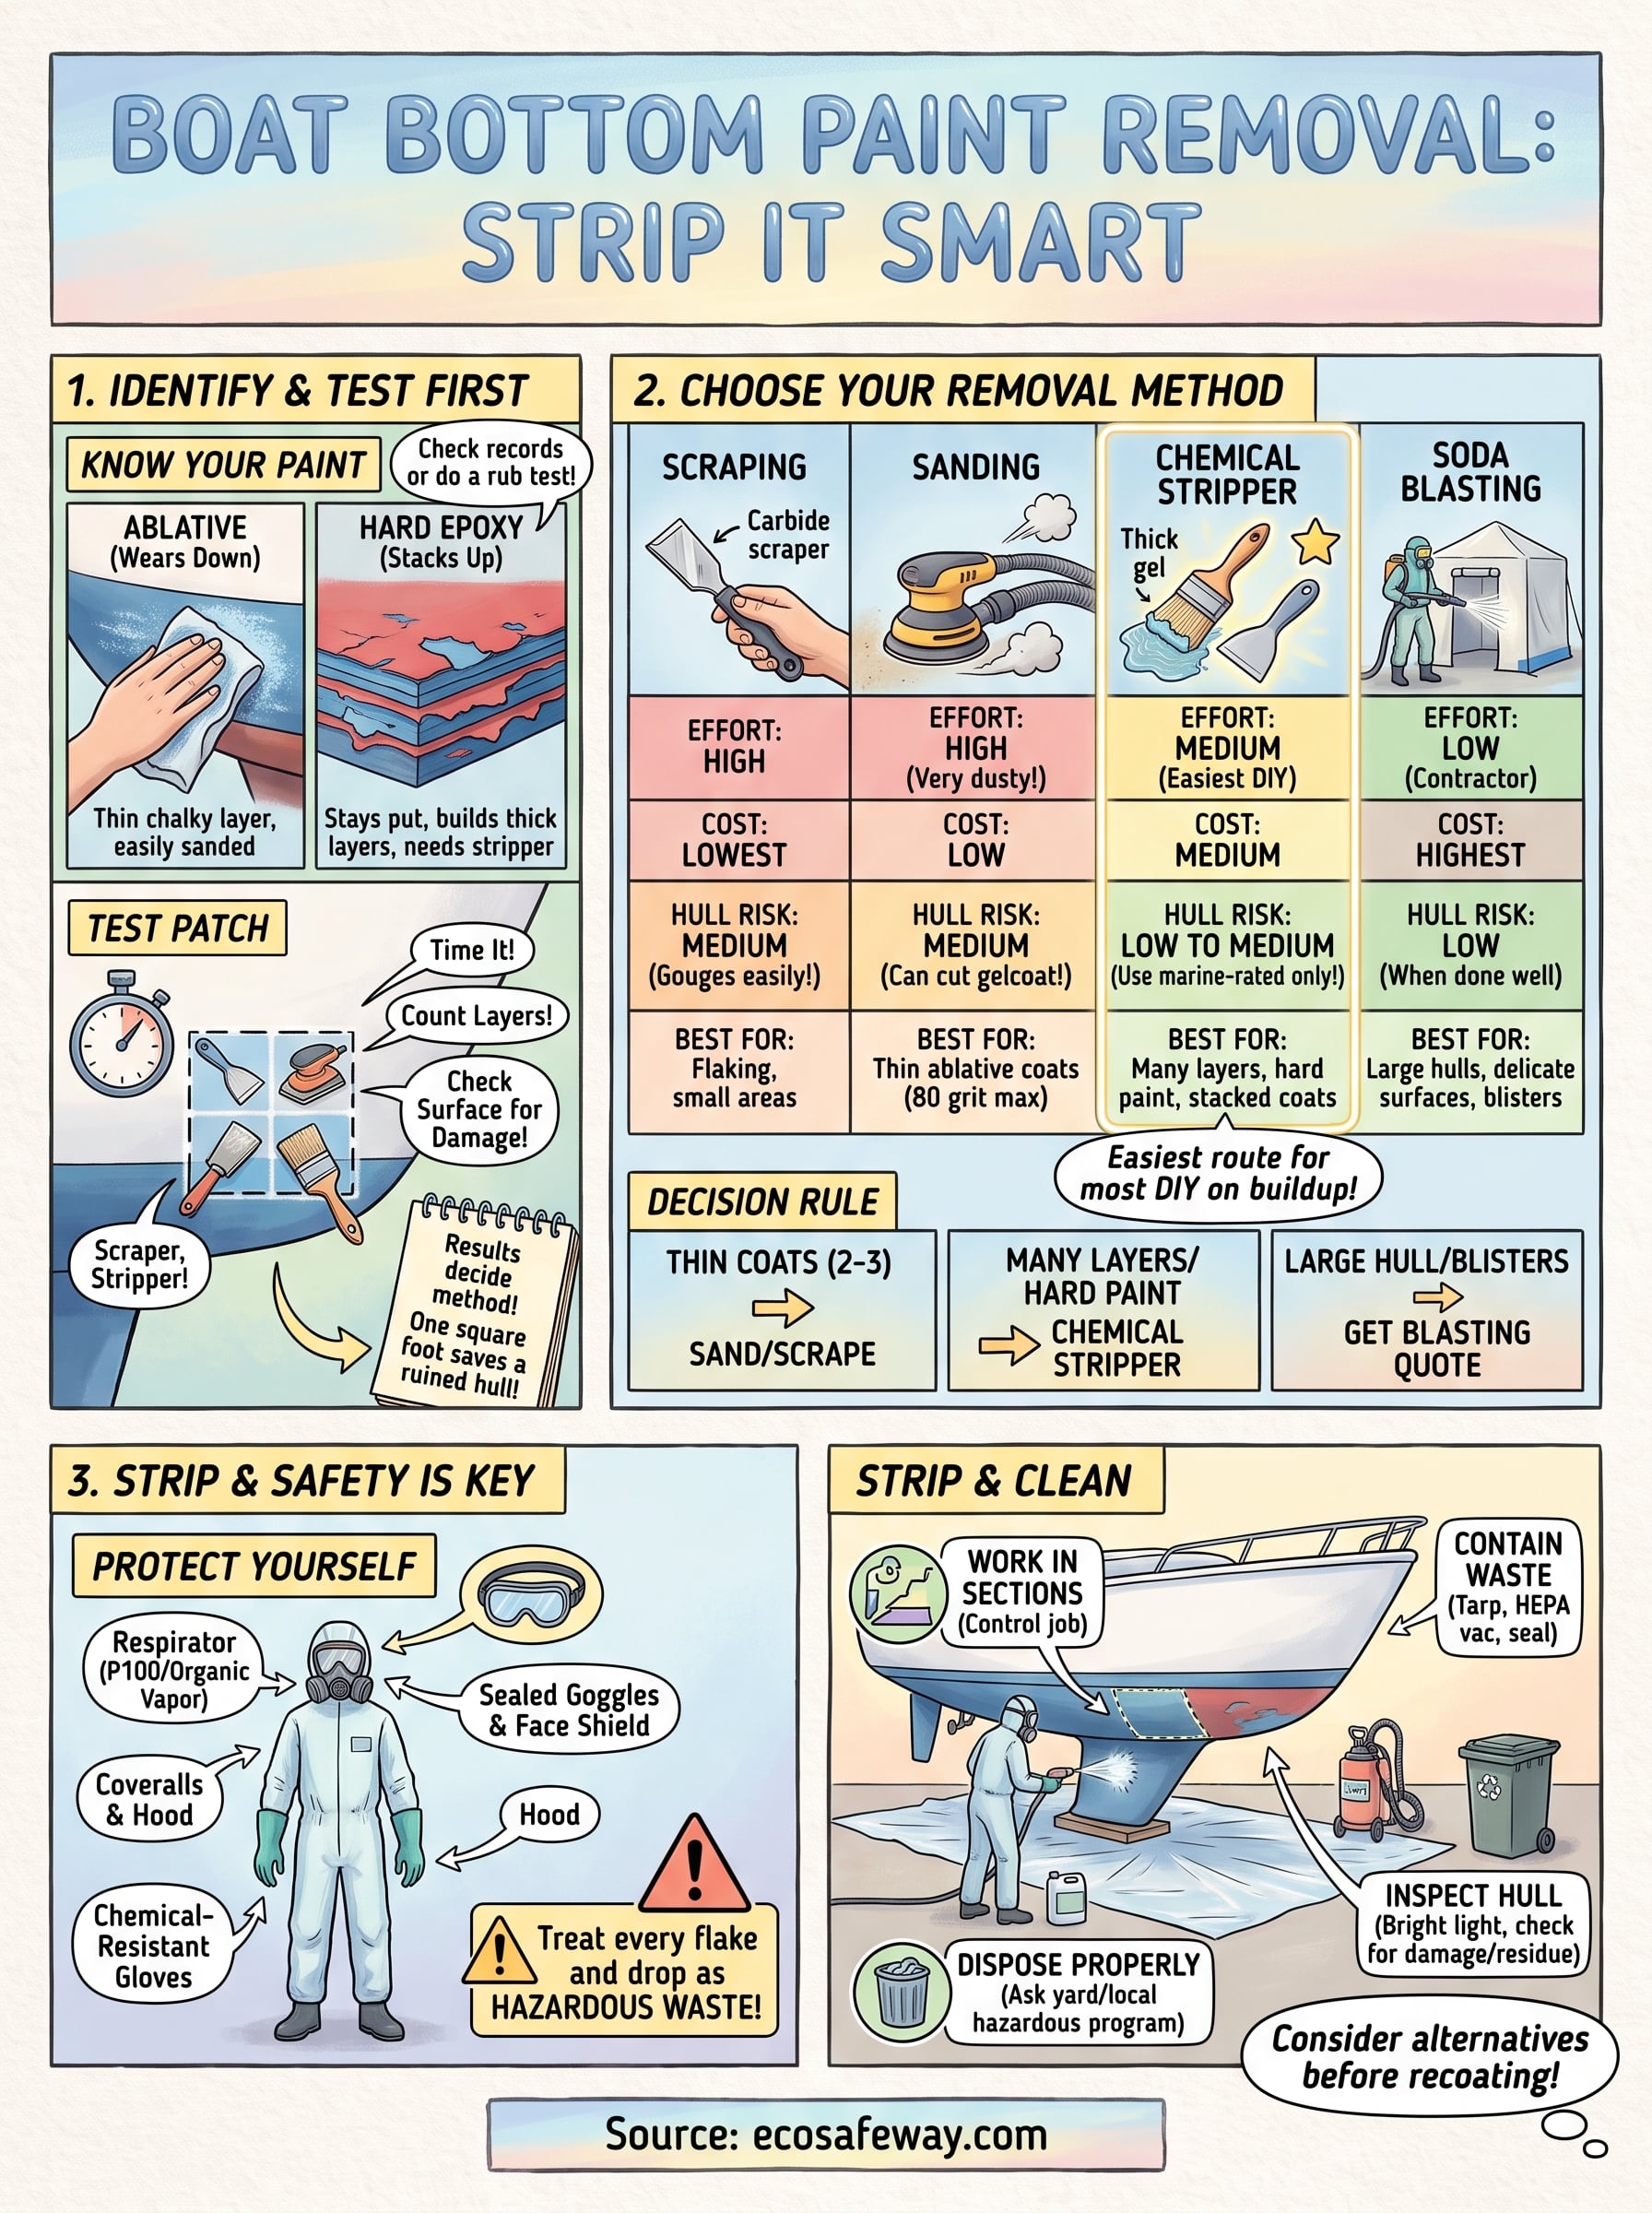
The right approach to boat bottom paint removal comes down to your test patch. Thin ablative coats suit sanding and scraping, stacked hard paint calls for a marine-rated chemical stripper, and a large or delicate hull is worth a soda blasting quote. Whatever you choose, protect yourself and contain every flake, because the waste is hazardous.
Stripping a hull is a lot of work to repeat every few seasons. A bare, clean hull is a natural point to ask whether you want to keep repainting at all. Eco Safeway is the official US Finsulate dealer in Fort Lauderdale, and you can compare your options before you recoat by reading how Finsulate works as a bottom paint alternative and what the hull needs beforehand.


