





Your Sub-Zero undercounter ice maker is only as clean as the last cycle you ran. Mineral scale builds up on the evaporator, ice gets cloudy, and slime can start in the water path. Then you search for a sub zero ice machine cleaner and find a dozen products with no clear answer on which one fits.
Here is the short answer. Sub-Zero sells its own branded cleaner, and you should check your model's owner's manual for the exact product and cleaning interval it specifies. If you buy a third-party product, look for one labeled nickel-safe, since the evaporator in many ice machines is nickel-plated and harsh acids can damage it. Confirm that it is sold for descaling and sanitizing food-contact ice machine surfaces.
Below, you will see how to tell a cleaner from a sanitizer, what to check before you buy, and a step-by-step cleaning routine for an undercounter unit. Eco Safeway supplies nickel-safe ice machine cleaning products, so we cover what to look for in the label and the safety data sheet.
Which cleaner and sanitizer your Sub-Zero needs
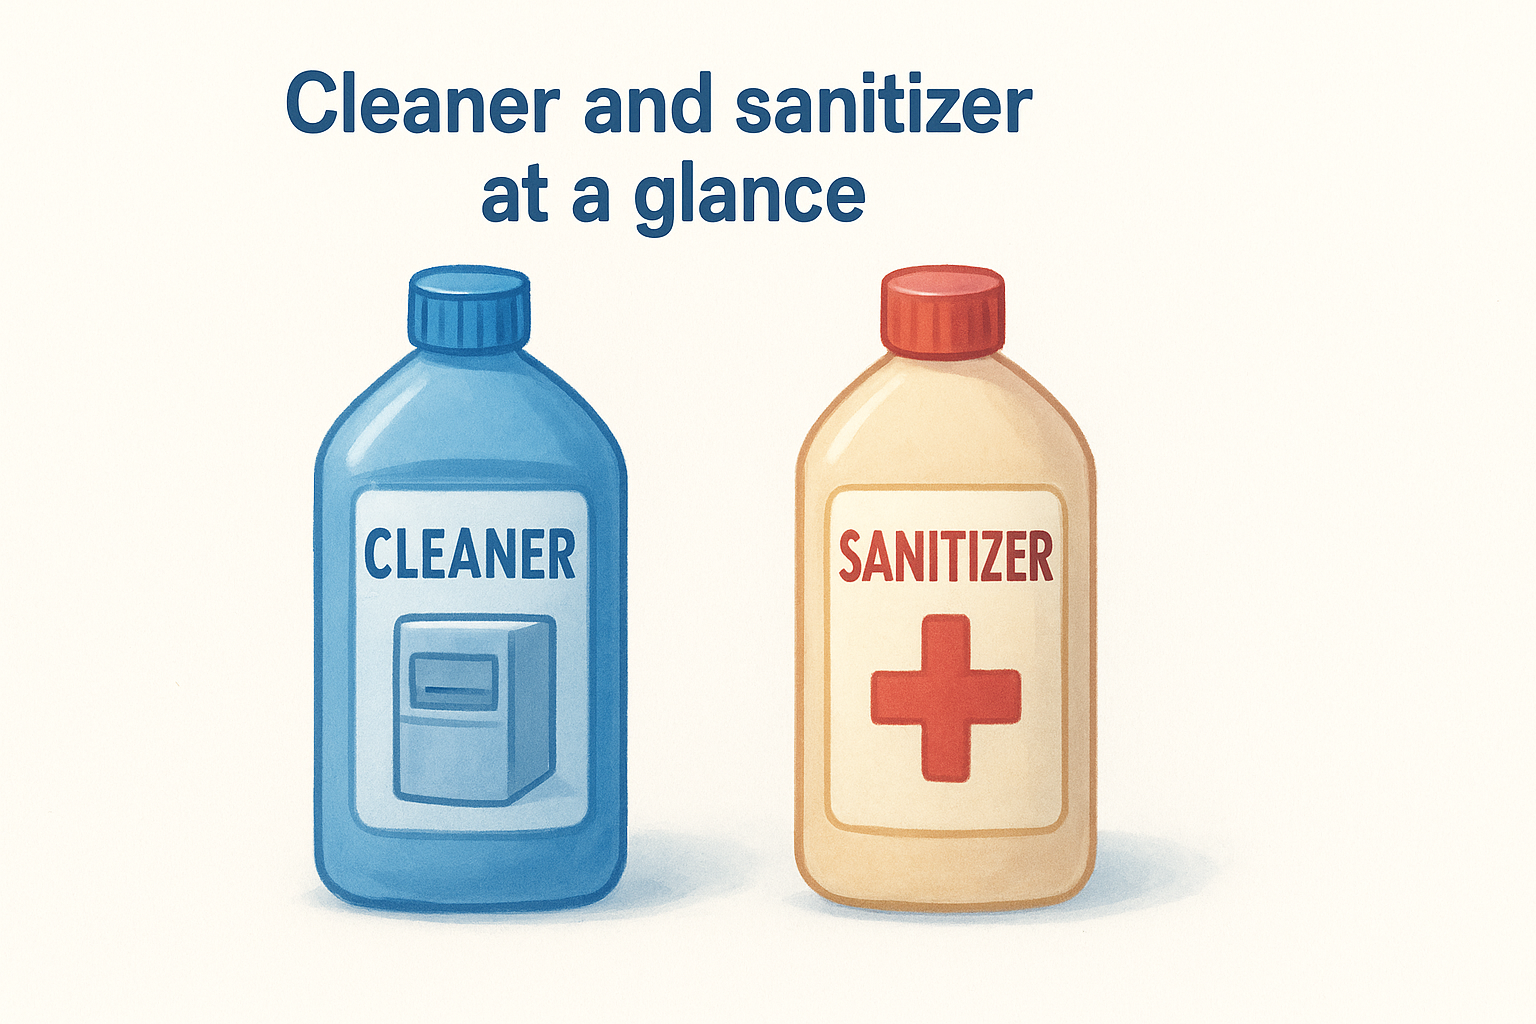
Two products do two different jobs here. A cleaner removes mineral scale and residue from the evaporator and water path. A sanitizer comes after it and treats food-contact surfaces for microorganisms. Skip either one and the job is only half done.
Cleaner and sanitizer at a glance
Use the table below to see where each product fits when you service your Sub-Zero undercounter ice maker. The sanitizer never replaces the cleaner, and the cleaner never replaces the sanitizer.
| Product | What it does | When you use it |
|---|---|---|
| Ice machine cleaner | Dissolves scale and mineral deposits | First, during the cleaning cycle |
| Ice machine sanitizer | Treats food-contact surfaces | Second, during the sanitizing cycle and on the bin |
What to check before you buy
Begin with your owner's manual. Sub-Zero names the approved cleaner and the cleaning interval for each model, and that beats any generic advice. If you choose a third-party product instead, run the label through this checklist:
- It says nickel-safe or is made for nickel-plated evaporators.
- It is labeled for use on ice machines, not on kettles or general equipment.
- It states that it is for food-contact surfaces, or it pairs with a labeled sanitizer.
- The safety data sheet (SDS) is easy to find and lists handling and first-aid steps.
Buy the product your manual approves, or one whose label clearly says nickel-safe and ice machine use.
Finally, treat the sanitizer with the same care. Choose one labeled for food-contact surfaces, follow the dilution and contact time on the label, and never mix it with the cleaner. Mixing chemicals can release hazardous fumes and ruin both products.
Step 1. Gather supplies and prepare the unit
Preparation takes about ten minutes and prevents most cleaning mistakes. Before you open any bottle, read the cleaning section of your owner's manual and confirm the steps for your model. Then check that the unit is off or in the cleaning mode the manual describes.
Supplies to have on hand
Everyone forgets something, so lay it all out first. Whatever sub zero ice machine cleaner you chose, keep it and the sanitizer in separate, clearly labeled containers so you never mix them up.
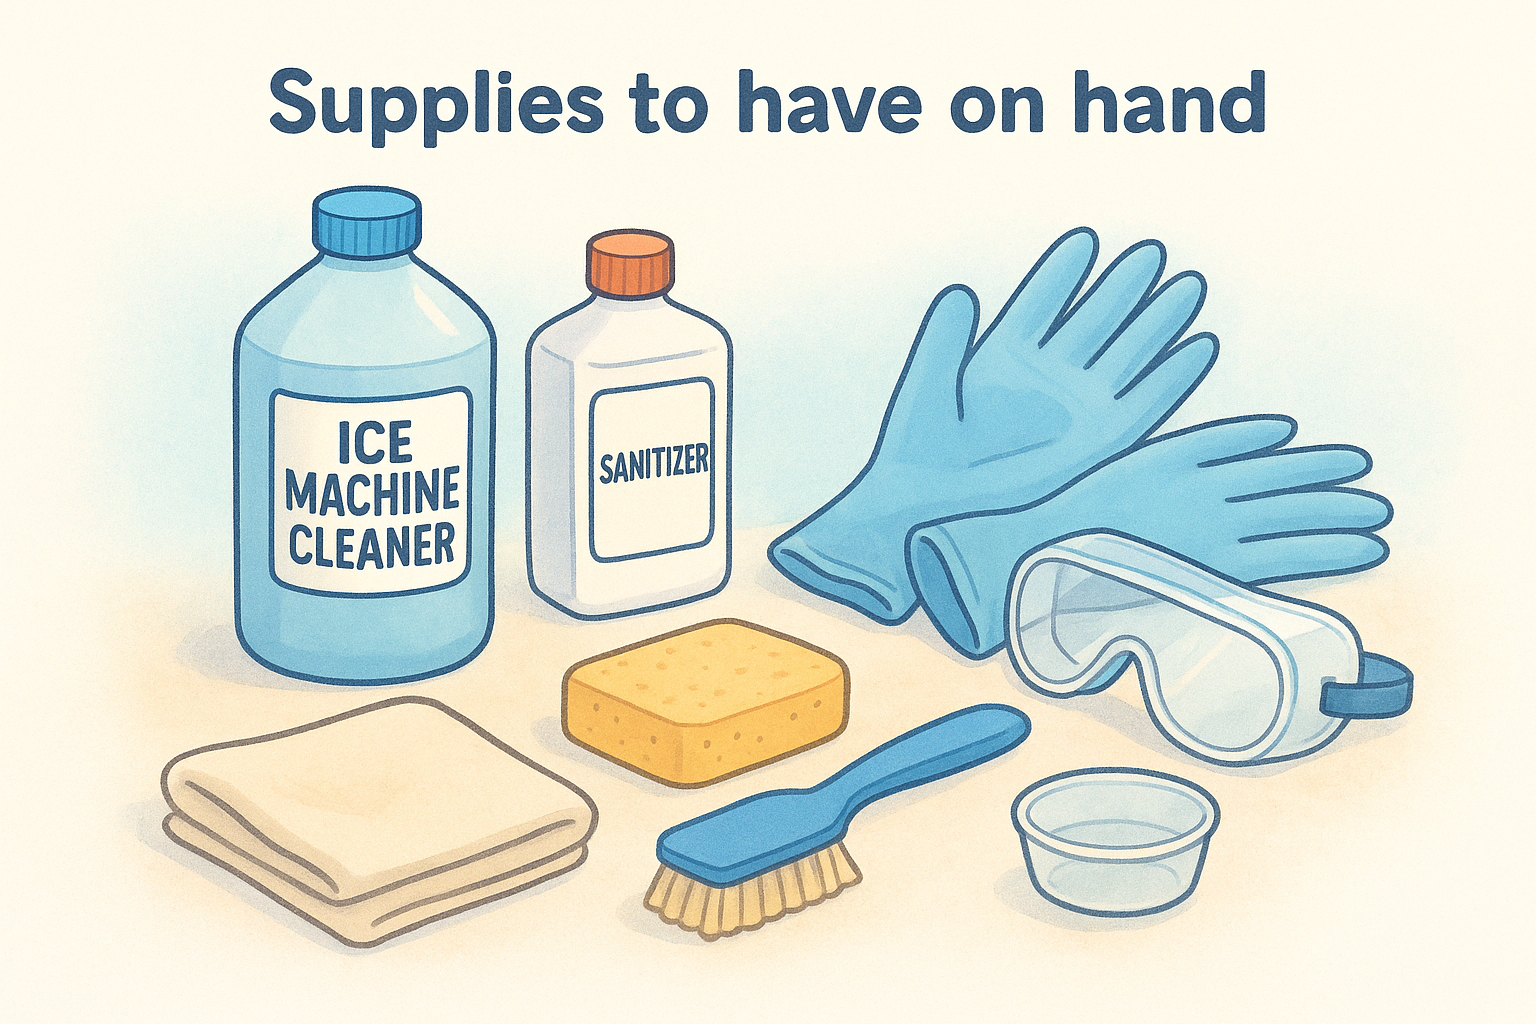
- Ice machine cleaner and sanitizer, measured as the label directs
- Chemical-resistant gloves and eye protection, as the SDS recommends
- Soft cloths, a sponge, and a soft nylon brush
- A clean container for measuring
- Potable water for rinsing
Prepare the unit
Next, remove every cube from the bin and throw it out. Ice made before cleaning should never go into a drink. Take out the scoop and any removable bin parts so you can wash them later.
Discard the old ice and read the manual before any chemical goes near the machine.
Finally, protect what surrounds the unit. Wipe up the area, move items off the counter, and keep a towel handy for drips, since cleaner spills can stain cabinetry.
Step 2. Run the cleaning cycle
Start the cycle
With the bin empty, start the cleaning mode your manual describes. Controls differ by model, so follow the manual's start procedure instead of guessing at buttons. Whichever sub zero ice machine cleaner you use, add it at the dilution printed on the label.
- Put the unit into its cleaning mode as the manual directs.
- Measure the cleaner in your clean container.
- Add it at the fill point the manual names.
- Let the cycle run to the end without interrupting it.
Clean the parts and rinse
While the cycle runs, wash the scoop and removable bin parts with a soft cloth or nylon brush. Use the cleaner solution only as the label allows, and keep the contact time the label gives. That time is what dissolves the scale.
Don't cut the cycle short, because the cleaner needs its full contact time to dissolve scale.
Once the cycle ends, drain the unit and rinse every surface with potable water. Wipe the bin walls until no cleaner smell remains. Any residue left behind can taint the next batch of ice, so rinse a second time if you notice an odor.
Step 3. Run the sanitizing cycle and sanitize the bin
Sanitizing always comes after rinsing, never before. Your sub zero ice machine cleaner removed the scale, but only a sanitizer treats the surfaces your ice touches. Skip this step and you have cleaned without sanitizing.
Run the sanitizing cycle
Mix the sanitizer in a fresh container at the label's dilution. Never reuse the cleaner container, and never combine the two products. Then follow this order:
- Put the unit back into its cleaning mode as the manual directs.
- Add the sanitizer at the same fill point you used for the cleaner.
- Let the cycle run for its full contact time.
- Drain the unit and rinse only if the label calls for it.
Sanitize the bin and parts
While the cycle runs, wipe the bin walls, scoop, and removable parts with the sanitizer solution. Keep surfaces wet for the label's contact time, then let them air dry.
Clean first, rinse, then sanitize, and never mix the two products.
Last, refit the parts and let the machine make a fresh batch. Discard that first batch of ice, since it can carry traces of chemical. If ice tastes or smells off after that, repeat the rinse.
Cleaner FAQs: vinegar, bleach, and cleaning frequency
Vinegar and bleach
Vinegar is a mild acid that may loosen light scale, but it does not sanitize. It is also no substitute for a nickel-safe cleaner made for ice machines.
Bleach is the bigger risk. Never mix bleach with an acid-based cleaner, because the combination can release chlorine gas. Repeated use can also harm metal surfaces, so use it only if your manual names it.
Your manual's approved product beats any kitchen substitute.
How often to clean
Cleaning frequency comes from your owner's manual, so follow the interval it gives for your model. Clean sooner if you have hard water or the unit runs heavily, or if you notice any of these signs:
- Cloudy ice or visible white scale
- Ice that tastes or smells off
- Slime on the bin walls or scoop
- Slow ice production
Keeping your ice maker running clean
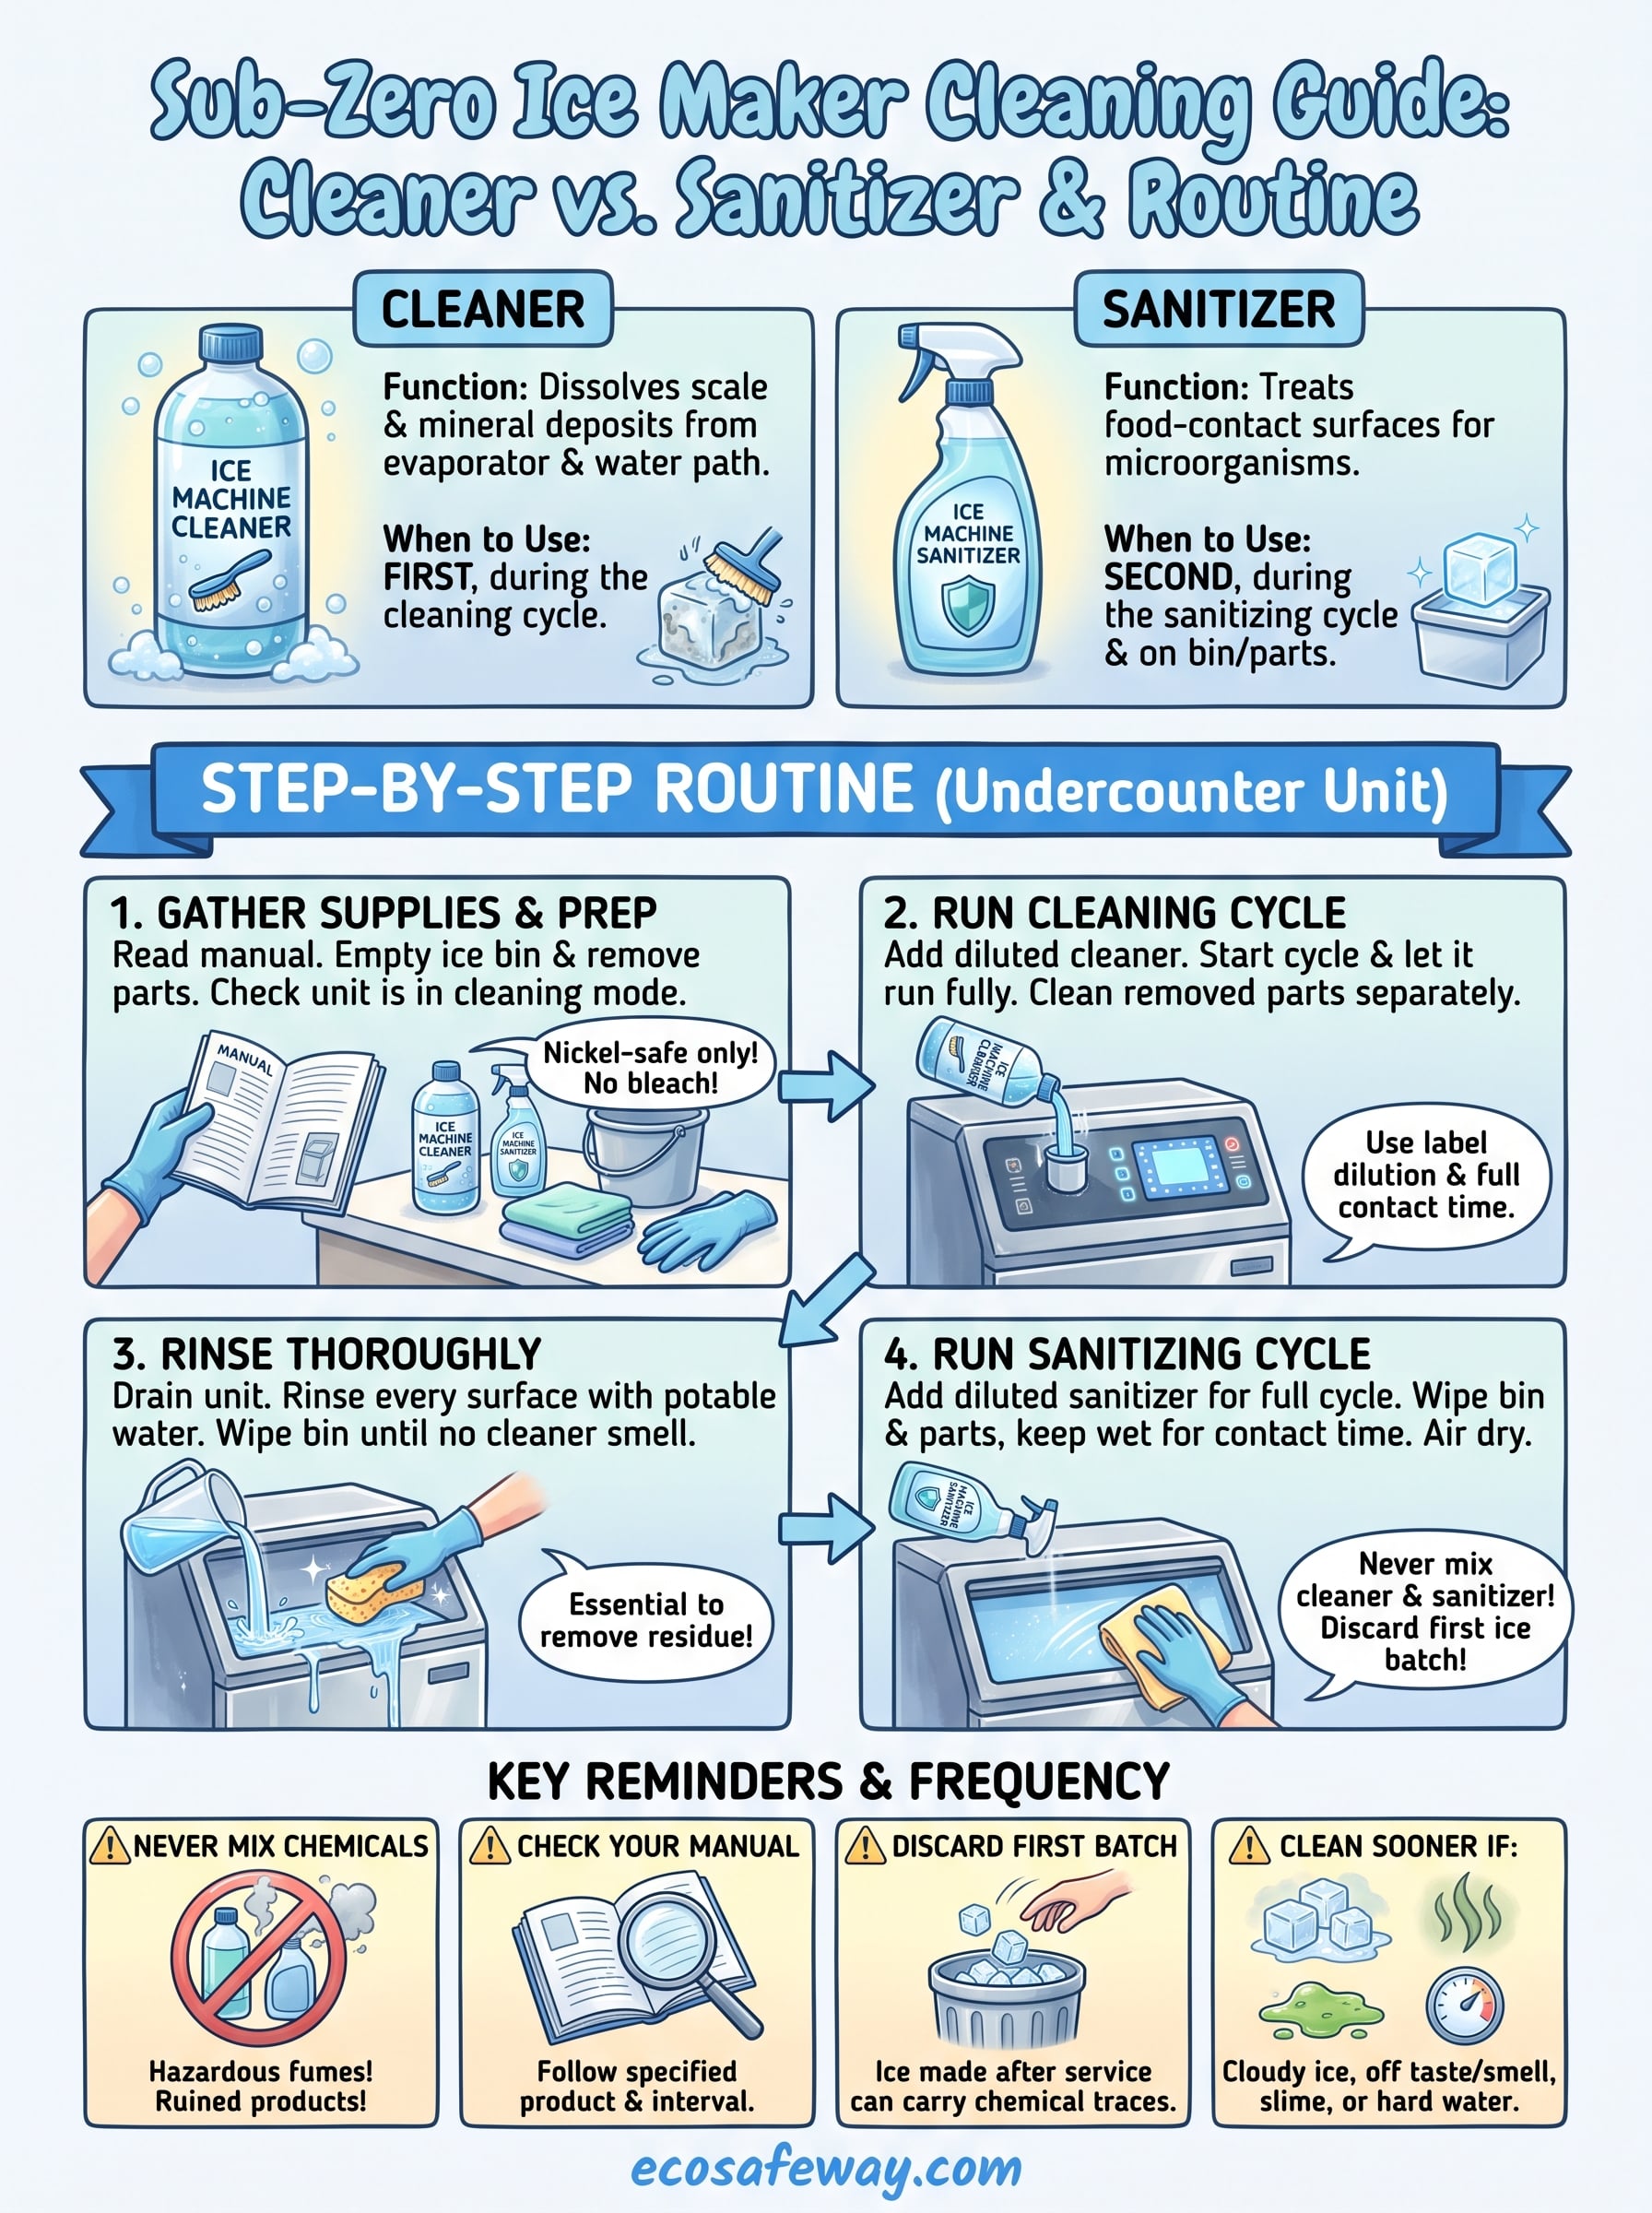
A clean Sub-Zero comes down to one order of operations. Clean, rinse, then sanitize, and never mix the two products. Follow the interval in your manual, and clean sooner if you see cloudy ice, off tastes, or slime on the bin.
The right sub zero ice machine cleaner is the one your manual approves, or a nickel-safe product labeled for ice machines. Read the label and the SDS before you buy, and always discard the first batch of ice after service.
If you want a nickel-safe option, look at Eco Safeway's nickel-safe ice machine cleaner and descaler. Check the label against your owner's manual to confirm it suits your model, then run your next cycle with confidence.


