





If your whirlpool ice machine cleaner search brought you here, you're probably staring at cloudy ice cubes or a machine that smells slightly off. That's usually mineral scale and biofilm buildup inside the water lines and evaporator plate, and it happens to every ice maker regardless of brand. Whirlpool units are no exception, and the fix isn't complicated once you know what product to use and how often to run it.
This guide gives you the exact cleaning cycle Whirlpool recommends, the type of nickel-safe descaler that won't damage internal components, and a realistic maintenance schedule so scale doesn't come back in a month. We'll also cover what happens if you skip cleaning too long, since ignored scale buildup shortens compressor life and voids warranties faster than most owners realize.
By the end, you'll know exactly which whirlpool ice machine cleaner to buy, how to run a full descale cycle step by step, and how to sanitize the bin so your ice tastes clean again. If you manage commercial equipment beyond ice makers, including cooling towers or HVAC systems facing similar scale and hygiene issues, the same safety-first cleaning principles apply.
What you need before cleaning your Whirlpool ice maker
Gathering everything upfront saves you from stopping mid-cycle with wet hands and a half-drained bin. Whirlpool designs its ice makers with nickel-plated evaporator plates, so not just any descaler belongs inside the unit. You need a nickel-safe ice machine cleaner rated for food-contact surfaces, not a generic acid-based descaler pulled from under the kitchen sink. Using the wrong chemistry can pit the plate and shorten the compressor's life within a couple of seasons.
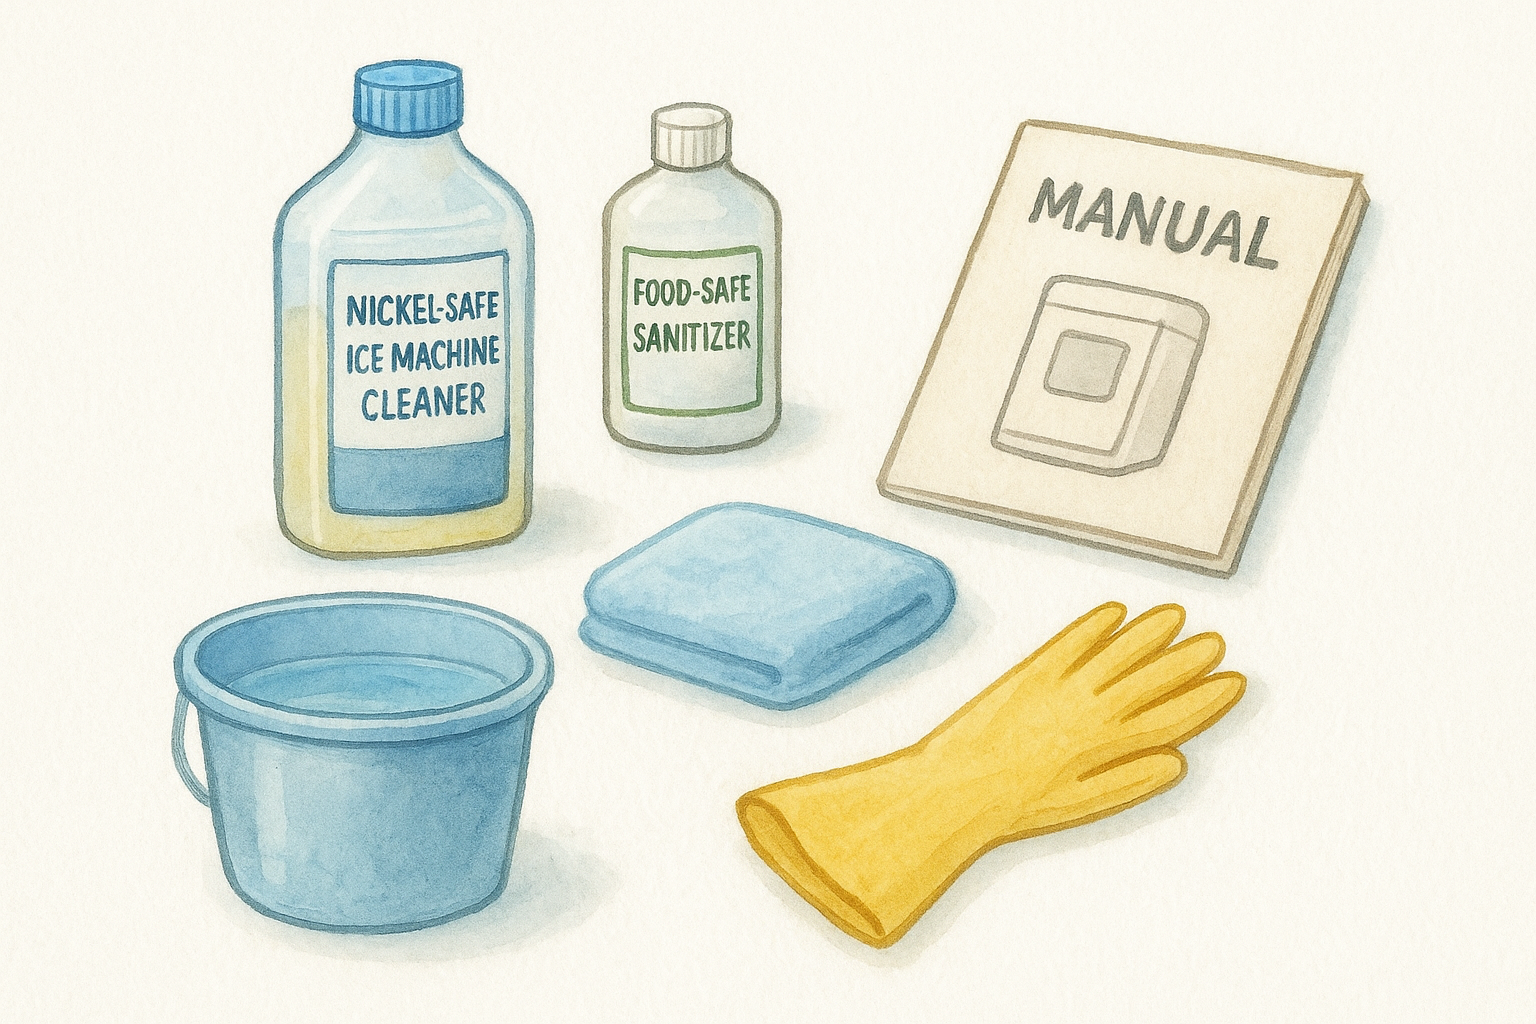
Beyond the cleaner itself, keep a short list of supplies within reach:
- Nickel-safe ice machine cleaner (Whirlpool-approved or equivalent food-safe descaler)
- Food-safe sanitizer for the bin and scoop
- Warm water and a soft, non-abrasive cloth
- A small bucket for draining the water pan
- Rubber gloves (optional, but useful if you're sensitive to cleaning solutions)
- The unit's manual or model number, in case you need to confirm cycle settings
Having the manual nearby matters more than most owners assume, since some Whirlpool models require you to hold a specific button combination to trigger the internal cleaning cycle instead of just running water through manually.
A nickel-safe cleaner isn't optional convenience, it's what keeps your evaporator plate from pitting and your warranty intact.
Inspecting the water filter is worth doing at this stage too. If it's older than six months, replace it now rather than after cleaning, since a clogged filter reintroduces the same minerals you're about to scrub away. This is also the moment to check whether your ice tastes or smells off specifically because of the filter, not the internal lines, which changes your entire approach to the fix.
Step 1. Turn off the unit and empty the ice bin
Start by cutting power at the switch or unplugging the unit entirely, not just pausing the ice-making cycle. Whirlpool ice makers keep the compressor and water valve live even when the bin looks idle, so a full power cut is the only way to safely open the cabinet without risking a shock or a valve firing mid-clean.
Clear out the old ice
Next, scoop out every cube and toss them. Old ice can carry the same biofilm and mineral residue you're trying to eliminate, so melting it down the drain rather than reusing it matters more than it seems. Wipe the empty bin with a soft cloth to catch loose debris before it gets pushed into the drain line during rinsing.
Skipping the power-off step is the single most common reason DIY ice machine cleanings go wrong.
Check the door gasket and bin walls
While the bin is empty, run your fingers along the door gasket and interior walls. Sticky residue here usually signals mold rather than mineral scale, and it needs a separate sanitizing pass after the main descaling cycle finishes.
Step 2. Drain the water pan and add cleaner
Locate the water pan beneath the evaporator plate and pull the drain plug or tilt the pan into your bucket, depending on your model. Standing water left in the pan dilutes the cleaner and leaves mineral sediment sitting exactly where you don't want it. Wipe the pan's interior with your soft cloth before refilling, since loose scale flakes here often get recirculated once the pump restarts.
Mixing the cleaner correctly
Follow the dilution ratio printed on your nickel-safe ice machine cleaner bottle rather than guessing. Most food-safe descalers call for something close to this:
1 part ice machine cleaner : 4 parts warm water
Pour directly into the water pan, not the reservoir feed line
Overconcentrating the solution doesn't clean faster. It just increases the odds of residue lingering after rinsing, which affects ice taste for days.
Undiluted cleaner sitting in the pan does more harm to your evaporator plate than the scale it's meant to remove.
Reconnect before powering up
Once the pan holds the diluted solution, reseat the drain plug and confirm the pan sits level under the plate. A crooked pan sprays solution unevenly during the cycle, leaving streaky buildup you'll have to tackle again next month.
Step 3. Run the cleaning cycle
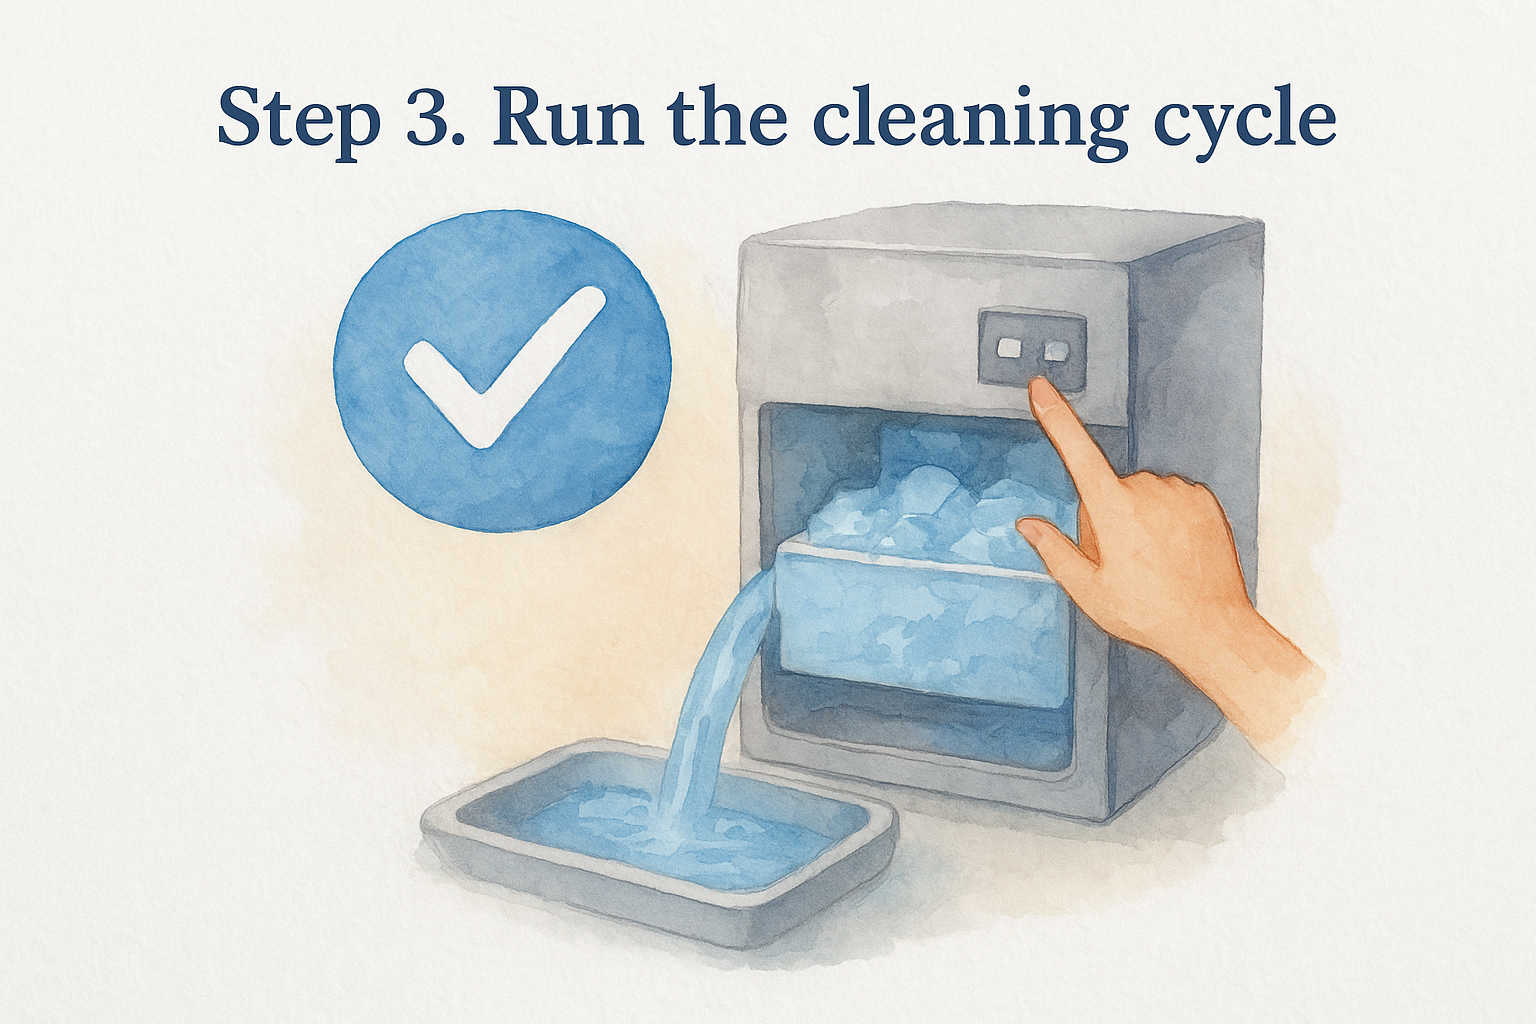
Power the unit back on and locate the button combination your manual specifies for entering clean mode. On most Whirlpool models, this means holding down the ice/water selector or a dedicated clean button for several seconds until an indicator light confirms the cycle has started. Skipping this step and just letting the machine run normally means the diluted cleaner never circulates through the internal lines where scale actually hides.
Let the cycle finish uninterrupted
Once started, the cycle pulls solution from the water pan, sprays it across the evaporator plate, and drains it away, typically taking 15 to 20 minutes depending on your model. Resist the urge to open the cabinet or check progress mid-cycle, since interrupting it can leave concentrated cleaner sitting on the plate longer than intended.
A completed cleaning cycle does more for your ice quality than three manual wipe-downs ever will.
Watch for a second pass
If your unit still shows visible scale or the water in the pan looks cloudy after the first run, most nickel-safe cleaners allow a second cycle. Check the label before repeating, since some formulas cap usage at one cycle per session to avoid residue buildup on the evaporator plate.
Step 4. Rinse, dry and clear stubborn buildup
After the cycle finishes, run at least two full rinse cycles with plain water before making ice again. Residual cleaner left in the lines affects taste far more than most owners expect, so don't shortcut this step just because the pan looks clear. Drain the pan completely between rinses and wipe it dry with your cloth.
Tackle spots the cycle missed
Sometimes the automatic cycle doesn't reach every corner, especially around the plate edges or the water distribution tube. For these spots, dip a soft cloth in your diluted nickel-safe descaler, wipe gently, then rinse the area by hand with a damp cloth before restarting production.
Two rinse cycles matter more than a stronger cleaner ever will.
Dry before restarting production
Finally, let the interior air dry for 15 to 20 minutes before flipping the unit back to normal mode. Moisture left sitting encourages the same biofilm growth you just removed, undoing the work of the entire cleaning session. Discard the first batch of ice produced afterward, since it often carries trace cleaner taste even after thorough rinsing.
Keeping the ice fresh going forward
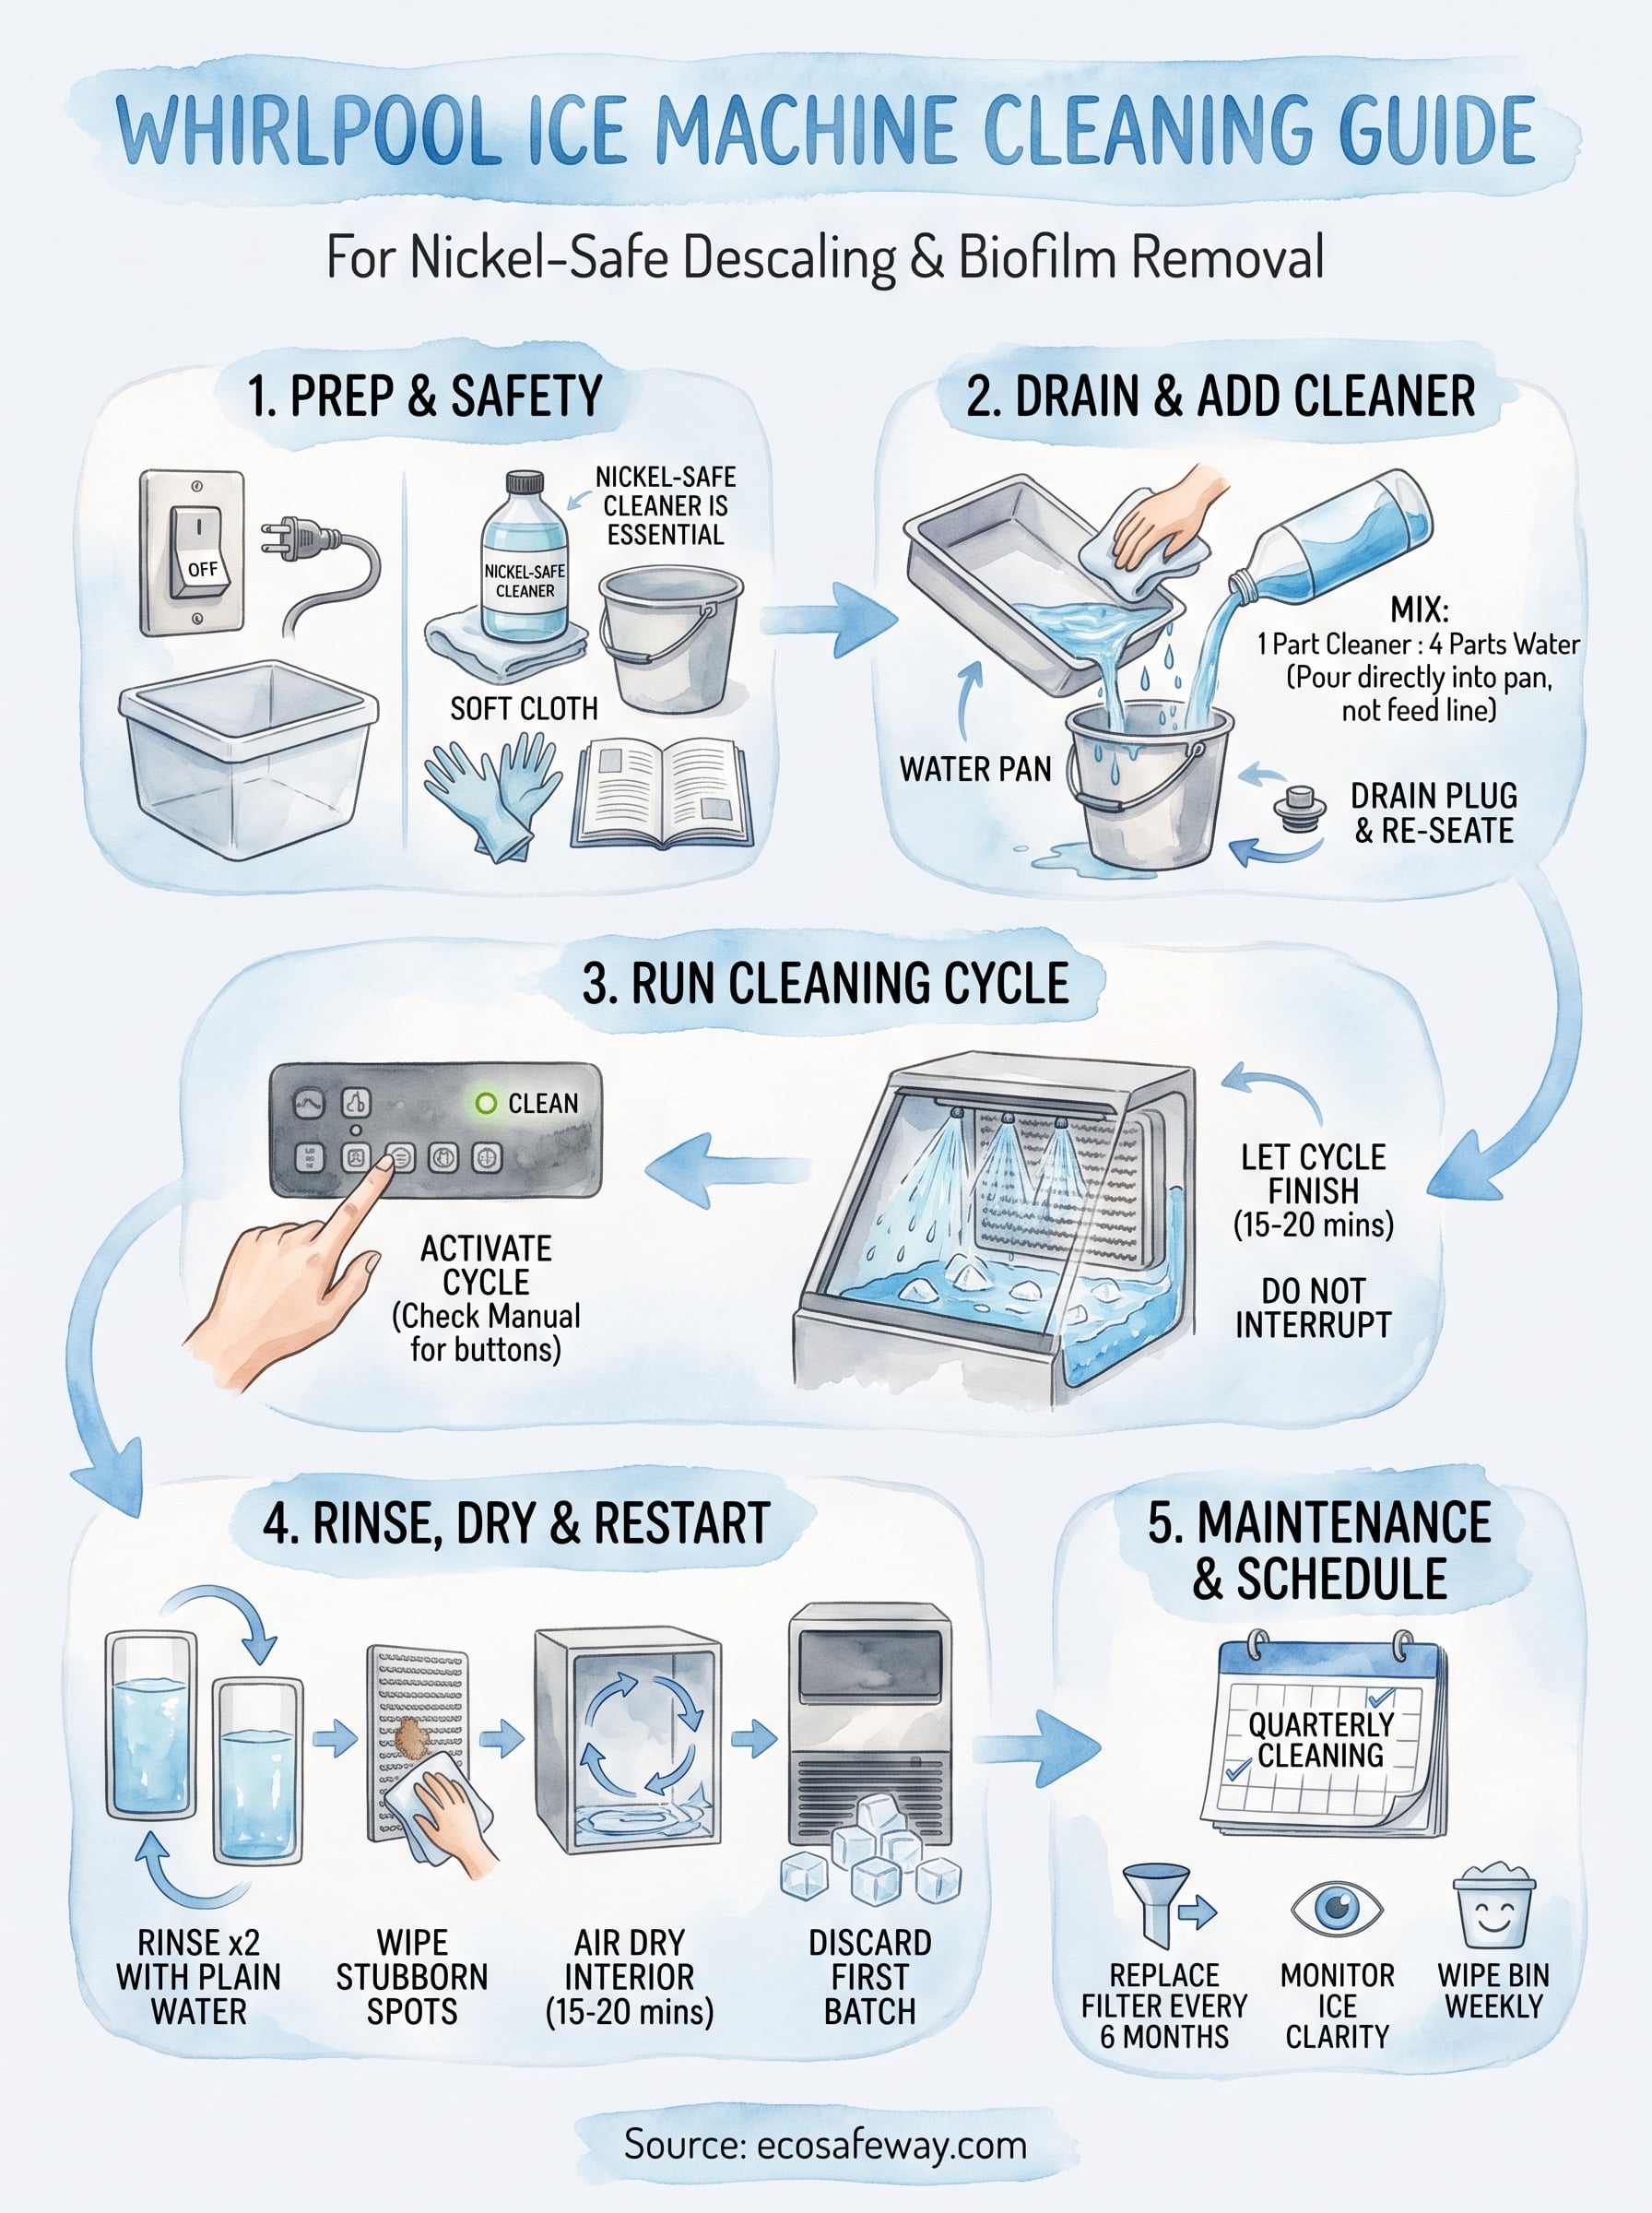
Quarterly cleaning keeps scale from ever building up to the point where cubes look cloudy or the compressor strains against mineral deposits. Mark the date on your calendar right after you finish a cycle, since "I'll remember" is how six months turns into a full year without descaling. Regular descaling costs you twenty minutes every few months versus a service call or a replacement evaporator plate later, and that math never favors skipping the routine.
Swap the water filter on schedule, wipe the bin weekly, and keep an eye on ice clarity as your early warning sign. Nobody wants to smell mildew from their own ice bin, and staying ahead of scale means you never have to.
Once you've got the routine down, stock up on a food-safe ice machine descaler built specifically for food-contact surfaces, so every future cycle protects the plate instead of risking it.


