





Scale buildup inside an ice machine doesn't just slow down production, it feeds bacteria and mold that end up in every glass you serve. That's why so many facility managers and kitchen operators reach for an ice machine cleaner tablet instead of liquid descalers that require careful measuring and extra safety gear. Tablets simplify the process, but only if you use them correctly, and a rushed or incomplete cleaning cycle can leave mineral deposits behind or damage sensitive components like evaporator plates and water sensors.
If you're searching for ice machine cleaner tablets because your unit is producing cloudy, small, or slow-forming ice, you're in the right place. This guide walks through exactly how to run a proper cleaning cycle, from shutting down production to rinsing residue that could affect ice taste or machine performance. We'll also cover how often commercial units need this treatment based on water hardness and usage volume.
Below, you'll get a straightforward, step-by-step process for how to use ice machine cleaner tablets safely and effectively, plus tips on choosing a nickel-safe formula that protects both your equipment and the people who handle it daily.
What ice machine cleaner tablets do and what you'll need
Mineral scale forms when hard water evaporates inside your machine, leaving calcium and lime deposits on evaporator plates, water lines, and sensors. An ice machine cleaner tablet dissolves this buildup through a controlled acid reaction, usually built around sulfamic acid, that breaks the mineral bonds without the splashing risk of liquid concentrate. Unlike pouring measured liquid into a reservoir, a tablet dissolves at a predictable rate, which gives you a more consistent clean cycle after cycle and reduces the chance of under-dosing or over-dosing the solution.
How the descaling chemistry works
Beyond scale removal, tablets also target the biofilm that liquid cleaners sometimes miss in tight corners of the water distribution system. This slimy layer harbors bacteria and mold spores, and it's the real reason your ice can taste off even after a quick rinse. Choosing a non-corrosive nickel-safe ice machine cleaner and descaler matters here because standard acid blends can strip the nickel plating on evaporator plates over repeated cleanings, shortening the life of components that cost hundreds of dollars to replace. Eco Safeway's nickel-safe ice machine cleaner tablets are formulated specifically to protect that plating while still breaking down mineral scale on contact.
A cleaner that strips nickel plating trades a five-minute problem today for a five-hundred-dollar repair bill next year.
Supplies to gather before you start
Getting everything staged before you shut down the machine saves you from mid-cycle interruptions, especially on units that need to stay off production for 30 to 45 minutes. Restaurants and hotels running high-volume machines should keep a stock of tablets on hand rather than ordering them reactively, since a scaled-up machine can drop production by 20% or more before anyone notices the slowdown.
Here's what you need before starting a cleaning cycle:
- Ice machine cleaner tablets (nickel-safe formula recommended for stainless and nickel-plated components)
- Food-safe sanitizer for the interior surfaces after descaling
- Rubber gloves and eye protection, even with tablets the concentrated solution can irritate skin
- A soft-bristle brush for manually loosening stubborn deposits on visible surfaces
- Clean towels or a wet/dry vacuum for draining standing water
- The manufacturer's service manual for your specific model, since cycle times and access panels vary
Most commercial ice machines fall into one of three cleaning categories, and knowing which one you're working with changes how long the process takes and what tools you'll need:
| Machine Type | Typical Cycle Time | Access Point | Common Issue Without Cleaning |
|---|---|---|---|
| Modular ice machine (bin-fed) | 30-40 minutes | Front panel removal | Slow ice formation, cloudy cubes |
| Undercounter unit | 25-35 minutes | Top or side access | Reduced bin capacity, odor |
| Flake/nugget ice machine | 40-50 minutes | Full evaporator access | Rapid scale buildup on auger |
Once you've confirmed your machine type and gathered your supplies, you're ready to shut down production and start the actual cleaning process, which we'll walk through step by step below.
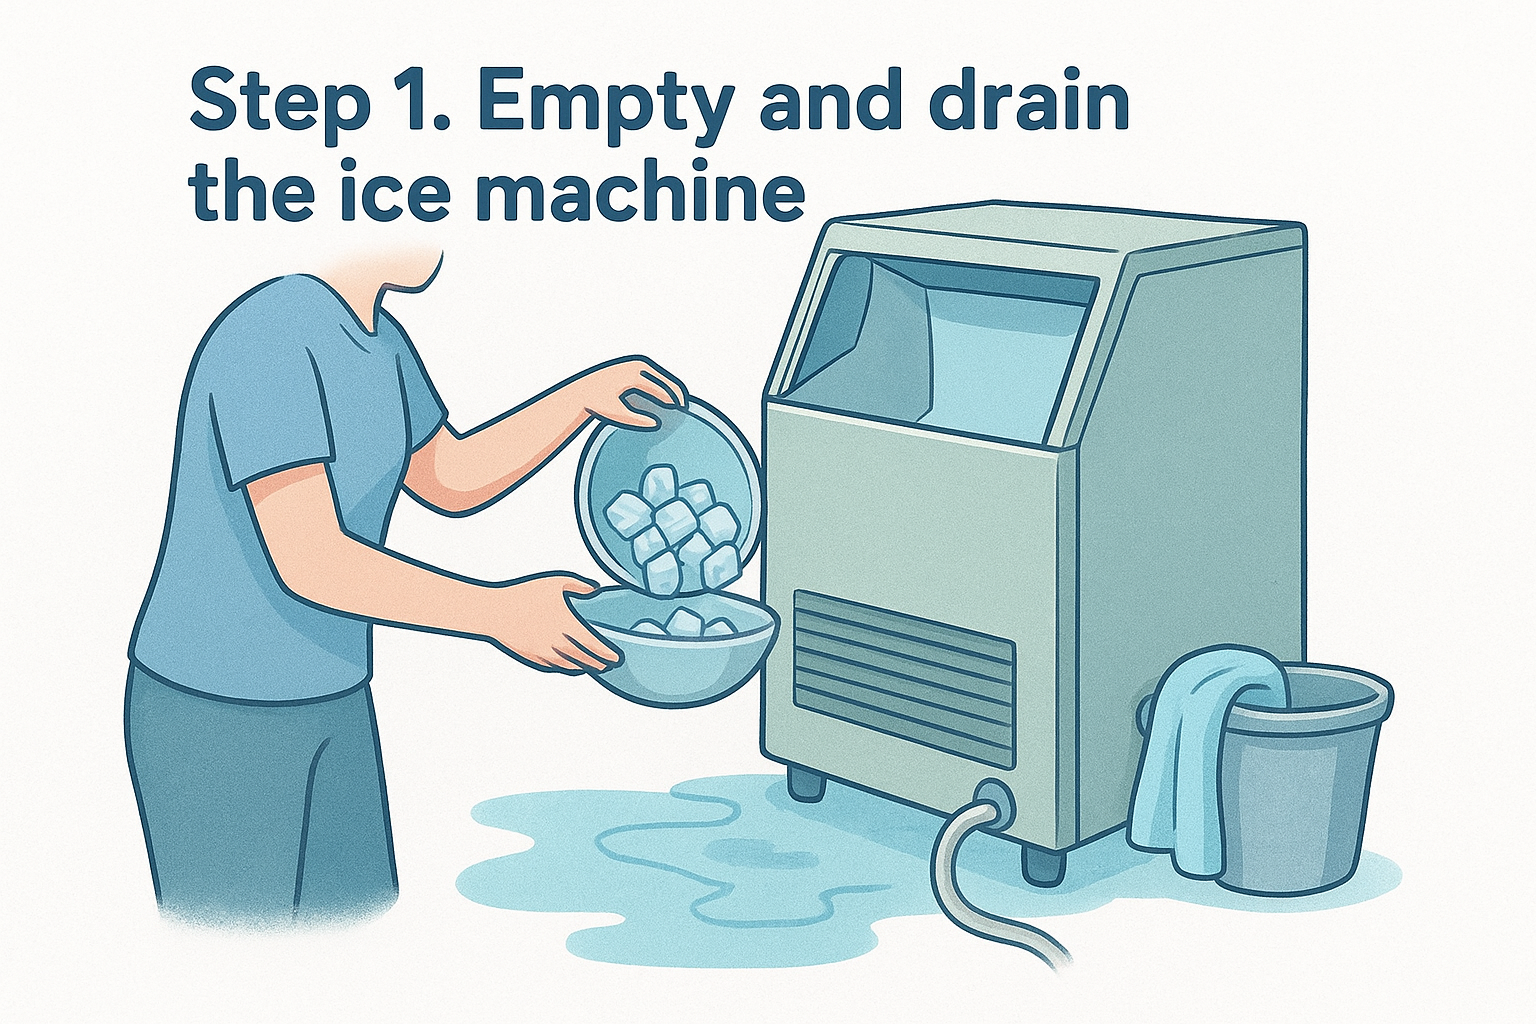
Step 1. Empty and drain the ice machine
Before any tablet touches water, you need to clear the machine of every cube it's holding. Switch the unit to the "off" or "clean" setting depending on your model, then remove all existing ice from the bin and either use it immediately or discard it, since the descaling solution will contaminate anything left inside once the cycle starts. Skipping this step is the most common mistake operators make, and it usually means restarting the whole process after finding acid residue mixed into a fresh batch of ice.
Power down and open the machine
Once the bin is clear, shut off the water supply line feeding the unit and unplug it or flip the breaker, depending on your manufacturer's instructions. Removing power protects you from an unexpected auger start or compressor cycle while your hands are inside the cabinet. Pull the access panel, which on most modular units sits at the front, to expose the evaporator plates and water distribution tubes you'll be treating.
Drain every drop of standing water
Standing water dilutes the cleaning solution and slows down the acid reaction, so this is where your towels or wet/dry vacuum earn their keep. Locate the drain valve, usually at the base of the reservoir, and let gravity pull the water out completely before you move on. For machines without an easy-access drain valve, tip the reservoir carefully or use the vacuum to pull residual water from corners the drain doesn't reach.
A cleaning cycle only works as well as the drain that precedes it.
Here's a quick checklist to confirm you're ready for Step 2:
- Bin is empty and ice has been removed or discarded
- Machine is powered off and unplugged (or breaker is off)
- Water supply valve is closed
- Access panel is removed and evaporator plates are visible
- Reservoir is fully drained, with no standing water pooling in low spots
- Loose debris or visible sediment has been wiped away with a towel
If your machine uses a remote condenser or has a separate pump housing, check your service manual for whether that section needs draining too. Some flake and nugget machines route water through an auger housing that holds residual liquid even after the main reservoir looks empty, and missing that step dilutes your cleaning tablet before it ever gets to work on the scale.
Step 2. Add the tablet and run the cleaning cycle
With the machine drained and the reservoir empty, refill it with fresh water to the manufacturer's fill line before dropping in your tablet. Dropping the tablet into a dry reservoir slows the dissolve rate and leaves undissolved chunks that can clog the pump, so water level matters as much as the tablet itself. One ice machine cleaner tablet typically treats a single standard-size reservoir, but larger flake and nugget machines with bigger water volumes may call for two, so check your specific dosage on the package rather than guessing.
Fill the reservoir and place the tablet
Drop the tablet directly into the water, not onto a dry surface, and give the reservoir a light stir with a clean utensil if your model allows access. You'll notice the tablet start to fizz within seconds as the sulfamic acid reaction kicks in and begins breaking down mineral deposits on contact. Close the access panel loosely, restore power, and switch the unit to its designated "clean" or "wash" cycle rather than normal production mode.
Run the manufacturer's cleaning cycle
Most commercial units circulate the descaling solution over the evaporator plates for 15 to 20 minutes before automatically draining and prompting a second fill. Never interrupt this cycle early just because the machine looks clean on the outside, since the internal water lines and sensors often need the full run time to clear biofilm and scale you can't see. Watch for the indicator light or audible signal that marks the cycle's completion, and resist the urge to shortcut the process on a busy shift.
Cutting the cleaning cycle short is the same as not running it at all.
While the cycle runs, use the time productively rather than walking away entirely:
- Wipe down the exterior cabinet and door gaskets with a food-safe cleaner
- Inspect the bin curtain and scoop holder for mold or slime buildup
- Check the water filter housing for scale, since many operators skip this component entirely
- Confirm the drain line outside the unit isn't blocked, which can cause standing water once the cycle finishes, and consider a drain maintenance product to keep grease and buildup from returning
Once the machine signals the wash cycle is complete, you're ready to move into the rinse and sanitize stage, where any leftover acid residue gets flushed before the unit returns to making ice.
Step 3. Rinse thoroughly and sanitize the interior
Draining the descaling solution isn't the end of the job, it's the halfway point. Acid residue left behind reacts with food and drink the same way it reacted with mineral scale, so a thorough rinse cycle protects both your equipment and anyone drinking from the glass. Most manufacturers build a rinse phase directly into the cleaning cycle, but a manual second fill and drain gives you extra assurance, especially on older units where sensors sometimes miscalculate rinse volume.
Flush the reservoir at least twice
Refill the reservoir with clean water and run a short rinse cycle, then drain it completely before repeating the process a second time. One rinse pass often leaves trace acid clinging to corners of the water distribution tray, and a second flush catches what the first one missed. Check the water coming out during the final drain: if it looks cloudy or has a slight fizz, run a third rinse before moving forward.
Skipping the second rinse is how acid residue ends up in someone's drink.
Sanitize before you restart production
Once the rinse water runs clear, wipe down the interior cabinet, evaporator plates, and bin walls with a food-safe sanitizer approved for ice machine use. This step targets any biofilm that survived the descaling reaction, since acid alone doesn't always kill every microorganism clinging to plastic surfaces. Let the sanitizer sit for the contact time listed on its label, typically one to two minutes, before wiping it down with a clean cloth or letting it air dry.
Here's a short checklist to confirm the interior is ready before you close the panel:
- Reservoir has been rinsed at least twice with clear water draining each time
- No fizzing, cloudiness, or acid smell remains in the drain water
- Evaporator plates and bin walls have been wiped with food-safe sanitizer
- Bin curtain, scoop holder, and door gasket are sanitized along with the interior
- Sanitizer has had its full contact time before wiping or air drying
Handling the sanitizer stage carefully now saves you from a second shutdown later, since any residue left behind will show up in your next batch of ice long before anyone notices the source.
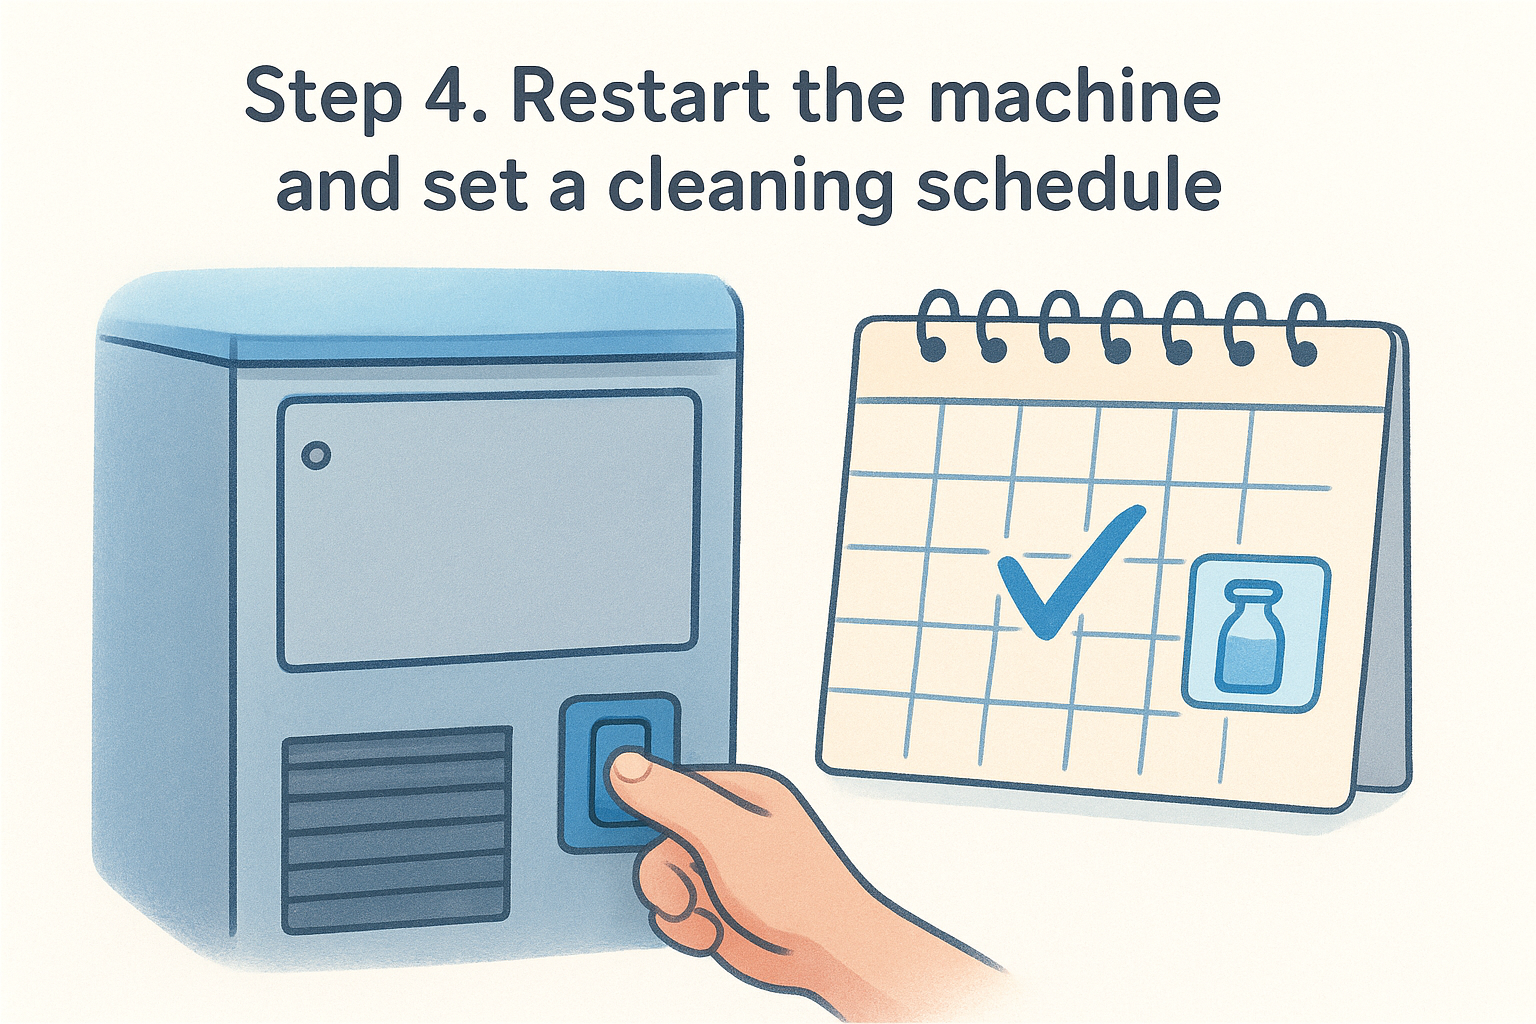
Step 4. Restart the machine and set a cleaning schedule
With the interior rinsed and sanitized, close the access panel and reconnect the water supply line you shut off in Step 1. Reinstall the panel screws snugly, since a loose panel lets warm air infiltrate the cabinet and forces the compressor to work harder during the first few production cycles. Restore power at the breaker or plug the unit back in, then switch it from "clean" mode back to normal production, watching for the harvest cycle to begin within the timeframe listed in your manufacturer's manual.
Run and discard the first batch
Always treat the first batch of ice after cleaning as a throwaway batch, even if your rinse checklist came back clean. Trace sanitizer or mineral dust dislodged during reassembly can end up in that first harvest, and discarding it costs you nothing compared to serving contaminated ice to a customer. Let the machine complete one full cycle, dump that ice, and only then start filling the bin for service use.
The first batch after cleaning is a test batch, not a service batch.
Build a cleaning schedule around your water and usage
How often you repeat this process depends on two factors: your local water hardness and how many cycles the machine runs daily. Facilities on hard water or running high-volume production should clean every 30 to 45 days, while lower-usage units in soft-water areas can often stretch to a quarterly schedule. The EPA's guidance on water hardness is a useful reference if you're unsure how your municipal supply compares to national averages.
Use this table as a starting point, then adjust based on how quickly scale reappears on your evaporator plates:
| Water Hardness | Usage Level | Recommended Cleaning Interval |
|---|---|---|
| Hard (over 120 ppm) | High-volume (restaurant, bar) | Every 30 days |
| Moderate (60-120 ppm) | Standard commercial use | Every 60 days |
| Soft (under 60 ppm) | Low-volume (small office, break room) | Every 90 days |
Set a recurring reminder tied to whichever interval matches your water report, rather than waiting for visible symptoms like cloudy ice or slow production. By the time you notice a problem, scale has often already reduced efficiency by 15% or more, and catching it on schedule keeps your ice machine cleaner tablet routine predictable instead of reactive.
Keeping your ice machine running clean
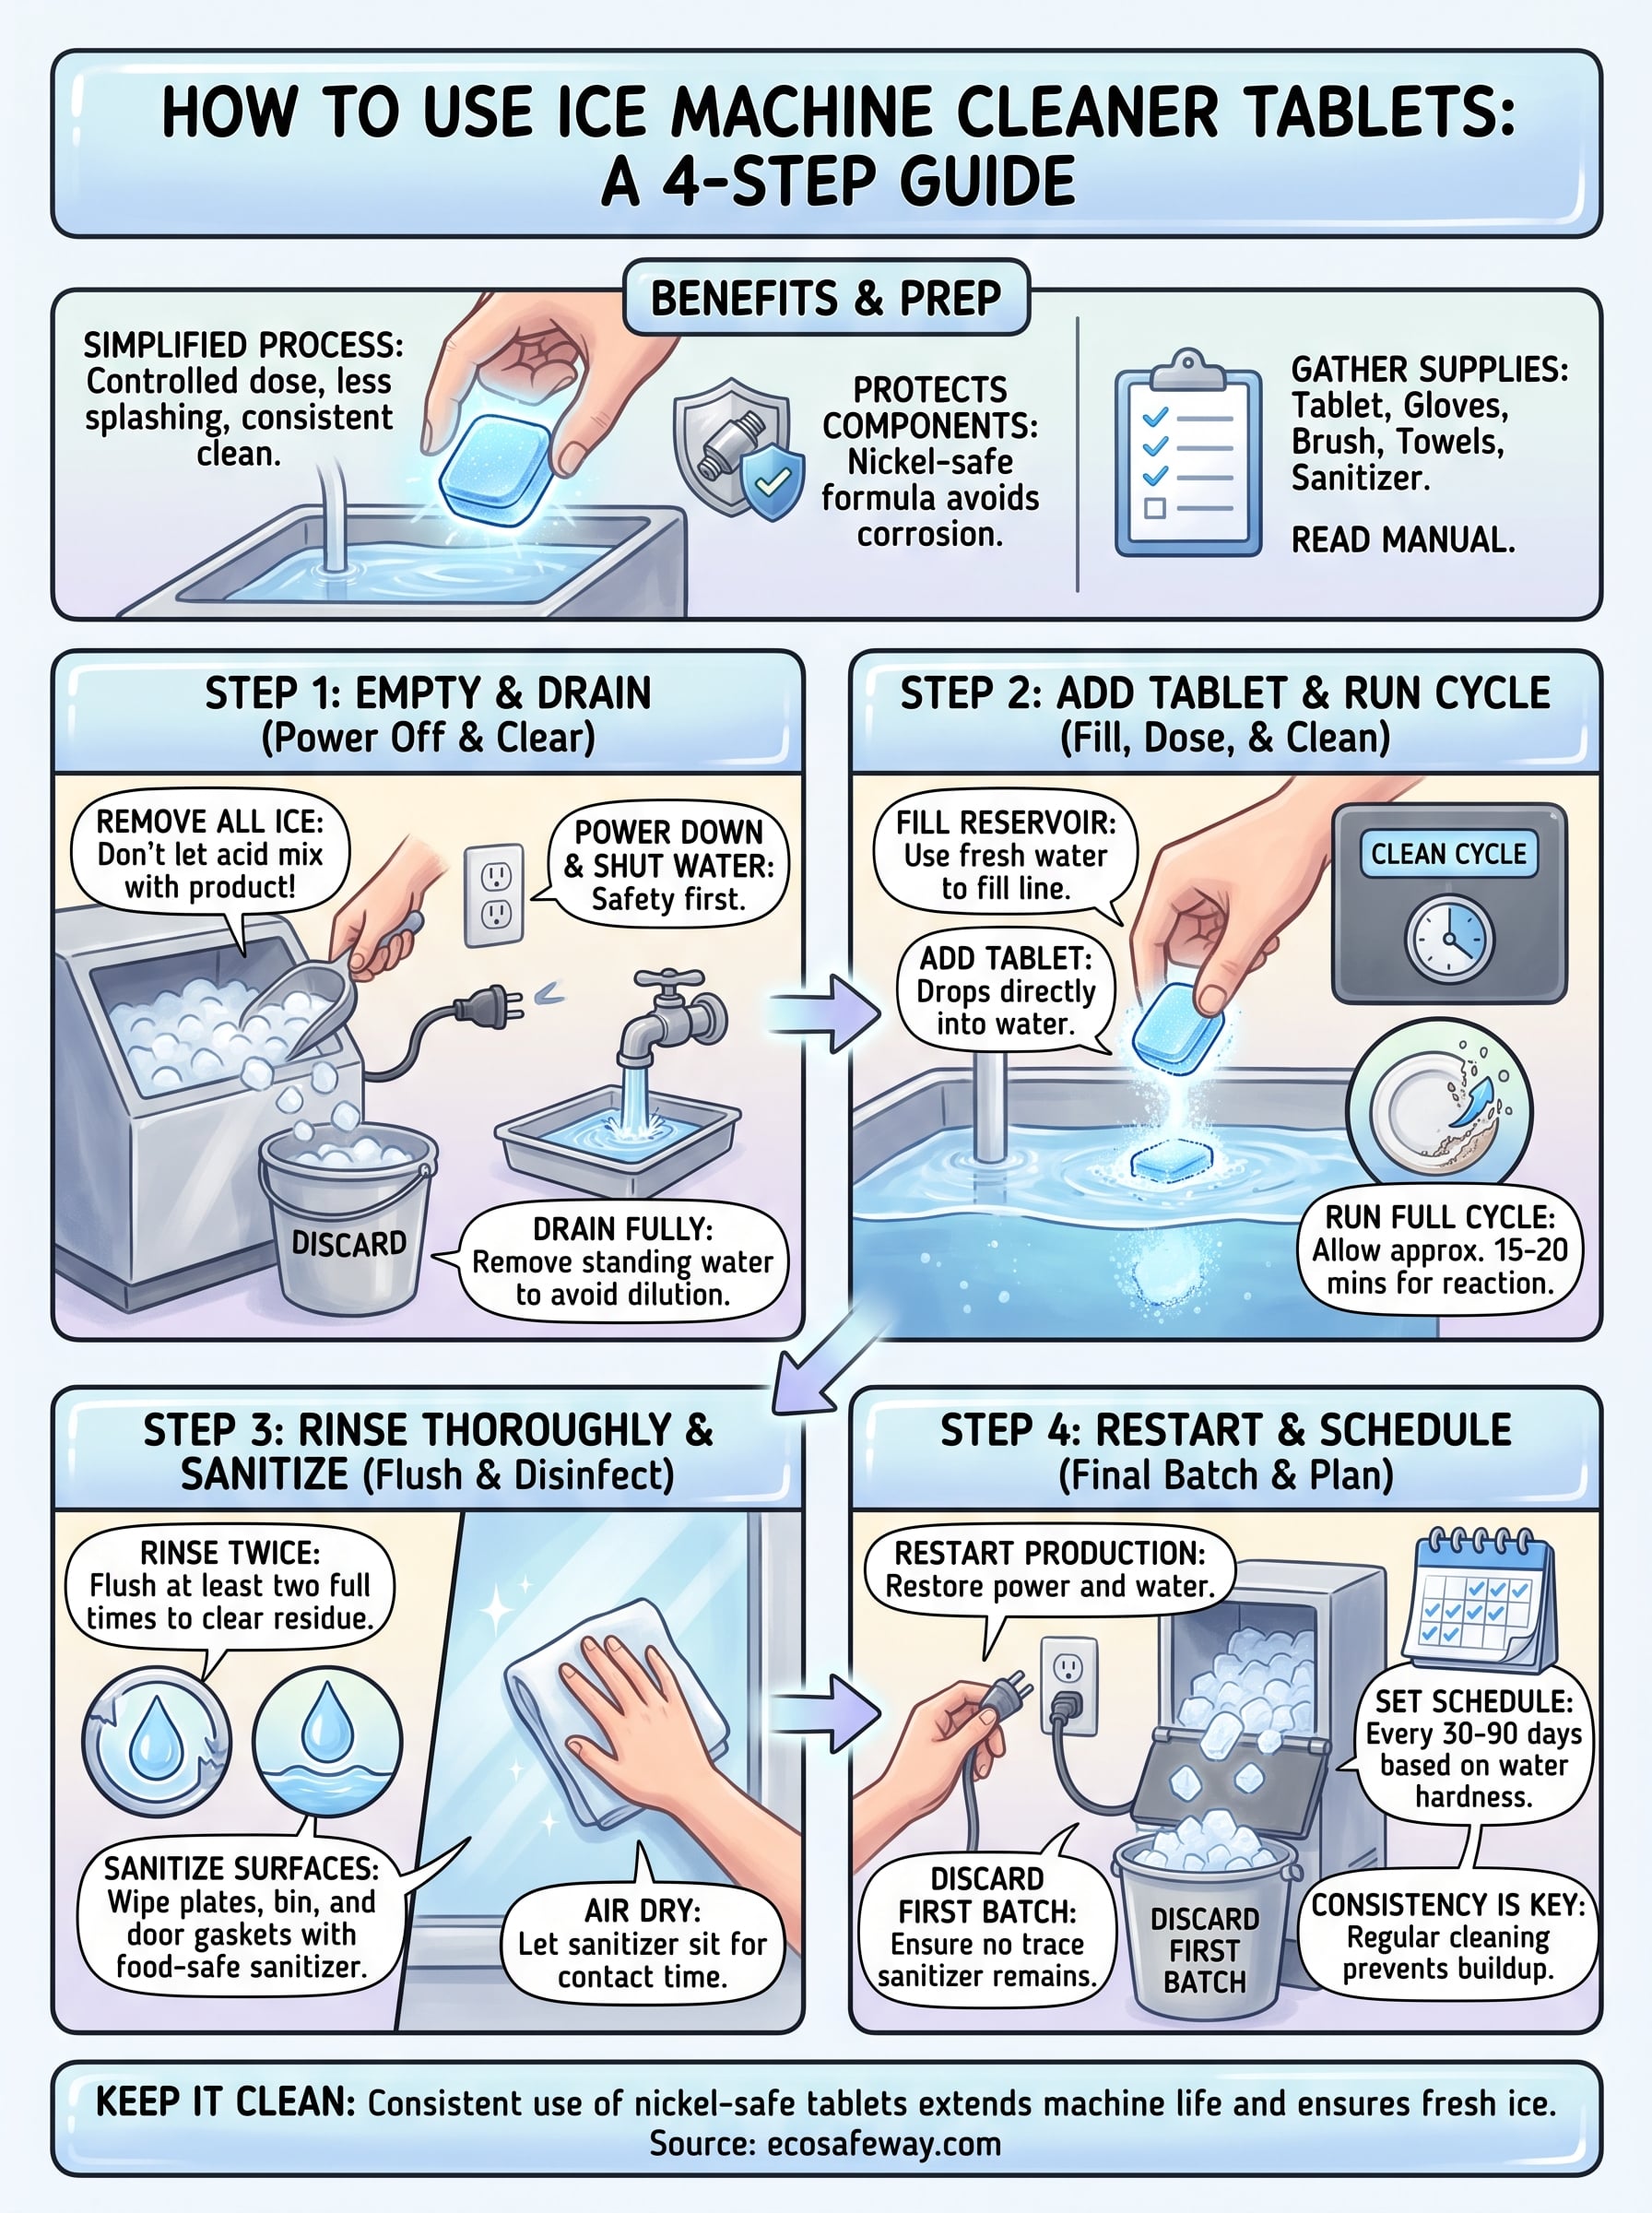
Running a proper descaling cycle isn't complicated once you know the sequence: drain fully, dose correctly, rinse twice, and discard that first batch of ice. Operators who skip steps aren't saving time, they're just moving the same work to a future date when the buildup is worse and the machine is struggling harder. Consistency matters more than intensity here, a machine cleaned every 30 to 60 days on schedule will outlast one that only gets attention when ice production visibly slows.
The real payoff comes from pairing the right routine with the right product. A nickel-safe ice machine cleaner tablet protects your evaporator plating while still clearing scale and biofilm, which means fewer service calls and a longer equipment lifespan overall. If you're ready to stock up on a formula built for exactly this process, check out Eco Safeway's food-safe ice machine cleaner and descaler and keep your next cleaning cycle simple.


