





Cloudy ice, slow production, and a musty smell coming out of your ice maker usually mean one thing: mineral scale and biofilm have taken over the water lines and evaporator plate. Reaching for the wrong ice machine cleaner solution can leave scale behind, damage food-safe components, or leave residue that ends up in someone's drink. That's a real problem for facility managers and cleaning teams who answer for both equipment uptime and health code compliance.
This guide gives you a straight answer on what actually works. You'll get a proven liquid ice machine cleaner approach alongside a step-by-step descaling and sanitizing process, plus notes on when a vinegar-based DIY method is fine and when it falls short on heavier scale.
We'll walk through choosing the right ice machine descaler for your unit type, the correct dilution and contact time, rinsing and sanitizing steps that meet NSF guidelines, and a maintenance schedule that keeps buildup from coming back. By the end, you'll know exactly how to restore ice quality and protect the machine's components without guesswork or wasted cleaning cycles.
What you'll need before cleaning your ice machine
Gathering the right supplies before you start saves you from mid-job trips to the parts closet and half-finished cleaning cycles. Most commercial ice machines need a full descale every three to six months, but hard water areas push that closer to monthly, so having a stocked kit on hand matters more than most facility managers realize.
Start with the cleaning chemicals themselves. You'll want a nickel-safe ice machine descaler rated for food-contact equipment, a separate sanitizer (not the same product, since descalers and sanitizers do different jobs), and clean water for rinsing. Skip generic bathroom or kitchen descalers; they're often too acidic for the aluminum or nickel-plated evaporator plates found in most machines and can void the manufacturer's warranty.
A dedicated, food-safe ice machine cleaner solution protects the evaporator plate in ways generic descalers can't.
Beyond the chemicals, pull together the following before you touch the machine:
- Rubber gloves and eye protection (even food-safe descalers are acidic enough to irritate skin)
- A soft-bristle brush or non-abrasive scrub pad
- Clean microfiber cloths or paper towels
- A plastic bucket for mixing diluted solution
- The manufacturer's service manual or cleaning label (dilution ratios vary by brand, and Hoshizaki machines have their own cleaning steps)
- A shop vac or wet cloth for standing water in the bin
- pH test strips if you're checking rinse thoroughness on heavily scaled units
Documentation matters too. Facilities under health inspection tend to keep a cleaning log with the date, technician name, and product used, since NSF/ANSI 18 compliance often gets checked during routine audits. Snap a photo of the ice bin and evaporator plate before you start; it gives you a baseline to compare against once you're done, and it's useful if you ever need to show a service technician what the buildup looked like.
Once your gear is staged and the machine is powered down, you're ready to pick the actual cleaning solution, which is where a lot of the guesswork (and most of the mistakes) actually happen.
Step 1. Choose the right cleaning solution
Match the product to your scale level, not to whatever's cheapest at the supply store. Light mineral film on a machine you clean every three months responds fine to a diluted vinegar soak, but a heavily scaled evaporator plate needs a nickel-safe ice machine descaler formulated for commercial ice machines. Vinegar's acetic acid dissolves calcium carbonate slowly, so it works as a maintenance rinse, not a fix for a machine that's been neglected for a year.
Commercial liquid ice machine cleaner products use stronger acid blends (usually phosphoric or sulfamic acid) that cut through scale in one cycle instead of three or four vinegar soaks. That matters when a machine is down and a kitchen or bar needs ice back in service the same day.
Match the descaler's strength to the scale's severity, not the other way around.
| Scale severity | Recommended solution | Typical contact time |
|---|---|---|
| Light film, monthly cleaning | Diluted white vinegar (1:1 with water) | 30-45 minutes |
| Moderate scale, quarterly cleaning | Nickel-safe commercial descaler | 15-20 minutes |
| Heavy scale, neglected machine | Full-strength commercial descaler, repeat cycle | 20 minutes x2 |
Whichever you pick, confirm the label lists it as safe for nickel-plated or stainless evaporator surfaces before you pour anything into the reservoir.
Step 2. Prepare the machine for cleaning
Power down the ice machine at the wall switch before you touch anything inside, then let the current batch of ice melt or scoop it out into a cooler if you still need it for service. Running a descaling cycle with ice still in the bin dilutes your ice machine cleaner solution and wastes the batch you just paid for.
Remove the removable parts next: ice bin liner, curtain, and any baffles or deflectors that sit in front of the evaporator plate. Wash these separately in warm soapy water while the descaler works on the fixed components, and check the drain line for slow flow, since a clogged drain often masks itself as a scaling problem and responds better to regular drain maintenance.
A machine that's still running or still holding ice will never clean properly, no matter how good the descaler is.
Before you mix anything, follow this quick prep checklist:
- Unplug or switch off the unit at the breaker
- Empty and discard existing ice
- Remove bin liner, curtain, and baffles for separate washing
- Check the drain line and clear obvious clogs
- Confirm the water supply valve is still accessible for rinsing later
Once the machine is empty, powered down, and stripped of its removable parts, you're ready to mix your descaling solution and start the actual cleaning cycle.
Step 3. Descale and clean the internal components
Mix your ice machine descaler according to the label, not by eyeballing it. Too weak and you'll leave scale behind; too strong and you risk pitting the nickel plating on the evaporator. Pour the diluted solution into the water reservoir and run the machine's built-in clean cycle if it has one, or circulate the solution manually through the water lines using a small pump if it doesn't.
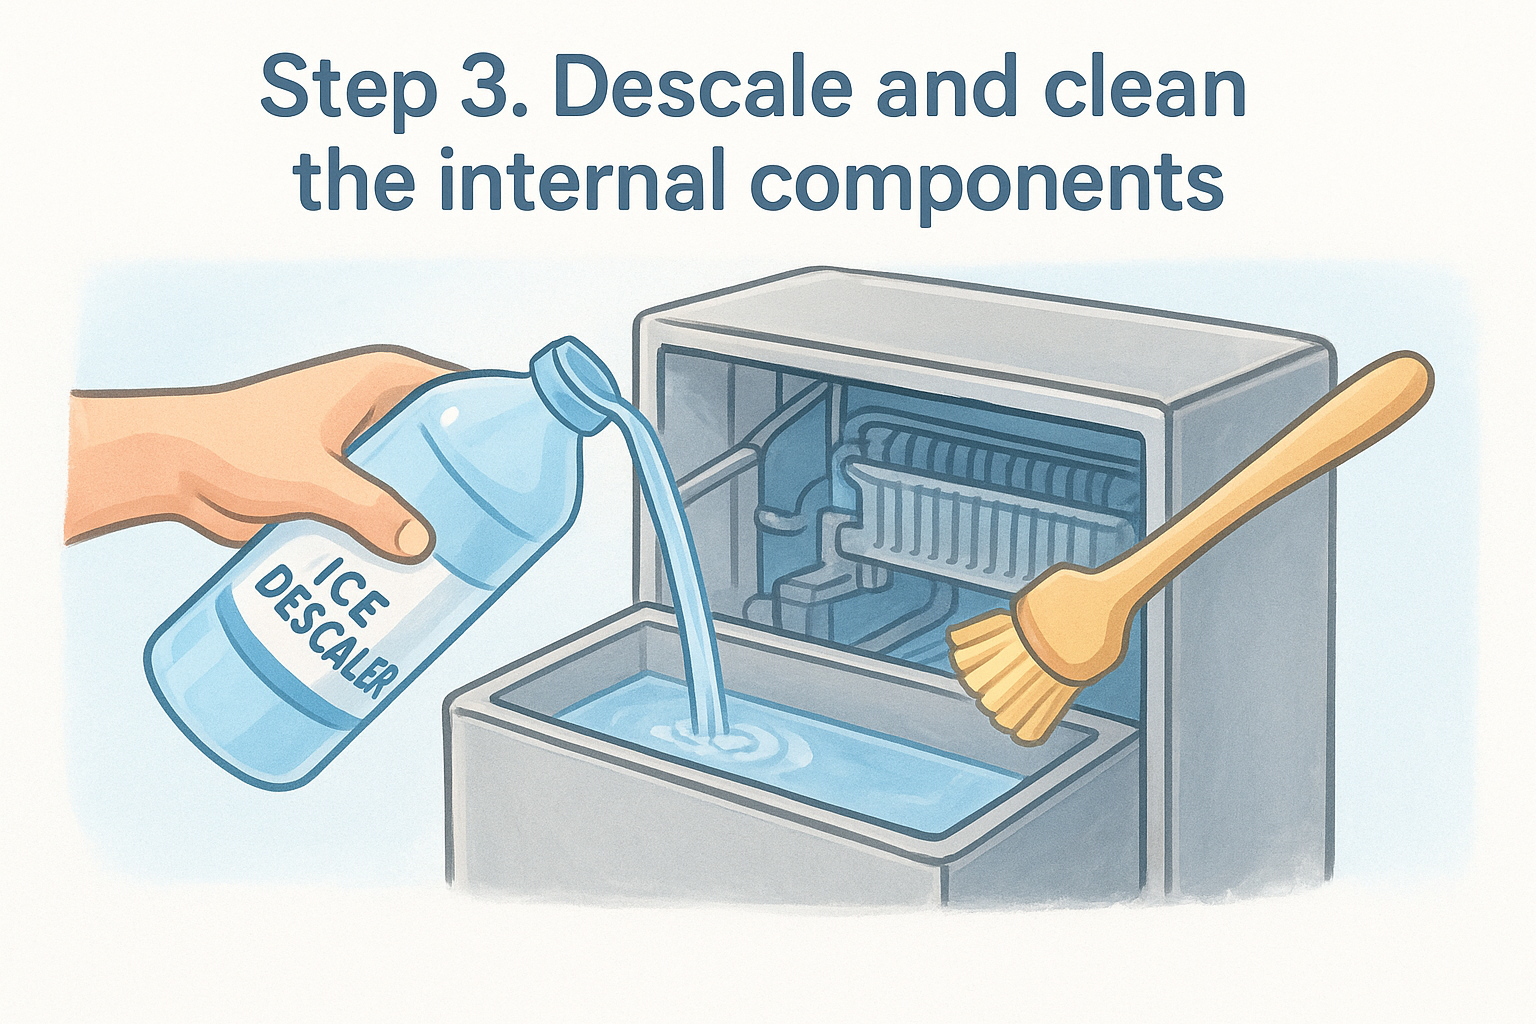
Let the solution sit against the evaporator plate for the contact time you settled on in Step 1. During that wait, use your soft-bristle brush on the ice-forming surface, curtain track, and water distribution tube, working the bristles into corners where scale likes to hide. Avoid metal scrapers or stiff brushes; they scratch the plating and give bacteria more surface area to grow on next time.
Scrubbing during the soak, not after, is what actually lifts scale off the plate.
Check the water lines and spray nozzles too. A partially clogged nozzle produces uneven ice and gets blamed on the compressor when the real problem is mineral buildup restricting flow. Run a second short cycle if the plate still looks cloudy or feels rough to the touch after wiping it down. This is also the point where a liquid ice machine cleaner earns its cost over a vinegar soak: one thorough pass usually finishes the job.
Step 4. Sanitize, rinse, and restart the machine
Drain the descaling solution completely once your contact time is up, then flush the reservoir and lines with clean water at least twice before you sanitize anything. Skipping this rinse means acidic residue mixes with your sanitizer, and that combination can leave a chemical taste in the ice or irritate anyone handling it later.
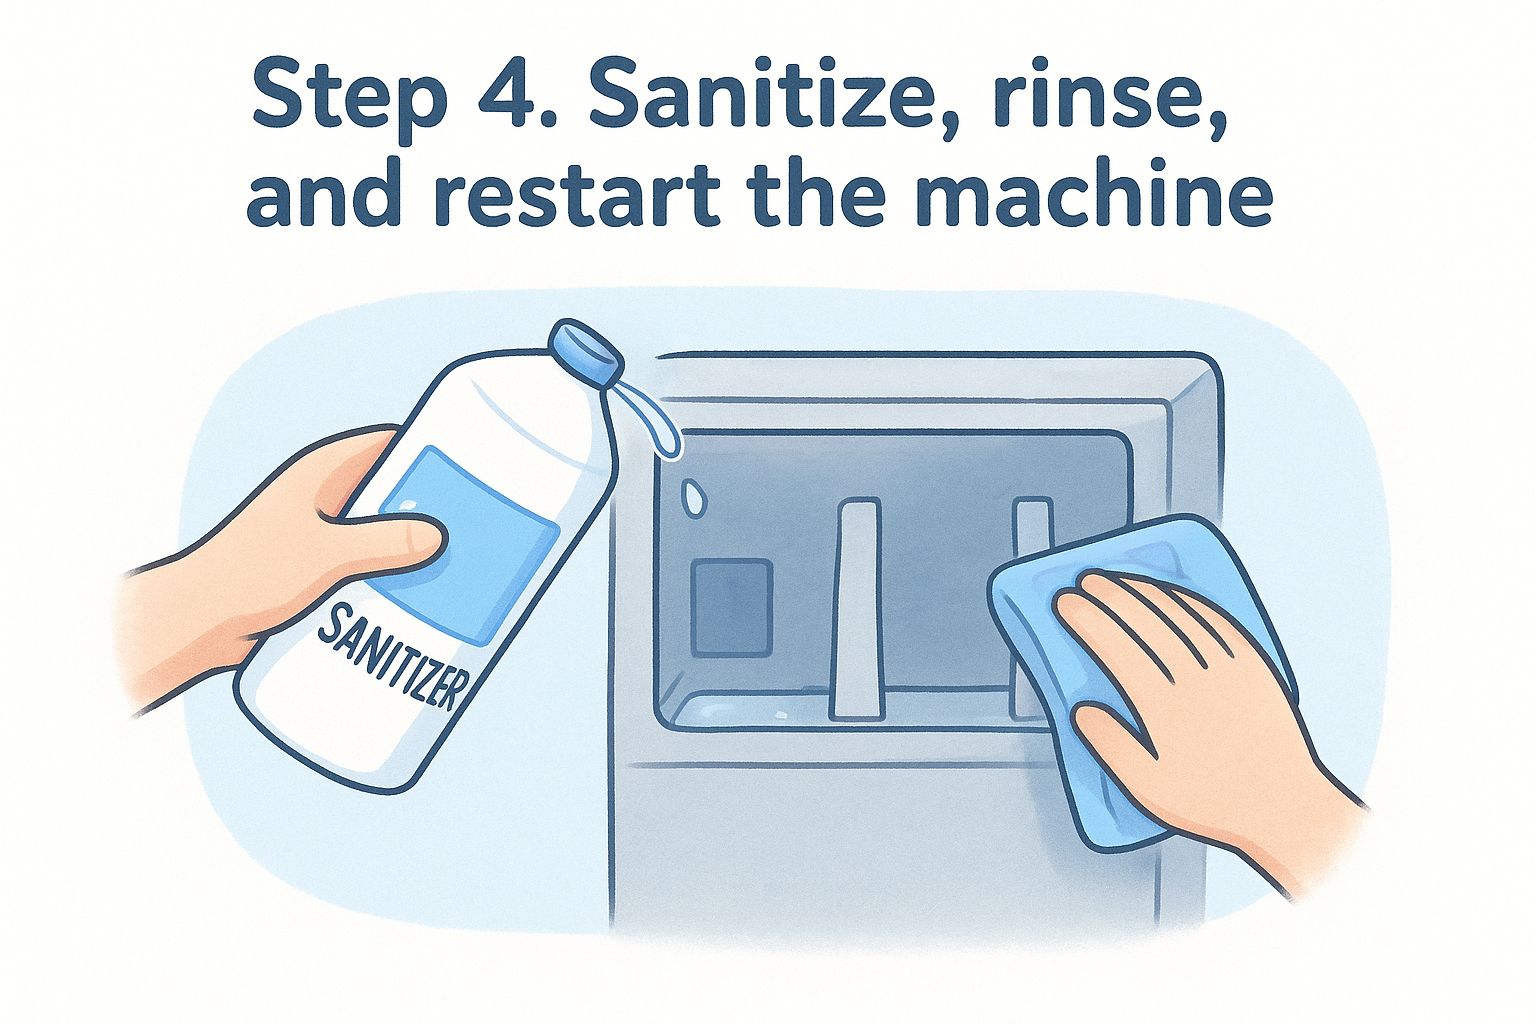
Mix a food-safe sanitizer separate from your descaler, following the label ratio exactly, since over-concentrated sanitizer is just as much a compliance problem as under-concentrated. Wipe down the bin, curtain, and baffles with the sanitizing solution, then let everything air dry rather than toweling it off, which can reintroduce contaminants from a cloth that isn't itself sanitized.
Rinsing removes the descaler, but sanitizing is what actually protects the next batch of ice.
Reassemble the parts once dry, restore power, and run these final checks:
- Confirm the water supply valve is fully open
- Run one full ice-making cycle and discard the first batch
- Check ice clarity and production speed against your baseline photo
- Log the cleaning date, product used, and technician name
If ice still looks cloudy after the second batch, you likely have scale left in a line you missed, not a sanitizing problem.
Keeping your ice machine clean between cleanings
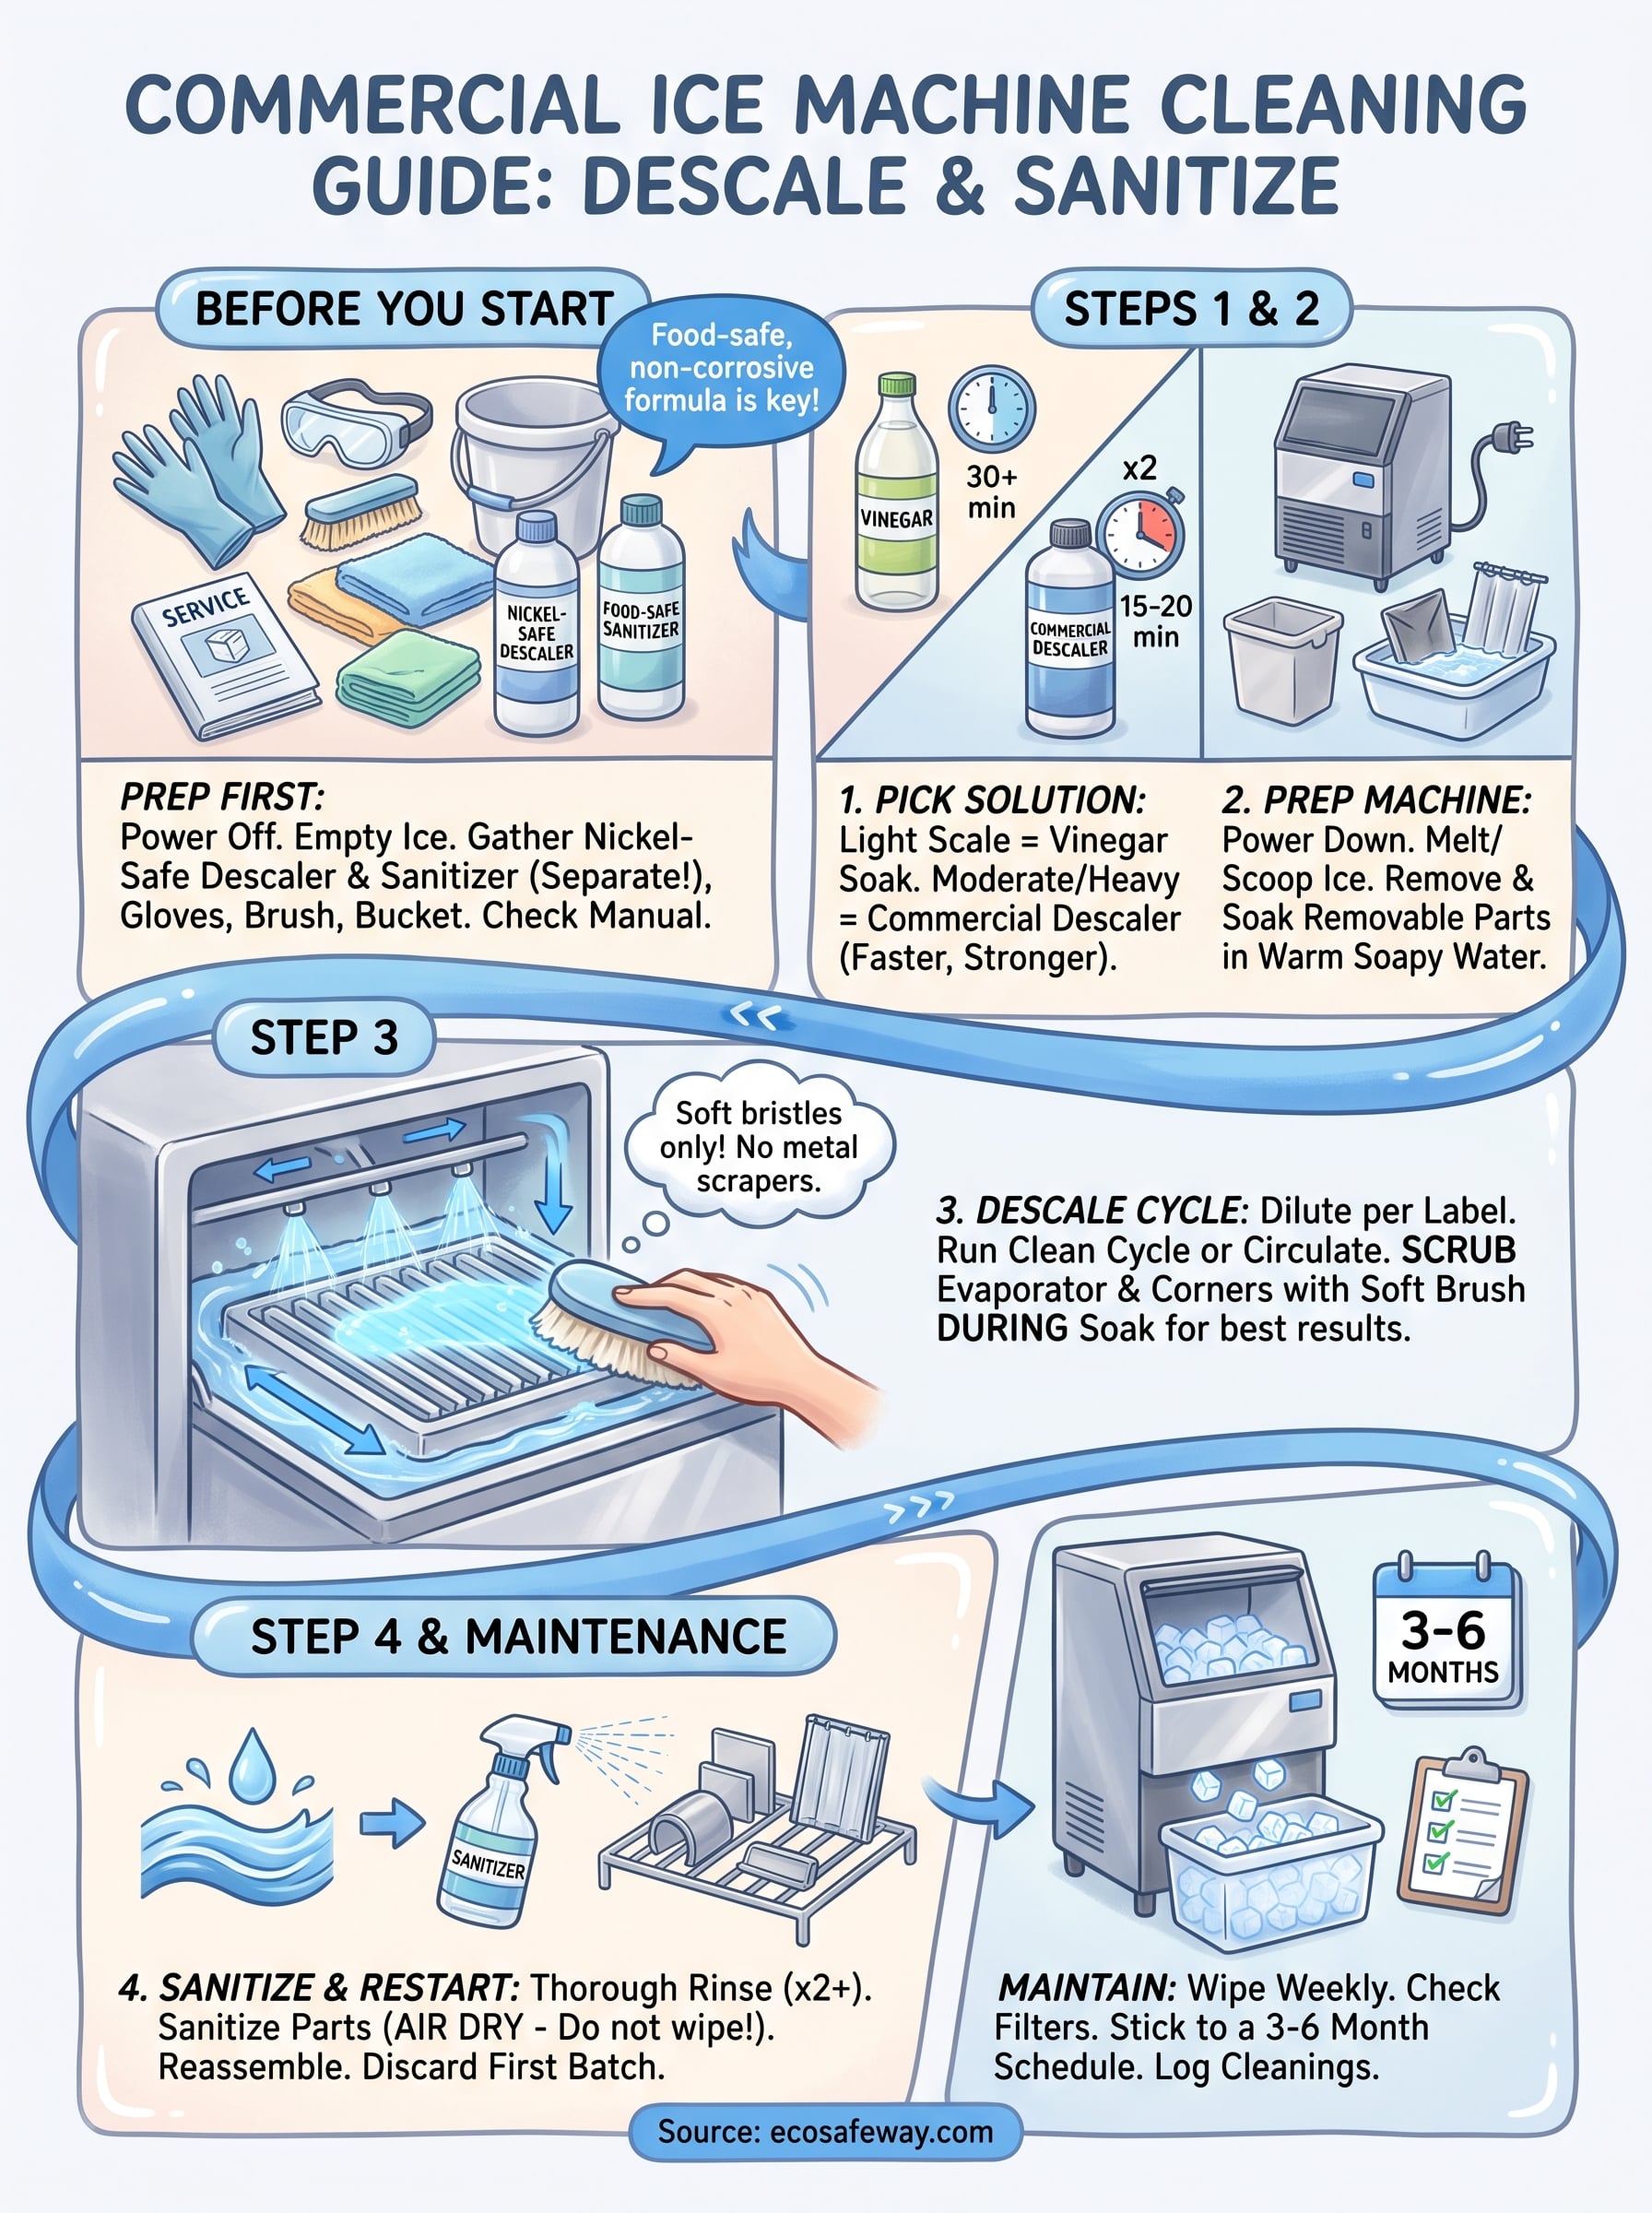
Small habits between full descaling cycles do more to prevent scale than any single deep clean. Wipe down the bin and curtain weekly with a damp cloth, check the water filter on schedule, and keep an eye on ice clarity so you catch buildup before it turns into a stubborn, all-day scrubbing job. Facilities that skip these small checks end up back at square one within a few months, running the same descaling cycle you just finished.
Getting the process right once means you know what "clean" actually looks like, and you'll spot the early warning signs faster next time. Treat the schedule you set in Step 1 as a floor, not a suggestion, and adjust it if your water hardness or ice volume changes.
If you're ready to stop guessing about dilution ratios and nickel-safe formulas, grab an eco-friendly ice machine cleaner for commercial ice makers built for exactly this job.


