





Your GE ice machine is throwing cloudy cubes, slowing production, or flashing a clean cycle alert, and you need a ge ice machine cleaner that actually clears the scale without wrecking the internal components. GE units use nickel-plated and food-grade plastic parts that react badly to harsh acid-based descalers, so grabbing whatever cleaner is on the shelf at the hardware store can shorten the life of your machine instead of extending it.
The short answer: you need a nickel-safe, non-corrosive descaler formulated for the specific mineral buildup that clogs GE evaporator plates and water lines, applied through the machine's built-in clean cycle rather than manual scrubbing alone. Skip anything that requires gloves, eye protection, or hazmat handling. Those warnings are a sign the product will also degrade your machine's seals and finish over repeated cleanings.
This guide walks through exactly how to identify when your GE ice machine needs descaling, which cleaning approach protects the equipment while still removing lime and mineral scale, and the step-by-step cleaning process to follow so you're not guessing at dilution ratios or cycle times. You'll also learn how to keep buildup from coming back so fast.
What you need before cleaning your GE ice machine
Before you touch the clean cycle button, gather everything you'll need so you're not pausing mid-cycle to hunt for a scrub pad. A rushed cleaning job is how people end up leaving descaler residue in the ice bin or skipping the rinse step that keeps the next batch of ice tasting clean.
Supplies and tools checklist
Gather these items on your counter before you power down the unit:
- A non-toxic, non-corrosive ice machine descaler rated safe for nickel-plated components (avoid anything requiring gloves or eye protection)
- A soft nylon brush or non-abrasive sponge, never steel wool
- A clean bucket for mixing solution and catching drained water
- Food-safe sanitizer or a mild vinegar-water rinse for the bin and dispenser chute
- Microfiber cloths for wiping exterior panels and door gaskets
- Your GE model's manual or the model/serial number, found on the interior side panel, so you can confirm the recommended clean cycle length
Choosing the right descaler
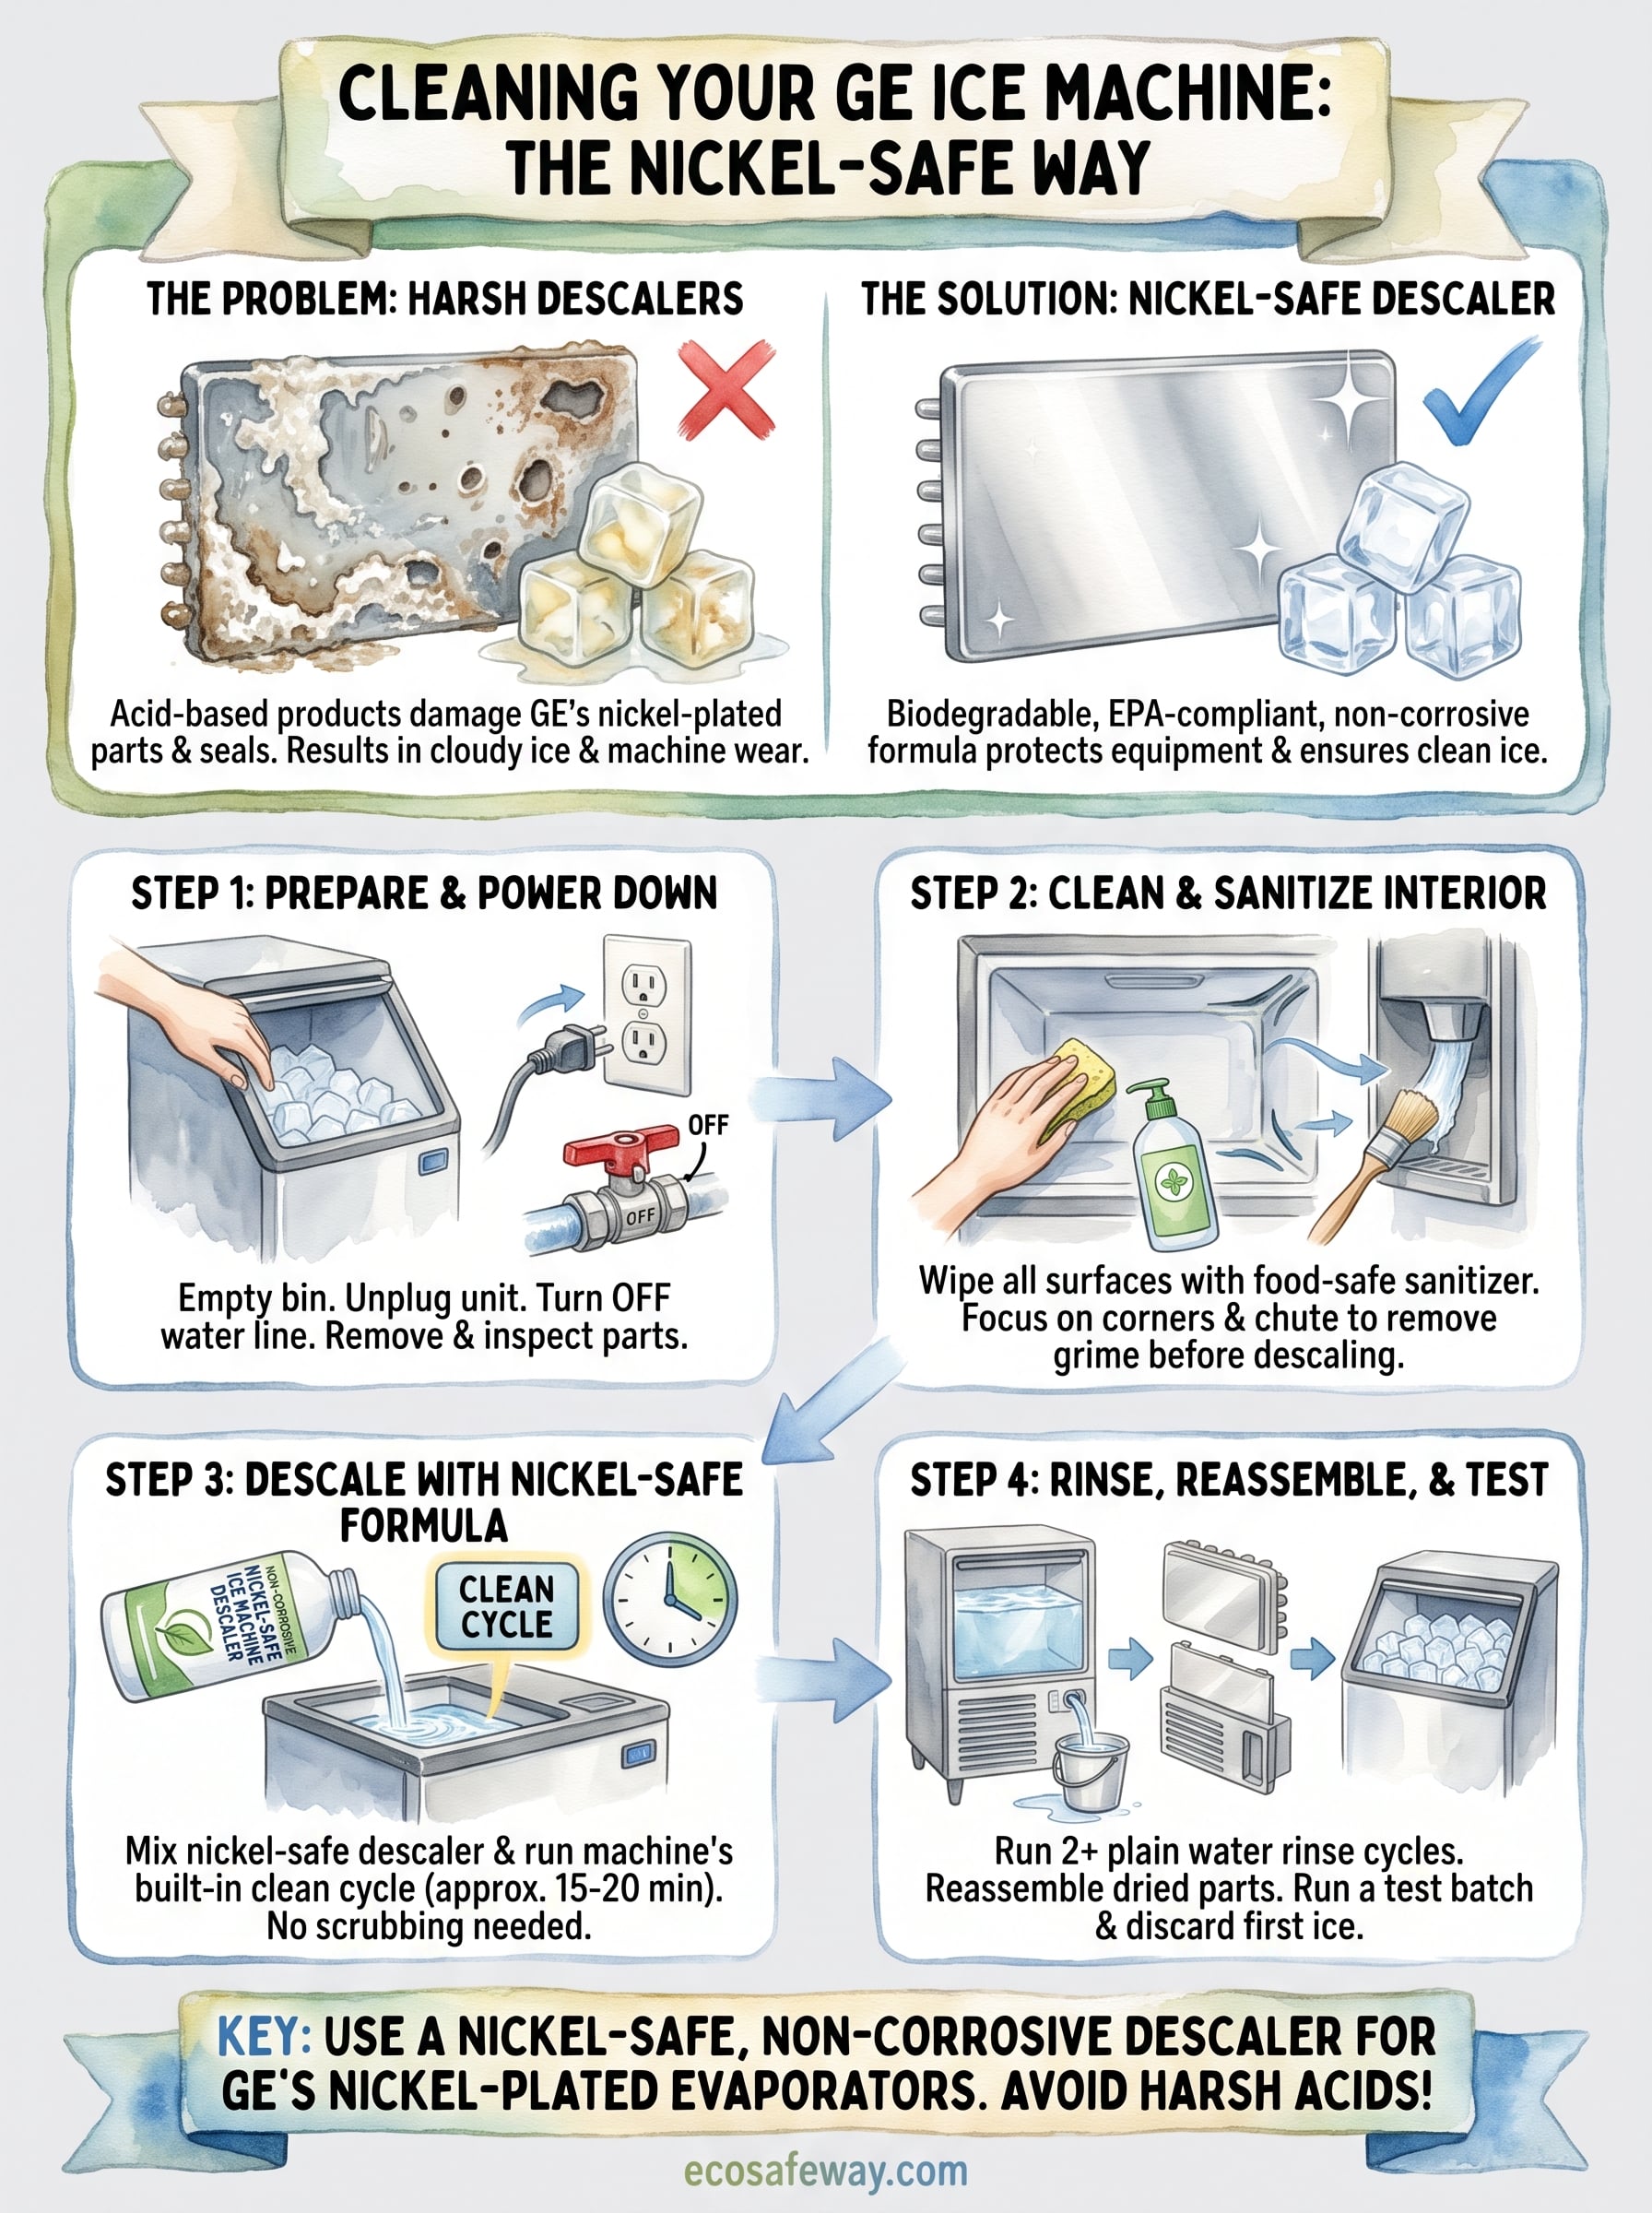
This is where most people go wrong. GE ice machines use nickel-plated evaporator plates, and standard acid-based descalers marketed for coffee and espresso machine descaling or dishwashers are strong enough to pit that plating over repeated use. Look for a biodegradable, EPA-compliant formula with an HMIS 0-0-0 safety rating, meaning zero health, flammability, and physical hazards. That rating also tells you the product won't require hazmat shipping or protective gear, which is a reliable sign it won't corrode your machine's internals either.
A descaler that needs gloves to handle safely isn't safe for your ice machine's nickel components either.
A non-corrosive, nickel-safe ice machine cleaner is formulated specifically for this kind of equipment-safe descaling, cutting through lime scale and mineral deposits without the corrosive acids found in typical commercial descalers. It works through the machine's existing clean cycle, so you don't need separate tools for scrubbing scale off the plates.
One more thing worth checking: your local water hardness. If you're on well water or live in an area with high mineral content, you'll be descaling more often, so buy enough solution for at least two cleanings rather than a single-use packet.
Step 1. Prepare the ice maker for cleaning
Before you pour any solution into the reservoir, empty the ice bin completely and toss whatever's left in it. Ice made during the days leading up to a clean cycle has already been sitting in a machine with scale buildup, so it's not worth saving. Unplug the unit or switch off its dedicated breaker rather than just hitting the power button on the control panel. GE service documentation recommends a full power cut before any internal cleaning, since the auger motor and water valve can still cycle on residual power in some models.
Shut off the water line
Locate the water supply valve behind or beside the machine and turn it off before you start pulling panels. This stops fresh water from flowing into the reservoir mid-clean, which would dilute your descaler and stretch the cleaning cycle longer than it needs to be.
Skipping the water shutoff is the single most common reason a clean cycle finishes with the scale still intact.
Remove and inspect the removable parts
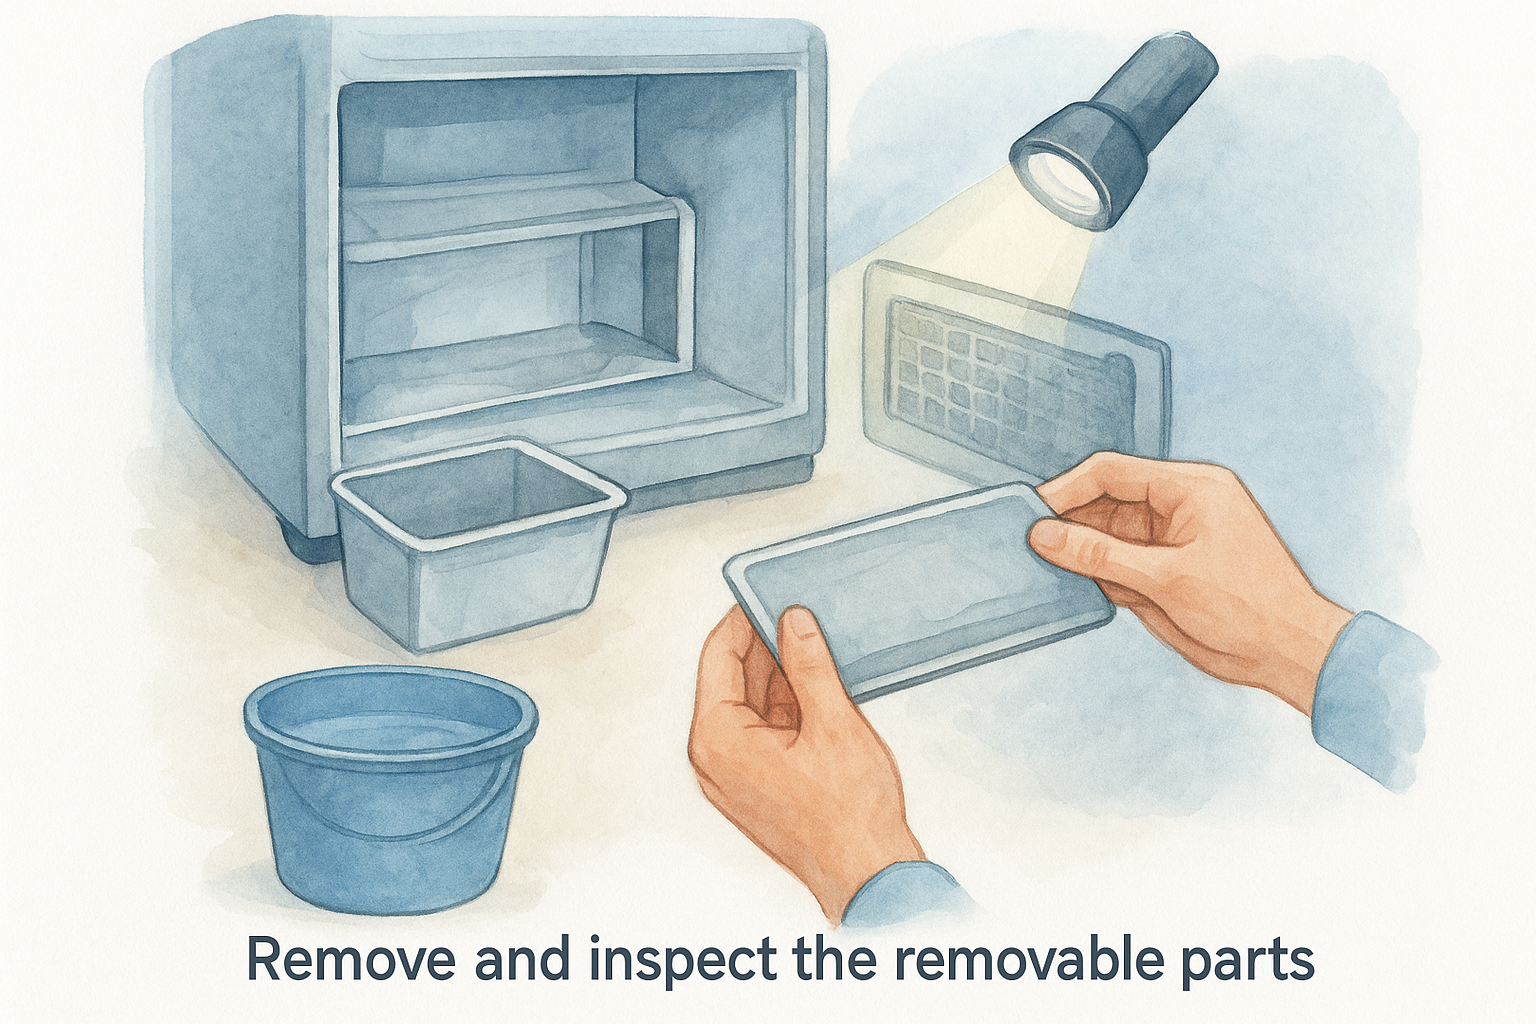
Pull the ice bin, dispenser chute, and any removable baffles and set them in your bucket for a separate soak. While they're out, take a flashlight and look at the evaporator plate through the access panel. Heavy white or gray crust means you're dealing with serious mineral scale, and you'll want to run a longer clean cycle or a second full treatment once the first one finishes. Wipe down the exterior door seals and gasket now too, since grime here often gets missed once the machine is running again.
Step 2. Clean and sanitize the interior
Once the removable parts are soaking, turn your attention to the interior cabinet before any descaler goes in. Wipe every visible surface, including the storage bin walls, the ice chute, and the underside of the lid, with a food-safe sanitizer diluted according to its label. This step matters more than people assume: sanitizing before descaling removes organic buildup like mold spots and slime that scale can trap and hide, so your descaler works on mineral deposits instead of fighting through grime first.
Sanitizing checklist
Work through the interior in this order so nothing gets skipped:
- Spray or wipe the bin interior with sanitizer, focusing on corners where slime collects
- Clean the dispenser chute with a bottle brush if it's narrow
- Wipe the door gasket and the seal track it sits in
- Rinse all sanitized surfaces with clean water before moving to the descaling step
Sanitizing first means your descaler spends its strength on scale, not on grime it was never designed to remove.
Rinse everything thoroughly after sanitizing. Leftover sanitizer mixing with your non-corrosive descaler can weaken both products and leave a chemical film in the bin. Nylon brushes work fine for stubborn spots on plastic components, but keep them away from the nickel-plated evaporator plate itself, since even a soft brush can leave micro-scratches that attract new scale faster next time. Set the cleaned bin and chute aside to air dry while you move on to descaling the plate and water lines.
Step 3. Descale mineral and scale buildup
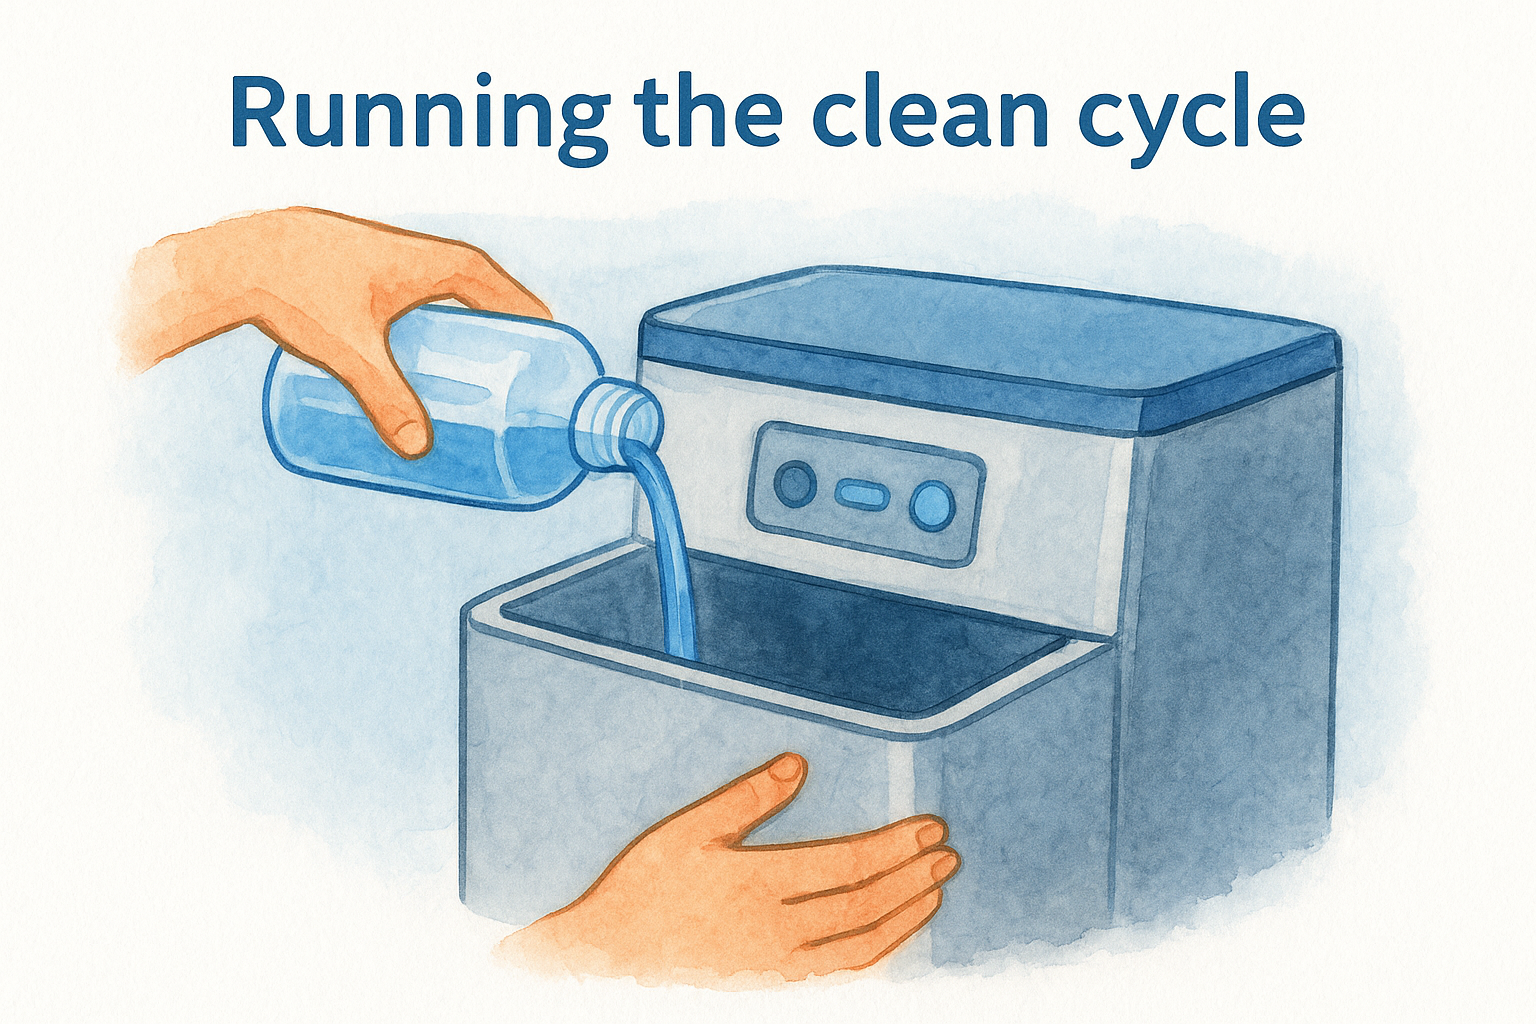
Now you're ready to load the descaler and let the machine's own clean cycle do the heavy lifting. Mix your non-corrosive descaler according to the label, usually a measured amount poured directly into the water reservoir rather than the ice bin. Skip guesswork here: overdiluting stretches the cleaning time without touching the scale, and underdiluting wastes product without any extra benefit to the plate.
The clean cycle exists so you don't have to scrub scale off a nickel-plated evaporator plate by hand.
Running the clean cycle
Select your GE unit's dedicated clean or descale setting rather than a standard ice-making cycle. Most models cycle the solution across the evaporator plate for 15 to 20 minutes, though heavier scale from step one may call for a repeat run.
- Start the clean cycle and let it run uninterrupted
- Watch for the cycle-complete indicator rather than stopping it early
- Check the plate through the access panel after the first pass
- Run a second cycle if white or gray crust is still visible
Checking your results
Once the cycle finishes, look at the plate again with your flashlight. A properly descaled surface looks uniformly bright, with no chalky patches or crusted edges near the water inlets. If you're still seeing buildup after two full cycles, your water hardness is likely high enough that you'll need to shorten the interval between future cleanings rather than fight it with a stronger, harsher product.
Step 4. Rinse, reassemble, and test the ice maker
Once the plate looks clean, drain the descaler solution completely and refill the reservoir with plain water for a rinse cycle. Run this cycle at least twice before you turn the water supply back on, since any leftover descaler residue will end up in your first batch of ice otherwise. Turn the water valve back on only after the rinse cycles finish, then let the machine pull fresh water through the lines once more before reassembling anything.
Skipping the rinse cycle just trades scale residue for chemical residue in your ice.
Reassembling the machine
With the interior rinsed, bring back the parts you set aside earlier:
- Dry the ice bin, chute, and baffles completely before reinstalling them
- Reattach the dispenser chute and confirm it clicks or seats fully into place
- Wipe down the door gasket one more time and check that the door seals flush
- Plug the unit back in or restore power at the breaker
Running a test batch
Switch the machine back to normal ice-making mode and let it run through a full production cycle before you trust the output. Discard this first batch of ice regardless of how it looks, since it's still rinsing trace mineral and cleaning residue out of the lines. Check the second batch for clarity and taste. Cloudy or off-tasting cubes at this point usually mean a rinse step got cut short, not that the descaling itself failed, so a quick extra rinse cycle typically clears it up.
Keeping your ice machine running clean
A GE ice machine that gets descaled on schedule with the right nickel-safe formula will keep pumping out clear, clean ice for years without pitting the evaporator plate or degrading the seals. The four steps above, prep, sanitize, descale, rinse, aren't complicated, but skipping any one of them is exactly how scale creeps back faster than it should. Set a reminder based on your water hardness rather than waiting for cloudy cubes or a clean-cycle alert to tell you it's overdue.
Most of the guesswork disappears once you're using a descaler built for ice machines instead of a generic acid-based product pulled off a shelf. If you're ready to stop worrying about hazmat handling or corroded plating, pick up a food-safe descaler for ice makers and keep your next batch of ice tasting the way it should.


