





Cloudy ice, slimy buildup on the evaporator plate, or a musty smell coming out of the bin all point to the same problem: mineral scale and biofilm have taken over your machine. Left alone, that buildup cuts ice production, strains the compressor, and creates a real food-safety risk in restaurants, hospitals, and hotels that depend on clean ice every day.
The fix starts with the right commercial ice machine cleaner and a cleaning process that actually reaches every surface ice touches. This guide walks you through descaling the water system, sanitizing food-contact surfaces, and choosing between an industrial ice machine cleaner built for heavy mineral deposits and one formulated for daily sanitizing. You'll also learn why an EPA approved ice machine cleaner matters for compliance and worker safety, not just marketing.
We'll cover the full step-by-step process: shutting down and draining the unit, applying descaler, rinsing thoroughly, sanitizing, and getting the machine back online without leaving chemical residue behind. Follow it on a regular schedule and you'll extend equipment life while keeping every batch of ice safe to serve.
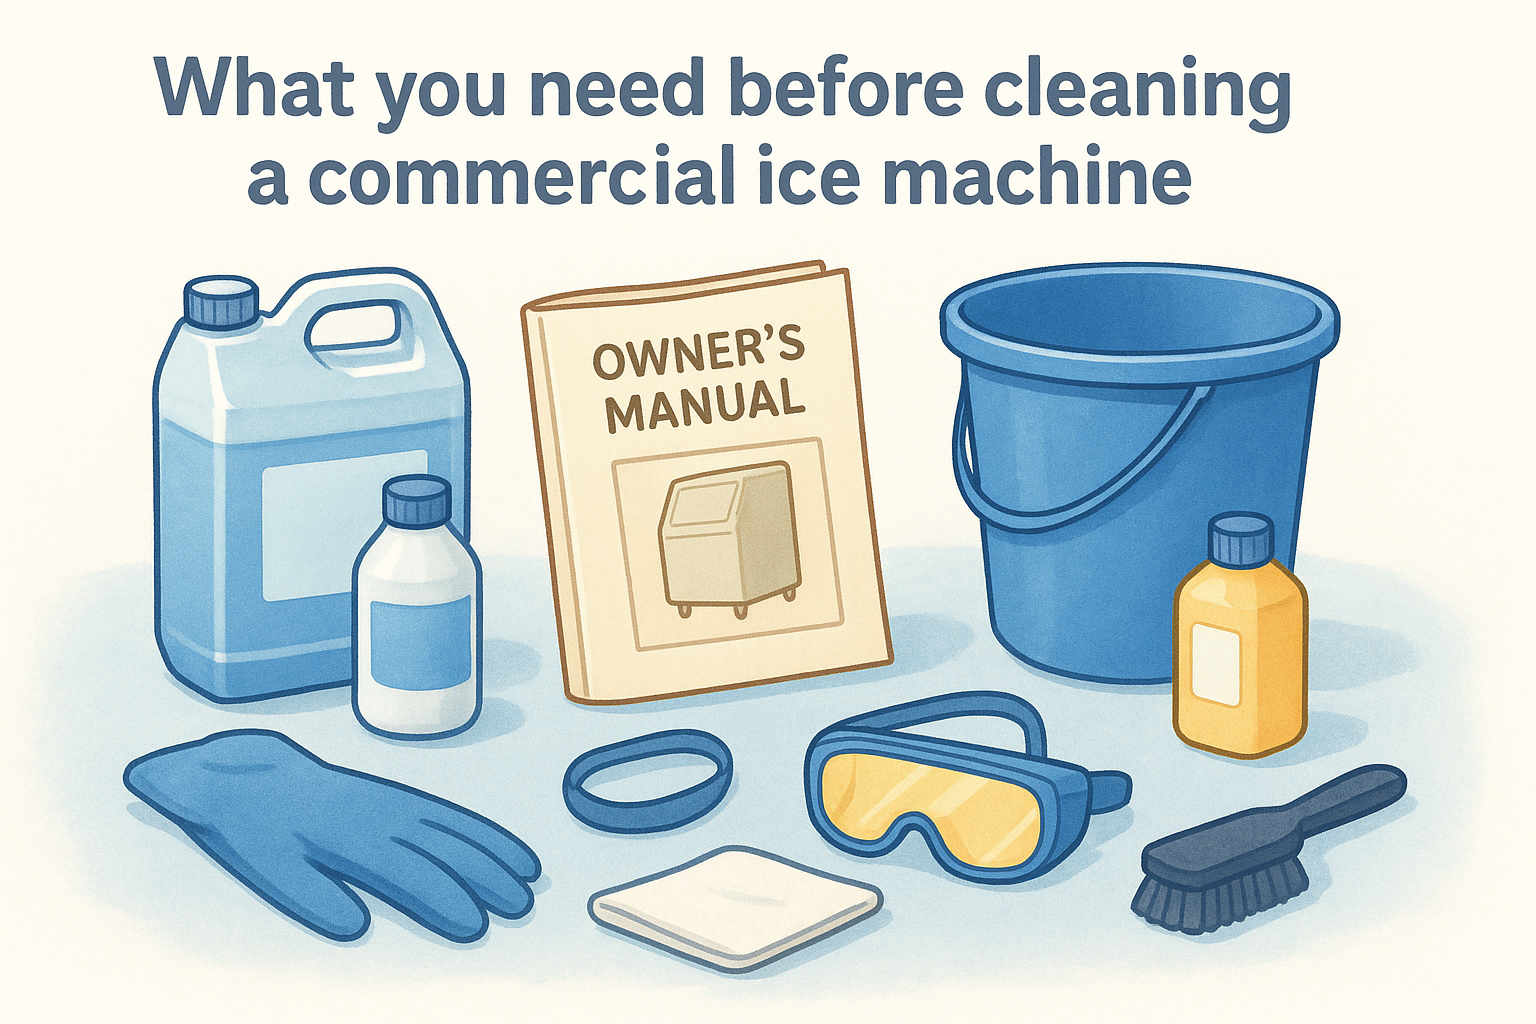
What you need before cleaning a commercial ice machine
Gathering everything upfront saves you from stopping mid-cycle with wet gloves and a half-drained bin. Before you touch a single panel, pull the owner's manual for your specific unit (Manitowoc, Hoshizaki, Scotsman, and Ice-O-Matic all have slightly different access panels and drain points) and confirm the manufacturer's recommended cleaning interval. Most commercial machines need a full descale and sanitize every three to six months, though high-mineral water supplies push that closer to monthly.
Choose the right cleaning chemicals
Never grab a generic kitchen descaler for this job. Ice machines need chemistry rated for food-contact surfaces, and that's where an EPA approved ice machine cleaner matters. EPA registration confirms the sanitizer has been tested for effectiveness against bacteria and biofilm without leaving harmful residue, which matters when the finished product goes directly into a customer's drink. Look for products that also carry NSF certification, since health inspectors check for that mark during routine visits.
A cleaner that isn't rated for food-contact equipment isn't a shortcut, it's a liability waiting for a health inspection.
You'll typically need two separate products, not one all-purpose spray:
| Product type | Purpose | When to use |
|---|---|---|
| Nickel-safe descaler/scale remover | Dissolves calcium and lime buildup on the evaporator | Every cleaning cycle, before sanitizing |
| EPA-registered sanitizer | Kills bacteria, mold, and yeast on food-contact surfaces | After rinsing, before restarting |
| Ice machine bin cleaner | Removes slime and biofilm from storage bin walls | Same visit, separate from evaporator cleaning |
An industrial ice machine cleaner formulated specifically for scale removal works faster on heavy mineral deposits than a general-purpose descaler, and a non-corrosive, nickel-safe descaler won't pit the stainless steel or nickel-plated coils the way harsher acids can.
Tools and protective gear
Set these out before you power down the unit so you're not searching for a bucket with the machine half-disassembled:
- Non-abrasive nylon brush or scale-removal pad (no steel wool, it scratches food-contact surfaces)
- Clean bucket for mixing descaler solution
- Soft cloths or paper towels, unscented
- Rubber gloves and eye protection
- A shop vacuum or wet/dry vac for draining the reservoir
- Digital thermometer if you're checking rinse-water temperature
- Manufacturer's service manual, printed or on a tablet nearby
Personal protective equipment isn't optional. Descalers are typically acidic (often nickel-safe phosphoric or sulfamic acid blends), and even EPA-approved sanitizers can irritate skin and eyes on contact. Gloves and eye protection cost a few dollars and prevent a much worse afternoon.
Once your chemicals, tools, and manual are staged, check that you have access to a nearby floor drain or utility sink. You'll be draining several gallons of solution during the descaling and rinse steps, and running back and forth to a mop sink slows the whole job down. If your facility stocks a dedicated commercial ice machine cleaner kit from a supplier like Eco Safeway, keep it labeled and stored away from general kitchen chemicals so staff never mix it up with dish soap or all-purpose cleaner.
Step 1. Power down and empty the machine
Start by shutting off the ice machine at its main power switch, not just the ice-making cycle button. Many units keep running background processes even when the display looks idle, so cutting power at the switch or breaker guarantees the compressor and water valves stay off while you work. Check your manual for the exact shutoff location, since some undercounter and modular units hide the switch behind a front grille.
Drain the water system completely
Open the drain valve or pull the drain plug to empty the water reservoir and sump. Standing water left behind dilutes your descaler and gives bacteria a head start before you've even begun cleaning. Use your shop vac to pull out any water that won't drain by gravity, especially in low spots around the evaporator plate or in the bin drain line, which benefits from eco-friendly drain maintenance between cleanings. This step matters more than people expect: a partially full reservoir is the number one reason descaling solution ends up weaker than the label recommends.
Skipping the drain step is the fastest way to turn a thorough cleaning into a half-measure.
Remove ice and clear the bin
Empty every scoop of ice from the storage bin and discard it. Even ice that looks fine shouldn't go back into service once you've started a cleaning cycle, since airborne contaminants and hand contact during removal make it unsafe to serve. Wipe down the bin floor and walls with a dry cloth to pull out loose debris before any liquid touches the surface, which keeps your industrial ice machine cleaner working on scale and biofilm instead of on food particles.
Pull removable components
Take out anything designed to come loose, including the ice curtain, splash guards, and any removable water distribution tubes. Set them in your mixing bucket so they soak in descaler alongside the fixed components. Consult the service manual before removing anything electrical or refrigerant-related; those parts stay put and get cleaned in place. With the unit powered down, drained, and stripped of removable parts, you're ready to apply the commercial ice machine cleaner solution to the evaporator and internal surfaces in the next step.
Step 2. Clean and descale the interior
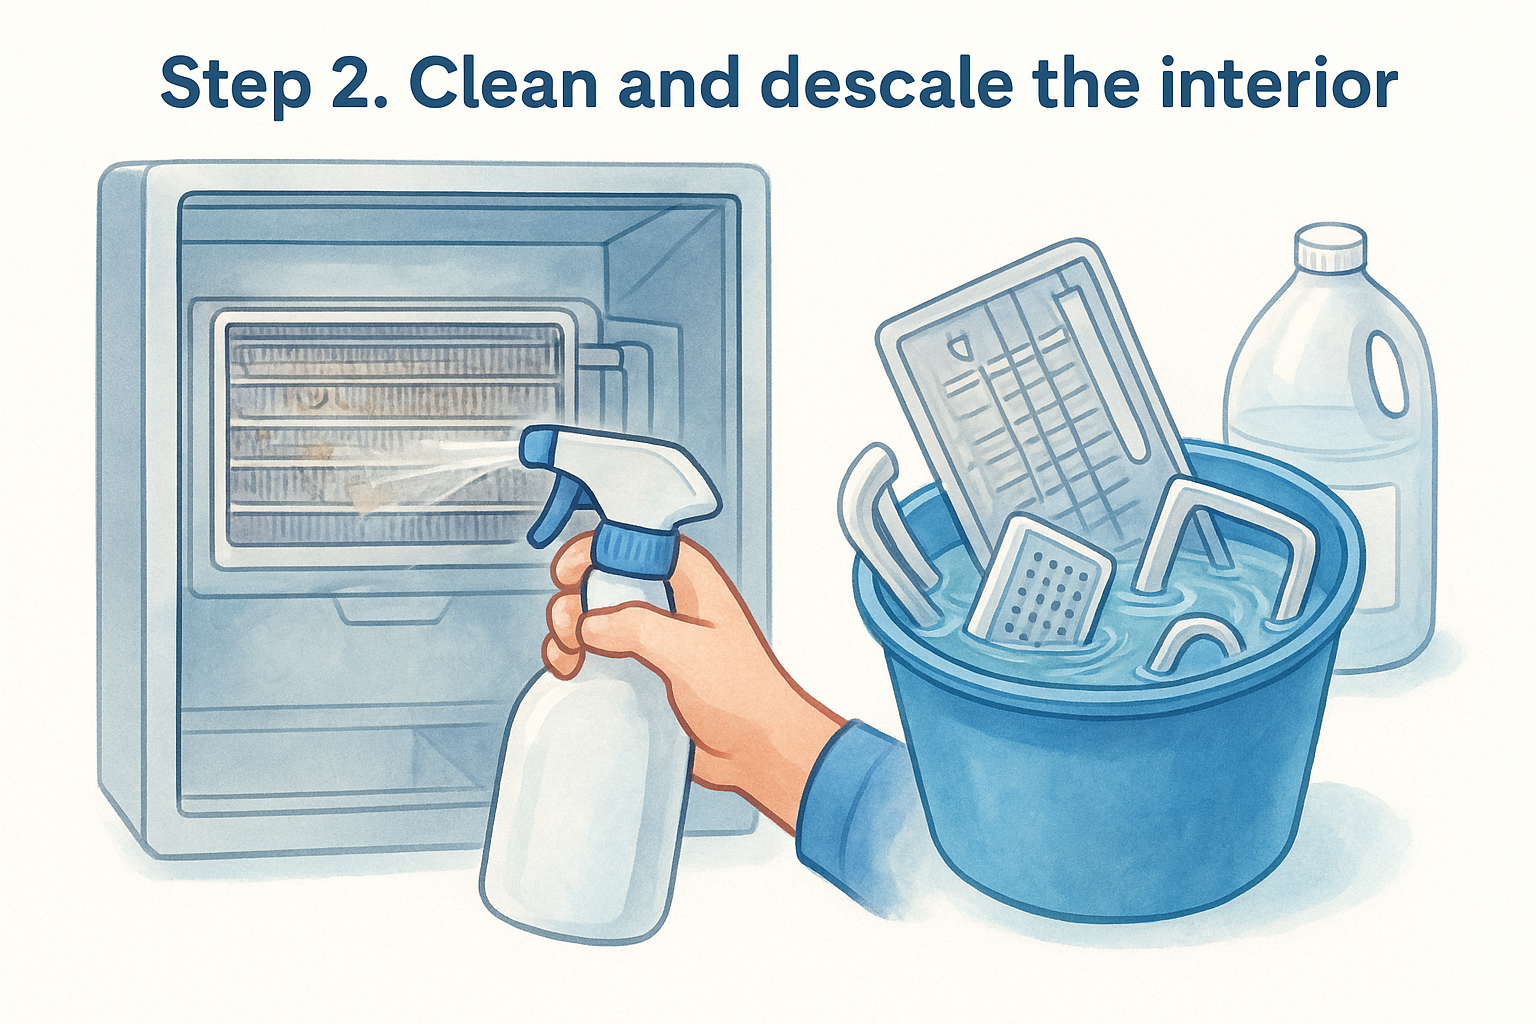
With the unit drained and every removable part staged in your bucket, mix your commercial ice machine cleaner exactly to the label ratio. Concentration matters here: too weak and the acid won't touch heavy mineral scale, too strong and you risk pitting nickel-plated coils or stainless panels. Pour the diluted descaler into the water reservoir and circulate it through the system if your unit has a self-clean or wash cycle, since that pushes solution through lines a hand-applied cloth can never reach.
Apply the descaler to fixed surfaces
Use your non-abrasive brush to work descaler across the evaporator plate, water curtain assembly, and distribution tubes still mounted in the machine. Focus on:
- Evaporator plate and finned coil surfaces, where scale builds thickest
- Water distribution tube holes, which clog first and choke ice production
- Sump and float assembly, a common spot for slime under standing water
- Door gaskets and interior wall seams
Let the solution sit for the manufacturer's recommended dwell time, usually 10 to 20 minutes, so the acid has time to dissolve calcium deposits without you scrubbing harder than necessary.
Dwell time does the dissolving. Scrubbing too soon just smears scale around instead of removing it.
Soak the removable components separately
While the fixed surfaces sit, leave the ice curtain, splash guards, and tubing soaking in the same diluted descaler in your bucket. An industrial ice machine cleaner formulated for scale works faster here than a household descaler, cutting through buildup in a fraction of the time without harsh scrubbing. Check the parts every few minutes, since thin plastic components can degrade if left in strong acid too long.
Once the dwell time passes, go back over stubborn spots with the brush, particularly around distribution holes and gasket edges where scale hides in tight corners. If deposits remain heavy after one pass, apply a second, shorter application rather than increasing the chemical concentration beyond what the label allows. That keeps you within safe limits while still getting the interior fully clear before you move into the rinse and sanitize stage.
Step 3. Rinse and sanitize every surface
After descaling, every trace of acid needs to come out before sanitizer goes in. Mixing leftover descaler with sanitizer can neutralize both chemicals or, worse, create a reaction that irritates skin and eyes. Run fresh water through the reservoir and any wash cycle at least twice, checking that runoff comes out clear instead of cloudy or tinted.
Flush the water system
Begin by refilling the reservoir with clean water and running a full rinse cycle if your unit supports one. Drain it completely, then repeat. Pay close attention to the distribution tubes and sump, since descaler tends to pool in low spots and won't flush out with a single pass. Wipe down the evaporator plate and interior walls with a clean, damp cloth to catch any residue clinging to seams or gasket edges.
Sanitizer only works on a surface that's already clean. Rinse first, or you're just diluting chemicals instead of killing bacteria.
Apply the EPA registered sanitizer
Mix your EPA approved ice machine cleaner sanitizer to the exact label ratio, since over-diluting cuts its effectiveness against biofilm and under-diluting leaves residue that affects ice taste. Apply it to every food-contact surface:
- Evaporator plate and coil surfaces
- Water distribution tubes and holes
- Sump, float assembly, and drain line
- Ice curtain, splash guards, and removable tubing pulled from the soak bucket
- Bin walls, floor, and door gasket
Most EPA-registered sanitizers are designed as no-rinse formulas for food-contact equipment, but check the label. Some require a final water rinse before the machine goes back into service, and skipping that step when it's required leaves chemical residue in the first batches of ice.
Let contact time work
Give the sanitizer its full contact time, typically one to two minutes, before wiping or draining. Cutting this short is the most common mistake in ice machine cleaning, since bacteria and mold spores need that exposure window to actually die rather than just get diluted. Once contact time passes, drain the reservoir one more time and confirm no pooled sanitizer remains in the sump before moving on to reassembly.
Step 4. Reassemble, restart, and clean the exterior
With every surface rinsed and sanitized, pull your removable parts from the soak bucket and inspect them before reassembly. Give the ice curtain, splash guards, and distribution tubing a final rinse under clean water, since residual sanitizer on these parts can carry over into the next production cycle. Reinstall each piece in the order your service manual shows, paying attention to gaskets and seals that need to seat properly or you'll get leaks once the water system pressurizes again.
Reconnect power and run a test cycle
Before flipping the main switch back on, walk through the interior one more time to confirm nothing was left disassembled or out of place. Check the sump for standing sanitizer, verify the drain valve is closed, and make sure the water distribution tubes line up over their original holes. Power up the unit and let it run a full ice-making cycle without harvesting, then discard that first batch of ice regardless of how clean it looks.
The first batch of ice after cleaning always gets discarded, no exceptions, even when it looks perfectly clear.
Run a second cycle and inspect the ice for clarity and taste before returning the machine to service. Cloudy or off-tasting ice at this stage usually means rinse residue, not equipment failure, so run one more flush cycle rather than assuming the machine needs another repair.
Wipe down the exterior and log the service
Finish the job by wiping every exterior panel, handle, and door seal with a food-safe surface cleaner, since hands touch these spots constantly between cleanings. A quick pass with your commercial ice machine cleaner kit's exterior-safe wipes handles fingerprints and splash marks without leaving streaks on stainless steel.
Log the service date, chemicals used, and any parts you replaced in your maintenance record. Health inspectors ask for this documentation during routine visits, and a dated log also tells you exactly when the next descale is due instead of guessing based on ice quality alone.
- Confirm all removable parts are reinstalled and gaskets seated
- Run one discard cycle, then one inspection cycle
- Wipe exterior panels and handles
- Record the service date and products used
Keeping your ice machine reliably clean
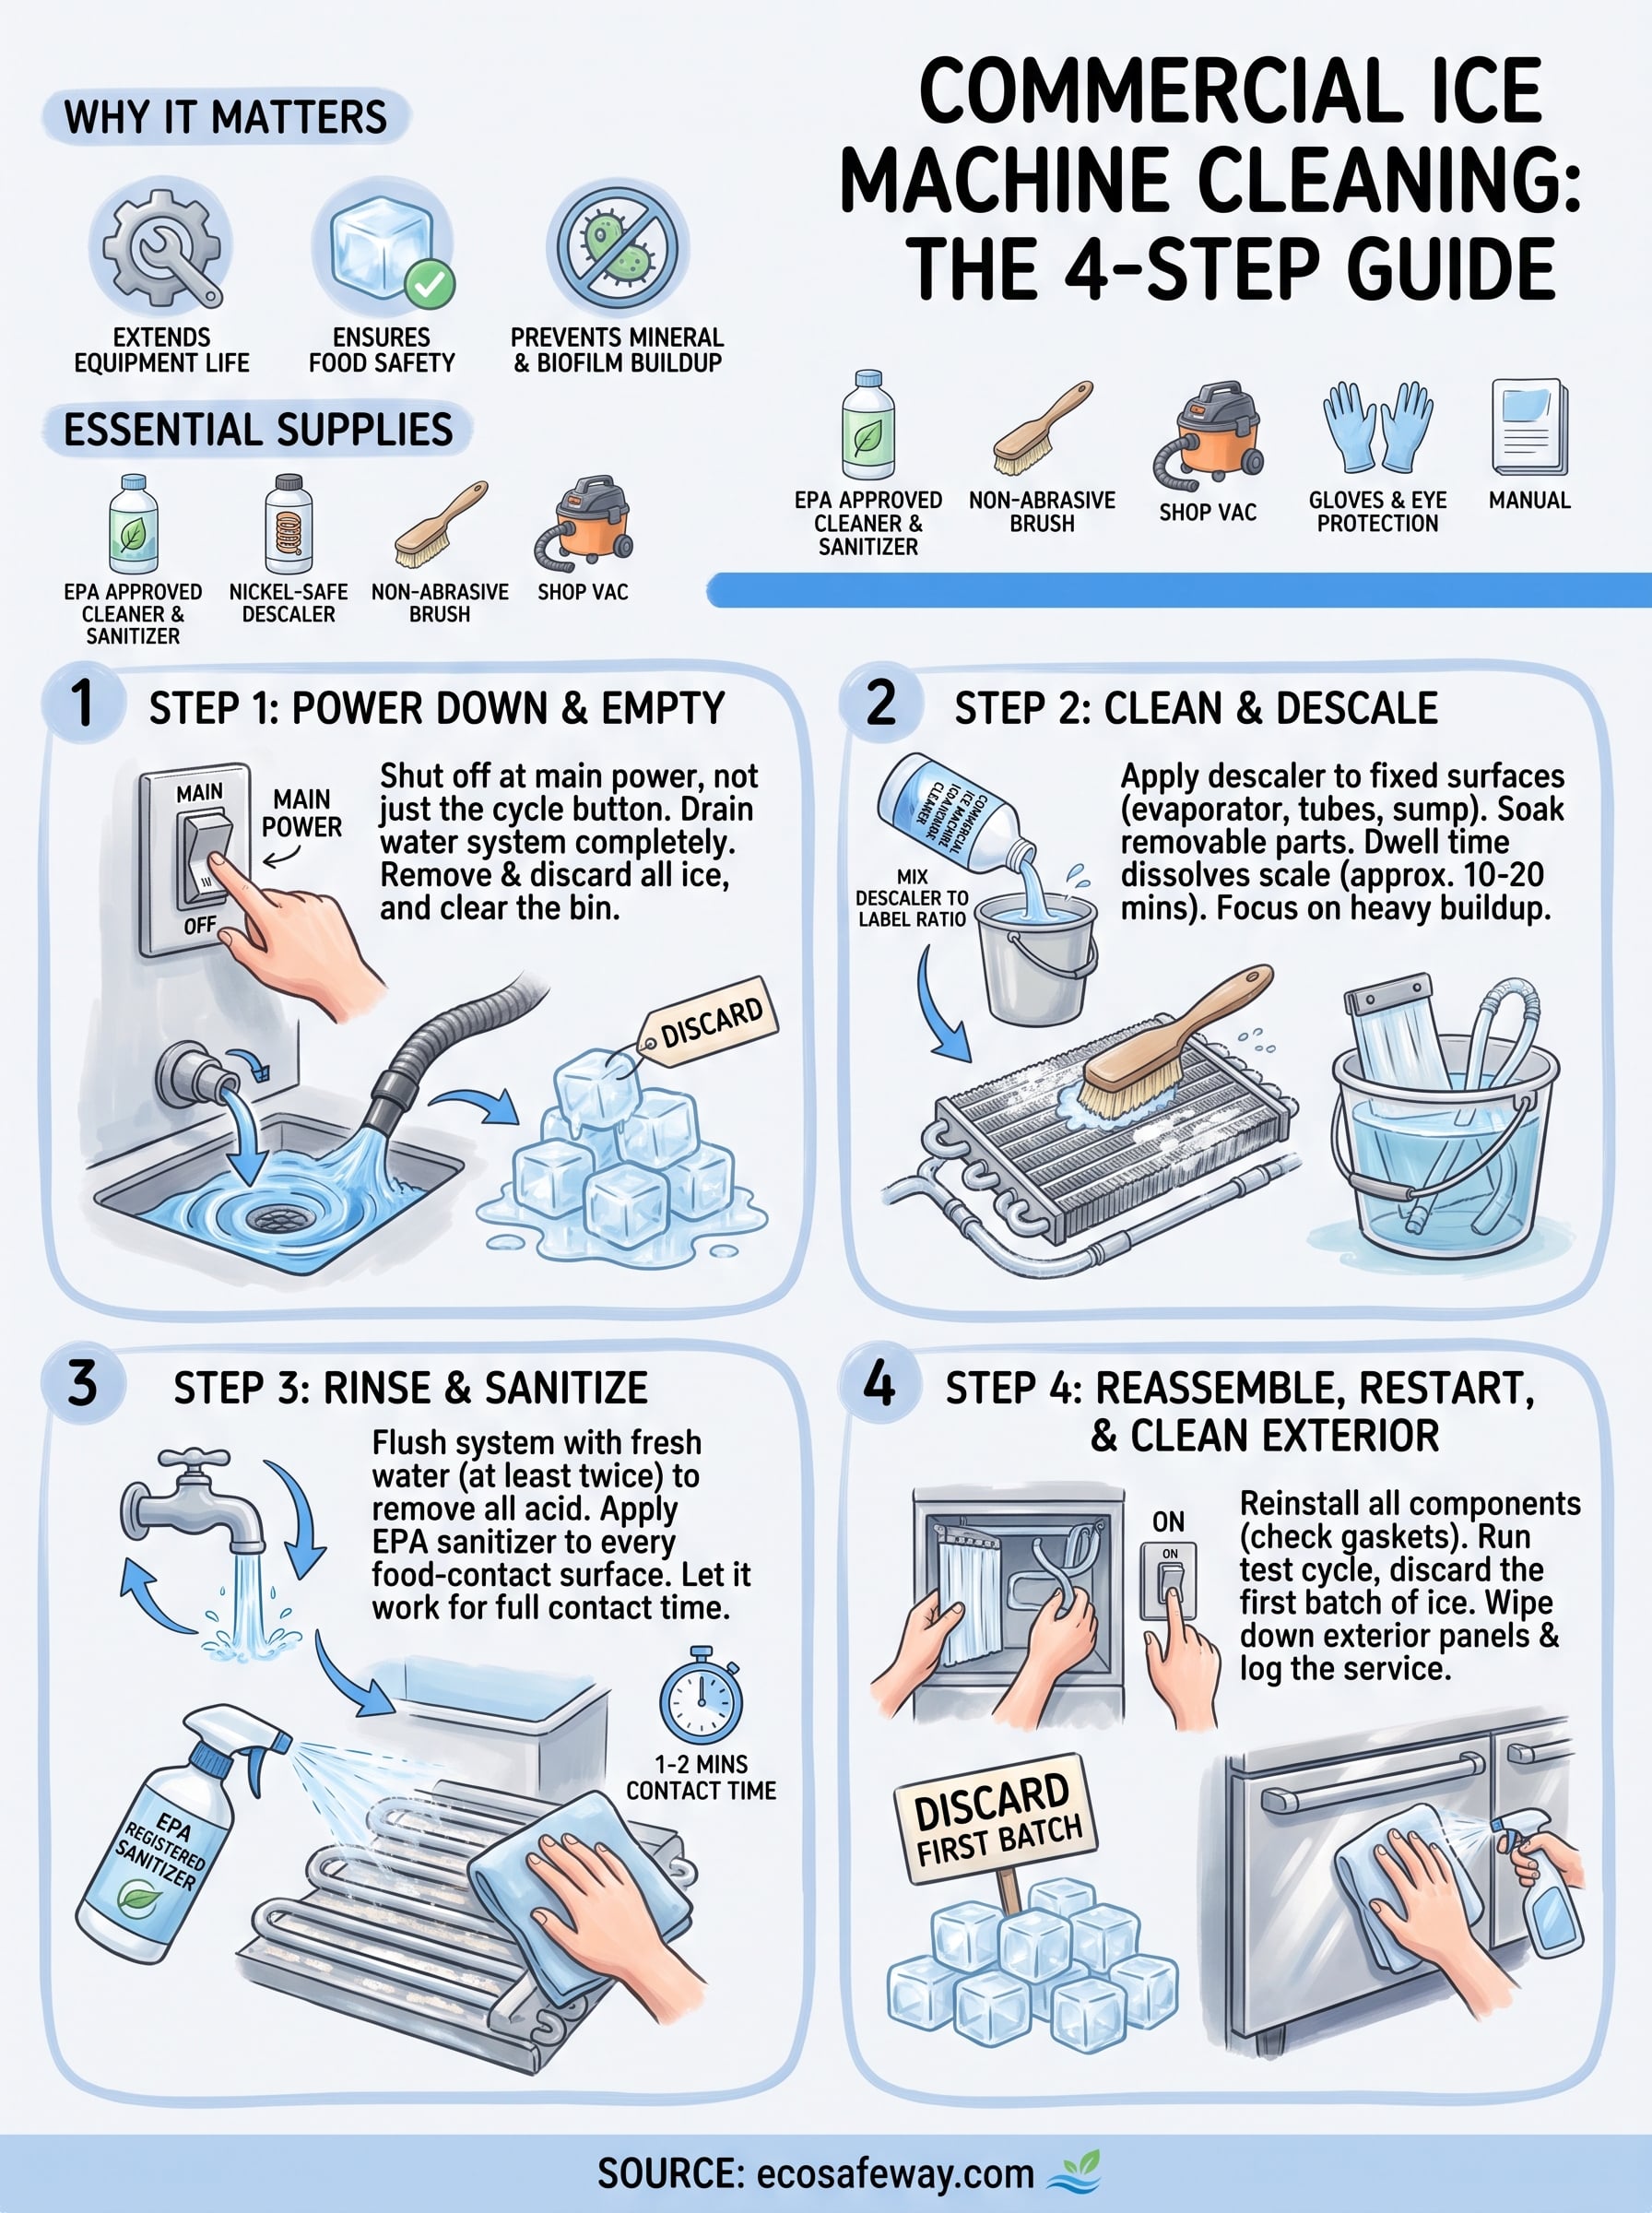
Consistent cleaning beats emergency cleaning every time. A machine descaled and sanitized on schedule rarely throws error codes, rarely needs a service call for a clogged distribution tube, and never puts your health inspection at risk over cloudy ice. The four-step process here, drain, descale, rinse and sanitize, then reassemble, works the same whether you're running an undercounter unit in a small cafe or a high-volume cuber in a hospital kitchen.
Getting this right depends on using a commercial ice machine cleaner built for food-contact surfaces rather than whatever descaler is sitting in the supply closet. Pair a nickel-safe descaling formula with an EPA-registered sanitizer, log every service date, and you'll catch mineral buildup long before it costs you compressor life or a failed inspection.
If you're ready to stock the right chemistry for your next cleaning cycle, check out Eco Safeway's food-safe ice machine cleaner and descaler, built specifically for nickel-plated evaporators and daily commercial use.


