





Dirty coils are the quiet reason your AC runs longer, costs more, and cools less. If your system is short-cycling or blowing warm air, the fix often starts with the right coil cleaner ac units respond to, not a full service call. Dust, grease, and outdoor grime build up on the fins over a season or two, and once that layer forms, airflow and heat transfer both suffer.
This guide gives you a straight answer: pick a no-rinse foaming cleaner for indoor evaporator coils and a stronger outdoor formula for condenser coils, then apply it the right way. We'll cover what separates a good coil cleaning solution from one that leaves residue or damages aluminum fins, plus the difference between acid-based and alkaline formulas.
You'll get a step-by-step walkthrough for both coil types, safety precautions for handling concentrated cleaners, and the tools that make the job faster. At Eco Safeway, we work with facility managers and HVAC technicians who need equipment protection without regulatory headaches, so every recommendation here reflects what actually holds up on real coils, not marketing copy.
What you need before cleaning AC coils
Gather your supplies before you touch the unit, because stopping halfway through to hunt for a fin comb or extra rags is how people end up rinsing half-cleaned coils and calling it done. A basic coil cleaner ac unit cleaning job requires more than just the spray can, so build a small kit and keep it near the condenser or air handler.
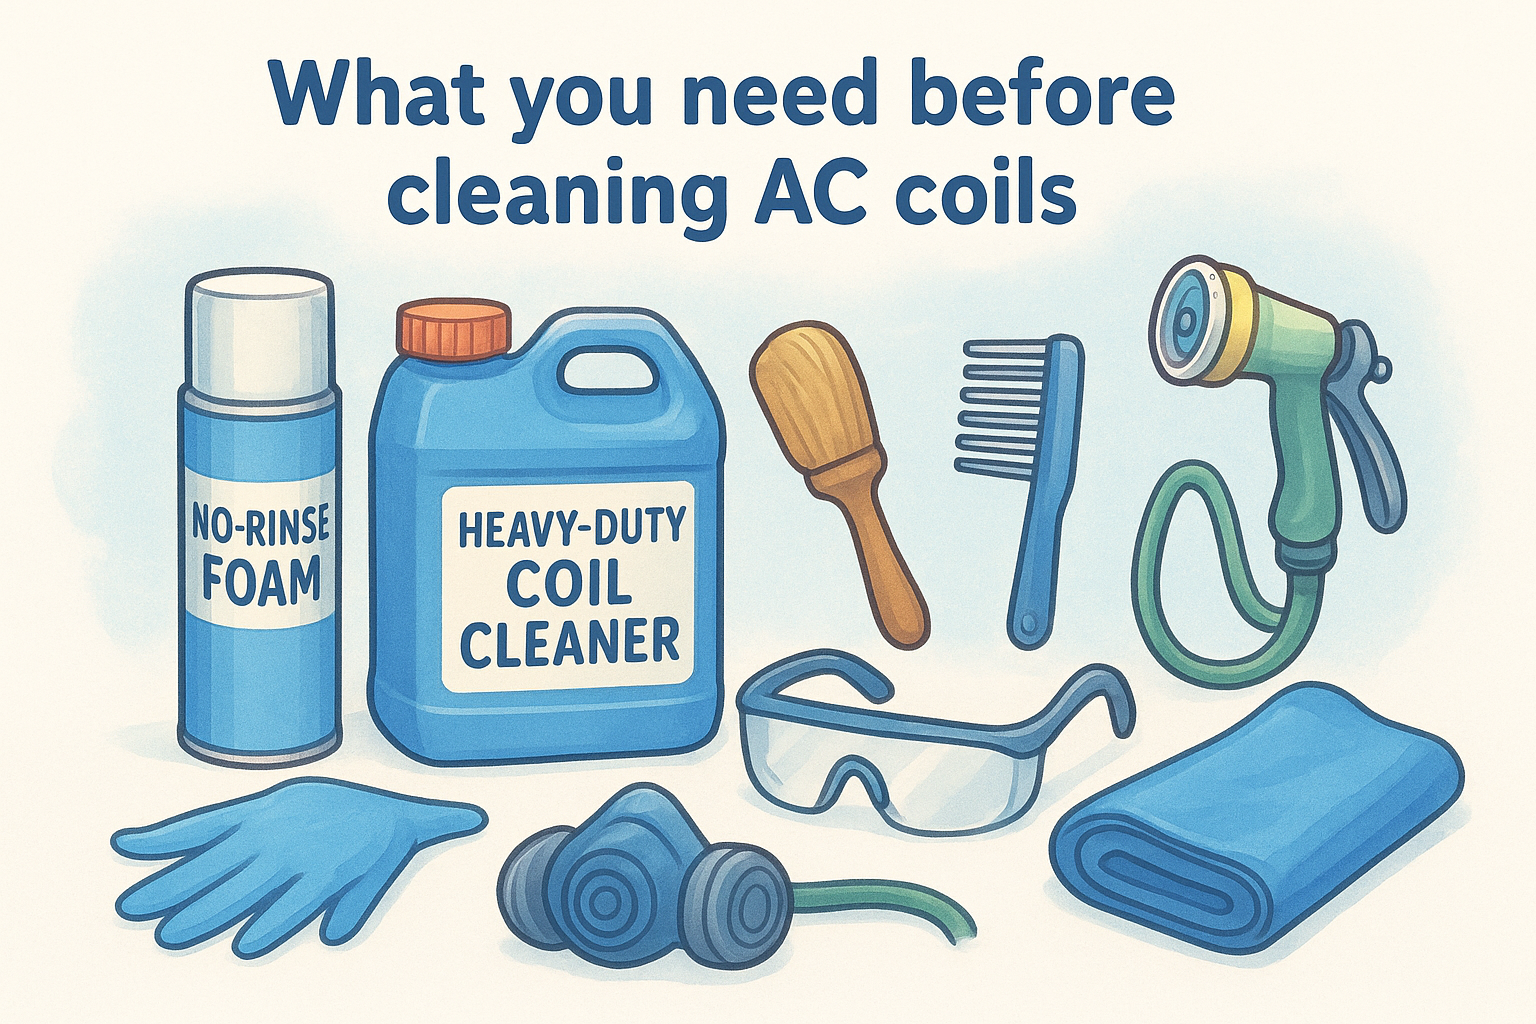
- No-rinse foaming coil cleaner (for indoor evaporator coils)
- Heavy-duty outdoor ac coil cleaner or condenser coil cleaner (acid or alkaline based)
- Soft-bristle brush and a fin comb to straighten bent fins
- Garden hose with adjustable nozzle, or a low-pressure sprayer
- Nitrile gloves, safety glasses, and a respirator rated for chemical vapors
- Plastic sheeting or a tarp to protect nearby landscaping and electrical components
- Shop vacuum or soft brush for loose debris removal
Matching the coil cleaning solution to the coil type matters more than most people assume. Evaporator coils sit inside your air handler and need something that won't drip corrosive runoff into your ductwork, which is why foaming, no-rinse formulas dominate that market. Outdoor coils get direct sun, road grime, and grease, so they tolerate stronger acid-based or alkaline cleaners that need a full rinse afterward.
| Cleaner Type | Best For | Rinse Required |
|---|---|---|
| No-rinse foam | Indoor evaporator coils | No |
| Acid-based | Heavily soiled outdoor condensers | Yes |
| Alkaline/enzymatic | General outdoor maintenance, eco-sensitive sites | Yes |
The right cleaner depends on the coil's location, not just how dirty it looks.
Safety gear isn't optional here. Concentrated ac foam coil cleaner products contain surfactants and, in acid-based formulas, compounds strong enough to irritate skin and lungs within minutes. Read the product label's PPE requirements before opening the container, and if you're working in an enclosed mechanical room, run a fan for ventilation.
Step 1. Shut off power and access the coils
Before anything touches the coils, kill the power completely. Locate the outdoor disconnect box near your condenser, usually a small metal box mounted on the wall beside the unit, and pull the breaker or switch it off. Then head inside to your electrical panel and flip the dedicated AC breaker as a backup. This double shutoff matters because a technician working with a hose and cleaning chemicals near live electrical components is asking for a shock or a shorted circuit board.
Cut power at both ends
Grab a non-contact voltage tester if you have one and confirm the unit is dead before opening any panels. Skipping this step is the single most common way people get hurt during a DIY coil cleaner hvac job.
No coil cleaner spray is worth doing on a live circuit.
Open the cabinet and locate the coils
Remove the screws holding the condenser's outer panel or grille, usually four to eight Phillips screws around the perimeter, and set them aside somewhere you won't lose them. For indoor units, the evaporator coil sits behind a removable access panel on the air handler, sometimes sealed with foil tape you'll need to cut. Once open, you'll see the coil's fins, which look like tightly packed aluminum ribs. Check them for bent sections before you start spraying anything.
Step 2. Remove loose dirt and debris
Before any coil cleaner ac product touches the fins, clear away the loose stuff. Spraying foam or acid straight onto a coil caked with pet hair, leaves, or grass clippings just turns that debris into a paste that clogs the fins worse than before. Take five minutes here and the actual cleaning step works twice as well.
Vacuum and brush first
Run a shop vacuum with a brush attachment over the coil face, working in the direction of the fins rather than across them. Follow up with a soft-bristle brush to loosen anything the vacuum missed, especially in the corners where debris tends to pack tight against the frame. For outdoor units, this is also when you clear grass clippings, cottonwood fluff, and dirt from the base pan.
A coil cleaned of debris first needs less chemical and less scrubbing later.
Straighten bent fins
Run a fin comb along any bent or crushed sections you spotted during setup. Bent fins block airflow even after a chemical clean removes every trace of grime, so this step isn't cosmetic. Work slowly, since aluminum fins bend easily but tear just as easily if you force the comb.
With the surface clear, you're ready to apply a coil cleaning solution without wasting product on dirt the brush and vacuum should have handled already.
Step 3. Apply coil cleaner and rinse thoroughly
Now the actual cleaning happens. Shake or stir your coil cleaner ac unit product according to the label, since foaming formulas separate if they sit unused for months. Hold the sprayer six to eight inches from the coil face and coat every section evenly, working top to bottom so the foam has time to expand into the fins as it drips down.
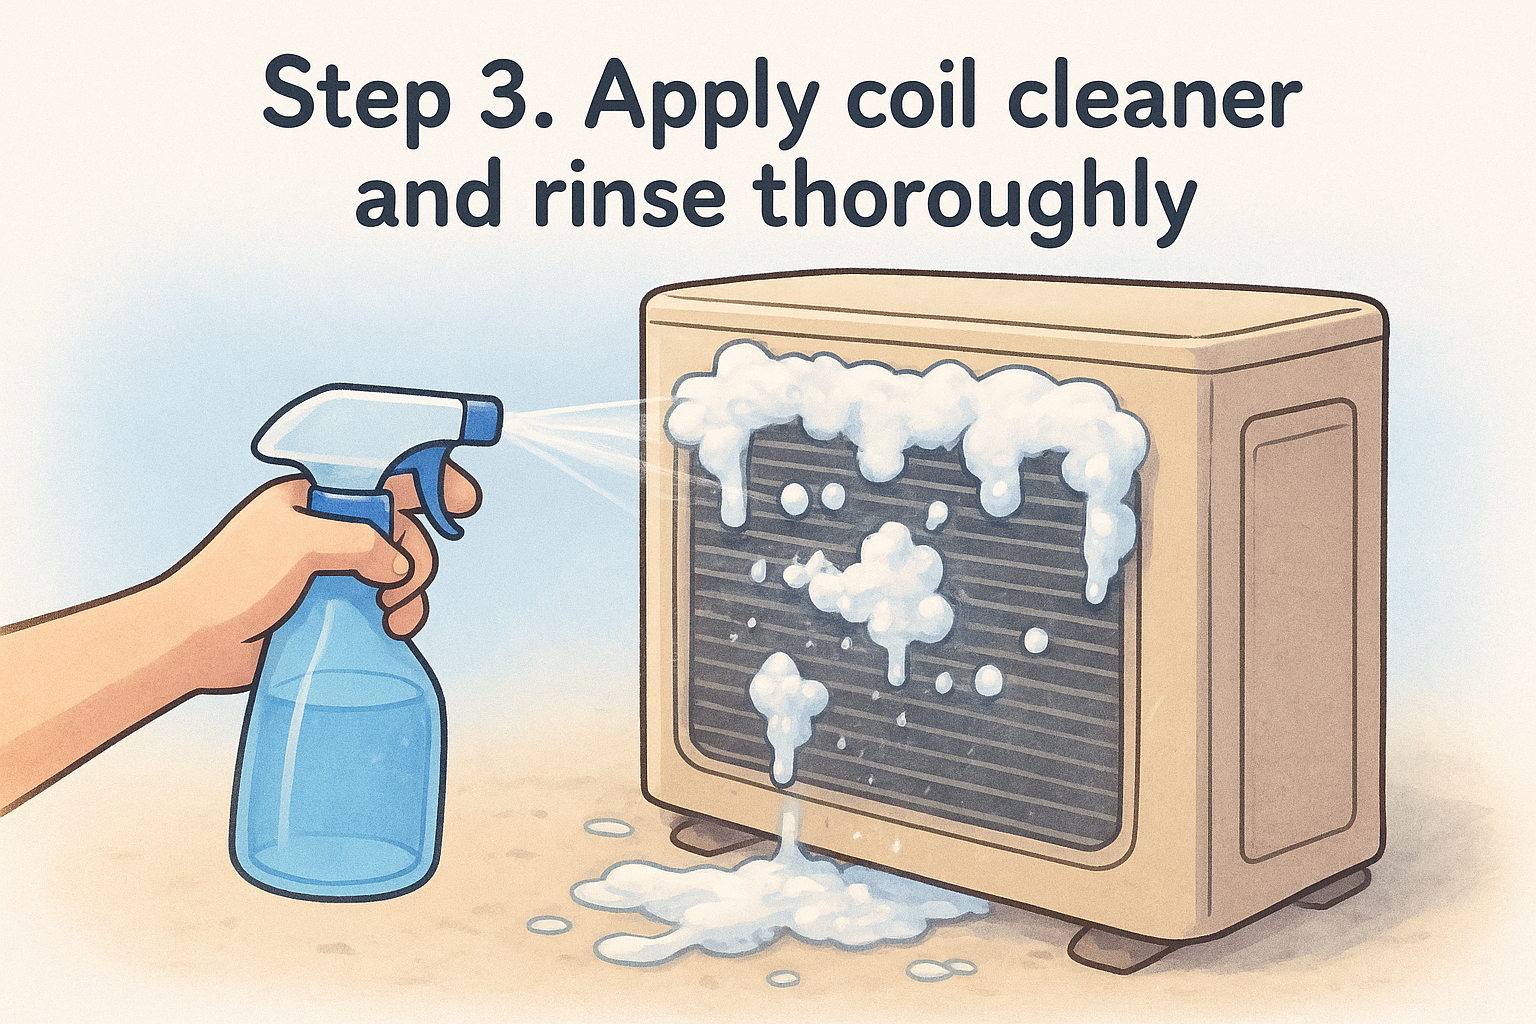
Spray the coil cleaner evenly
For indoor evaporator coils, a no-rinse ac foam coil cleaner does the work without you touching anything else. It expands, lifts dirt, and drains into the condensate pan on its own. For outdoor ac coil cleaner applications, apply a heavier coat since sun exposure and grease buildup need more contact time to break down, and a professional coil cleaner for evaporator and condenser coils handles both jobs from one container.
Full coverage matters more than heavy spraying. Missed spots stay dirty no matter how much product you use elsewhere.
Let it dwell, then rinse
Check the product label for dwell time, typically 5 to 10 minutes for a coil condenser cleaner, longer for heavily soiled units. Don't let it dry on the coil, since dried residue is harder to remove than the original grime. Once the dwell time passes:
- Rinse outdoor coils from the inside out with a garden hose on low pressure
- Skip rinsing entirely for no-rinse indoor formulas
- Check runoff water; it should run clear before you stop
Repeat the application if the coil still looks discolored after one pass.
Step 4. Restore power and check performance
Once the coil dries and any rinse water runs clear, put the panels back on before you touch the power. Reinstall the screws you set aside, and make sure the access panel on the air handler seats fully so no unfiltered air bypasses the evaporator coil. A loose panel undoes half the benefit of a clean coil cleaner ac unit treatment because dust just gets pulled back in around the gaps.
Flip the breakers back on
Head to the indoor electrical panel first and restore the dedicated AC breaker, then walk out to the disconnect box by the condenser and switch that back on too. Give the system a minute before you touch the thermostat, since some units run a brief internal diagnostic on startup.
A clean coil that never gets tested properly leaves you guessing whether the job actually worked.
Test airflow and temperature
Set the thermostat a few degrees below room temperature and let the system run a full cycle. Check the supply vents for cold air within 10 to 15 minutes, and compare that reading against the return air temperature; a healthy split is usually 16 to 22 degrees Fahrenheit. Listen for unusual noises, watch for water pooling near the air handler, and confirm the condenser fan spins freely outside. If airflow feels weak despite the cleaning, check your filter next, since a clogged filter mimics dirty-coil symptoms almost exactly.
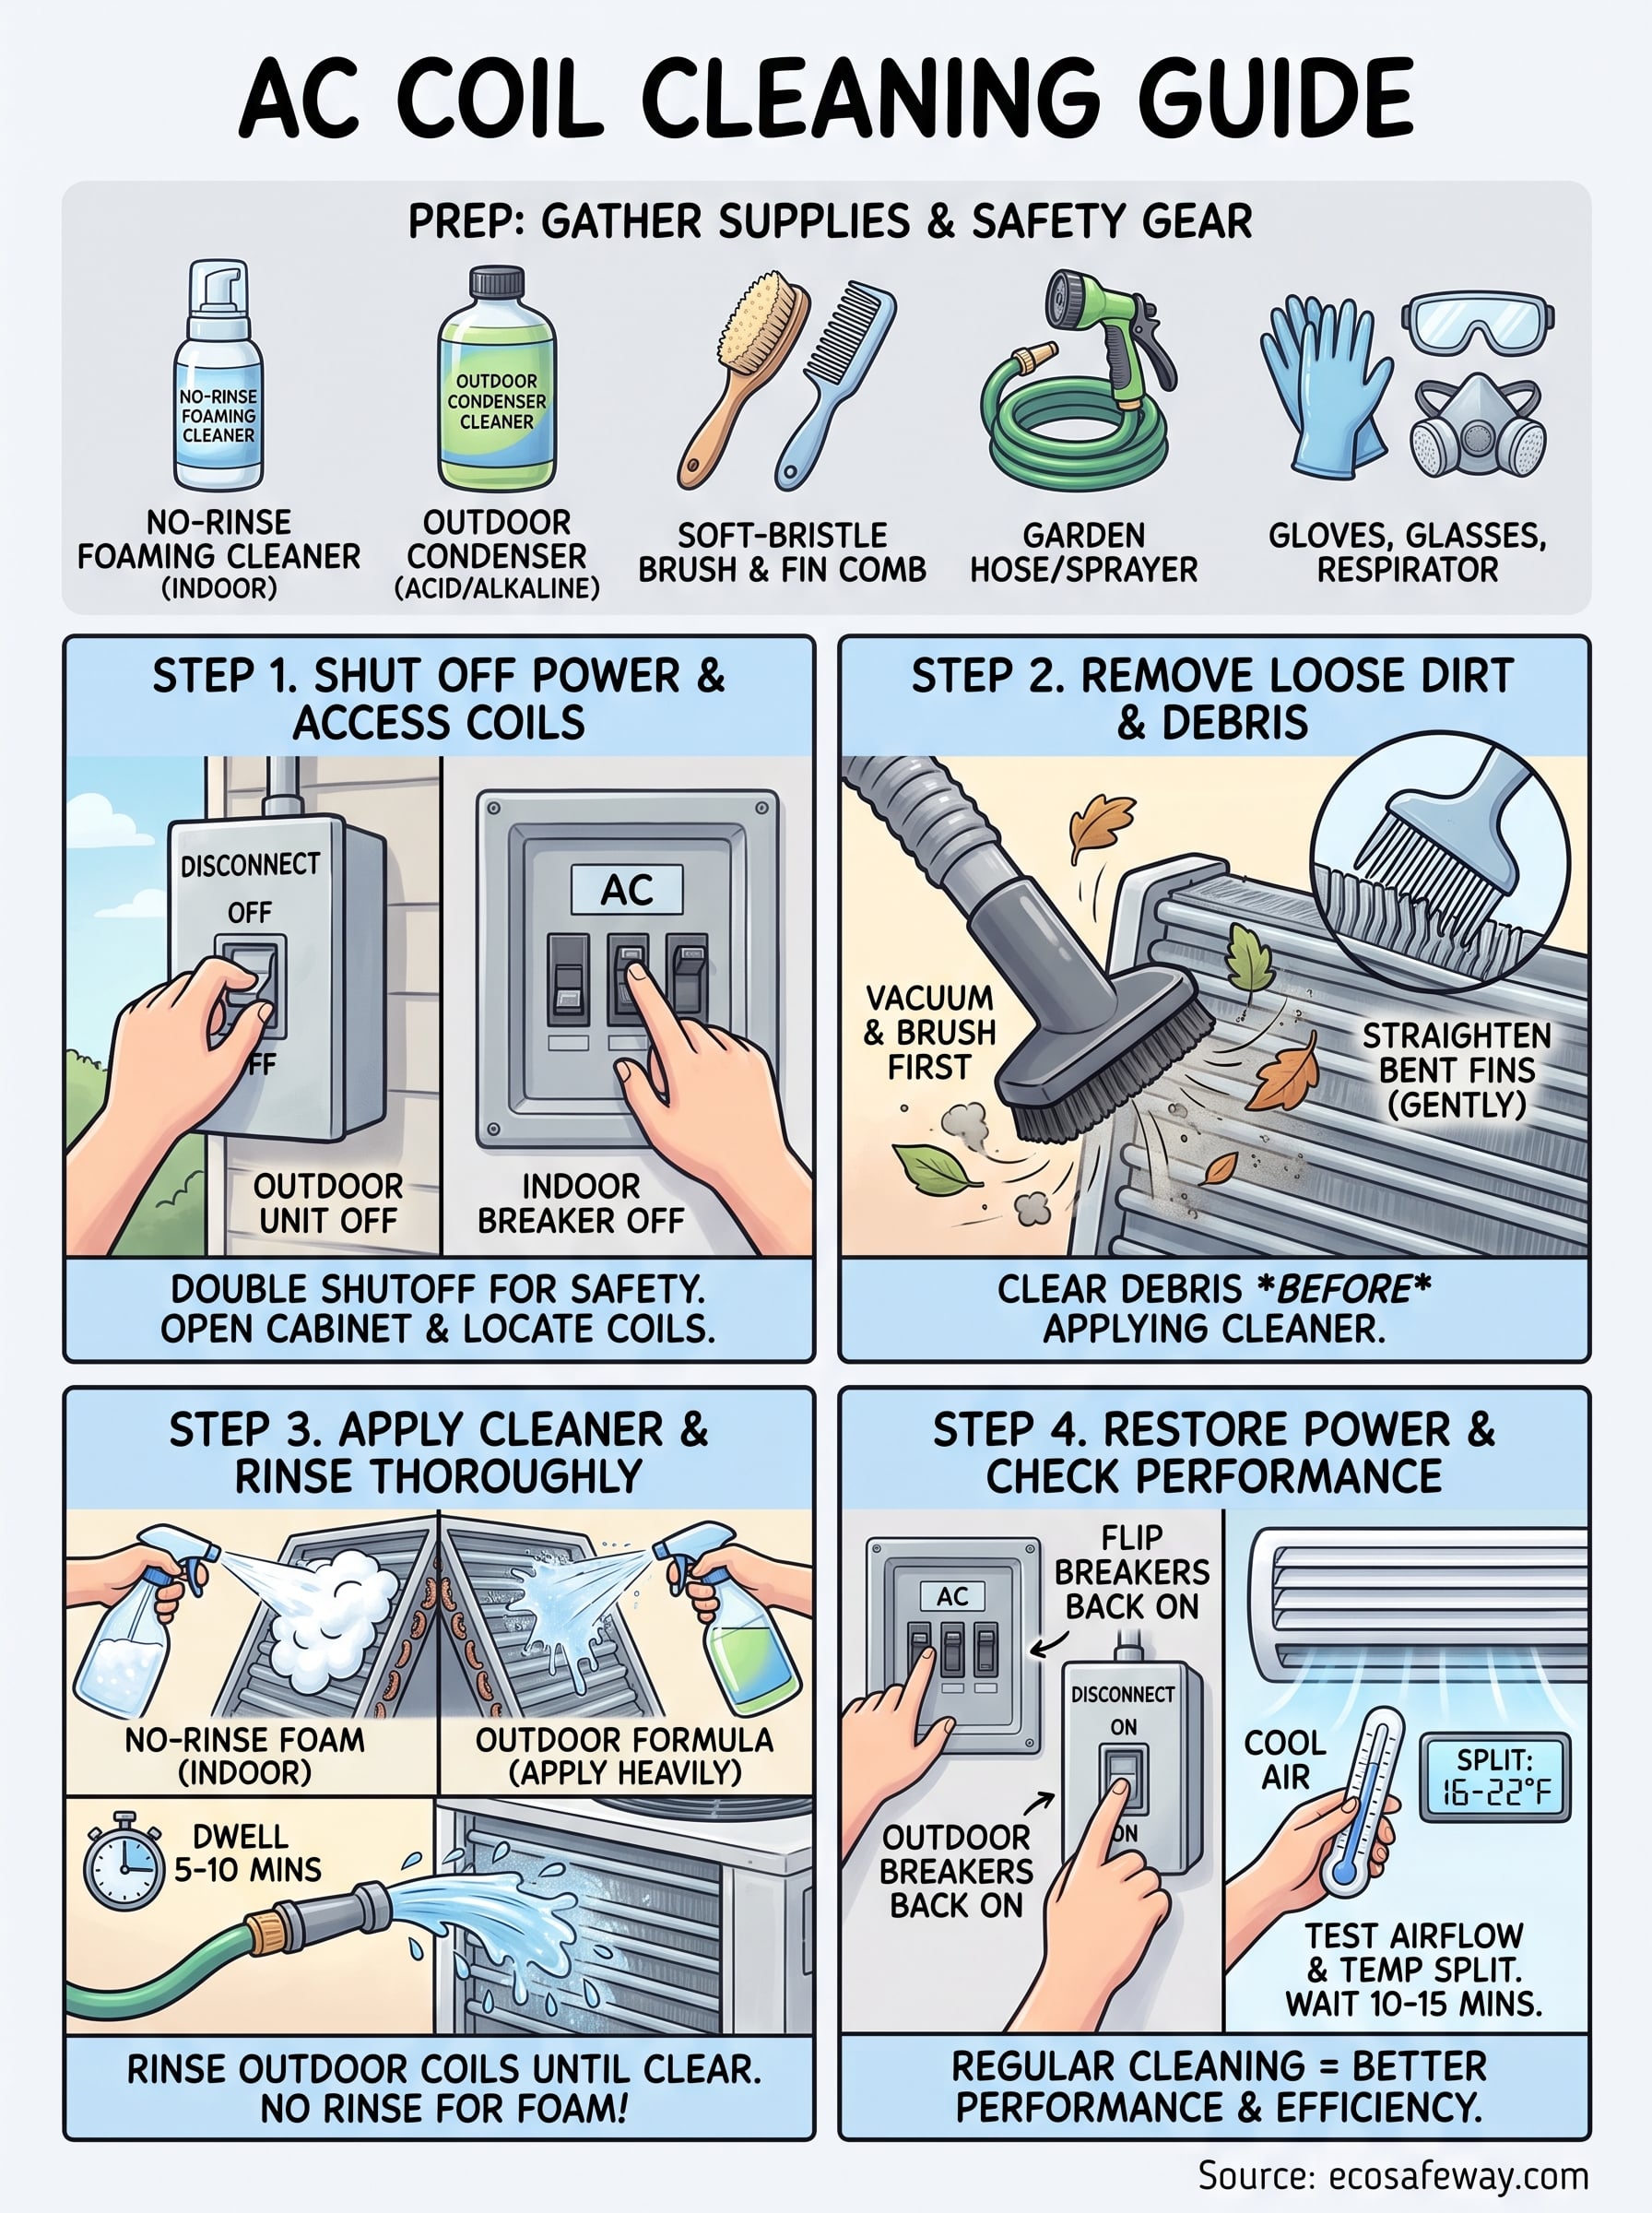
Keeping your coils clean going forward
Regular cleaning beats emergency cleaning every time. Once your coils are clear and airflow is back to normal, mark your calendar for a follow-up in six months rather than waiting until performance drops again. Seasonal upkeep, twice a year for most homes, keeps the buildup light enough that each cleaning takes minutes instead of an afternoon. Outdoor condensers collect grime faster near landscaping, dryer vents, or high-traffic areas, so check those units more often than indoor evaporator coils tucked away in a closet or attic.
Think of coil cleaning as preventive maintenance, not a repair. A system that breathes freely runs shorter cycles, pulls less power, and lasts longer before you're shopping for a replacement. If you manage commercial HVAC equipment where downtime costs real money, a heavy-duty condenser coil cleaner for commercial HVAC systems gives you consistent results without guessing which formula the coil actually needs.


